Thrift Store Germs: How To Deep Clean Used Baby Toys The Right Way
Hey there, savvy parent! Give yourself a high-five. Choosing to buy second-hand baby items is not only a fantastic way to save money, but it’s also a wonderful choice for the planet. You’re finding unique treasures and giving them a second life. But as you’re holding that adorable, pre-loved rattle, a little voice might whisper, “But… what about the germs?”
It’s a totally valid question! As a pediatric nurse and lactation consultant, I’ve talked to thousands of new parents who have this exact concern. You want to provide the best for your baby, and that includes a safe and healthy play environment. The great news is you absolutely can have the best of both worlds. With a little know-how and a solid cleaning plan, those thrifted toys can be just as safe and clean as ones fresh out of the box.
So, let’s roll up our sleeves together. This guide is your friendly, step-by-step playbook to confidently and thoroughly deep clean any used baby toy you bring home. We’ll cover everything from what to look for in the store to specific, safe cleaning methods for every type of material. You’ve got this!
Before You Clean: A Savvy Thrifter’s Safety Checklist
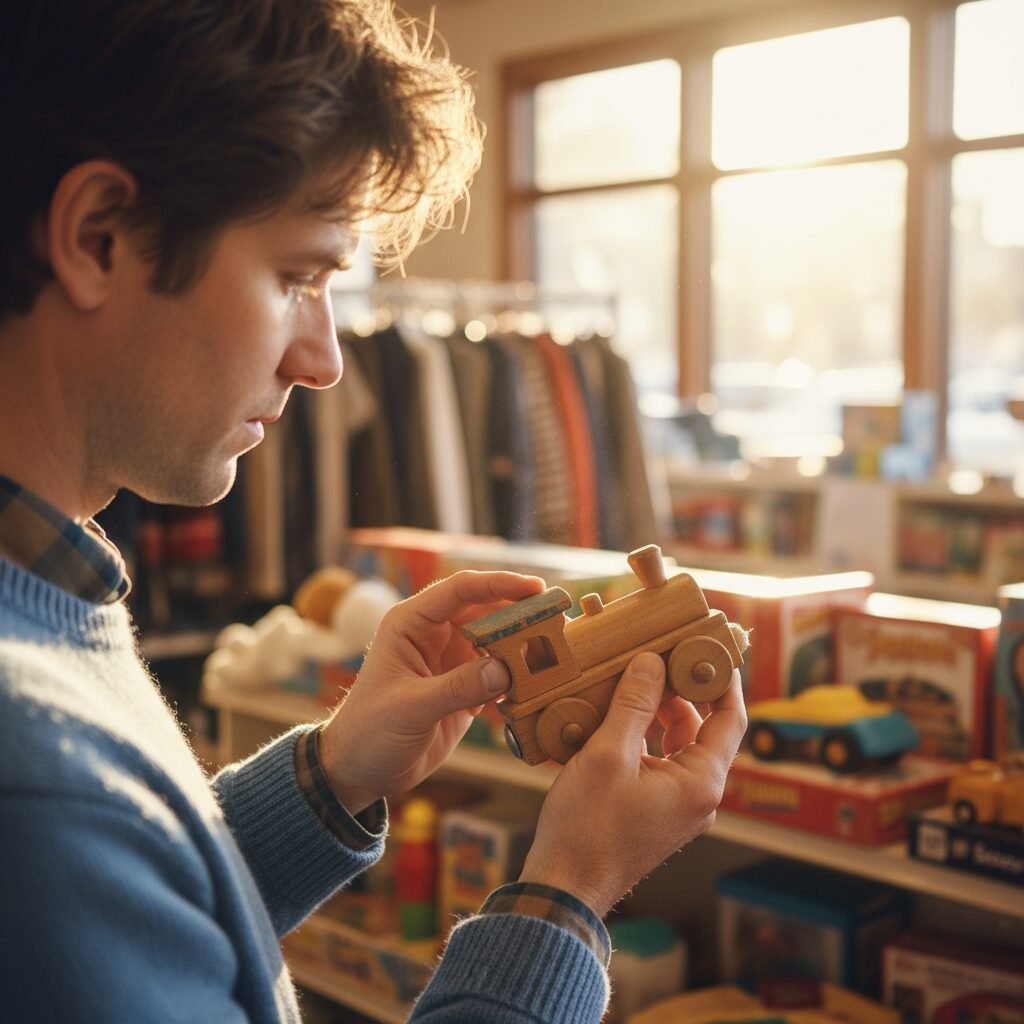
Your mission for clean toys actually starts in the store aisle, before you even head to the checkout. A quick inspection can save you time and help you avoid toys that aren’t worth the cleaning effort or might pose a safety risk. Think of yourself as a toy detective!
What to Look For:
- Structural Integrity: Check for any cracks, chips, or broken pieces. Run your hand over the toy to feel for sharp edges that could scratch your baby. For wooden toys, look for splinters.
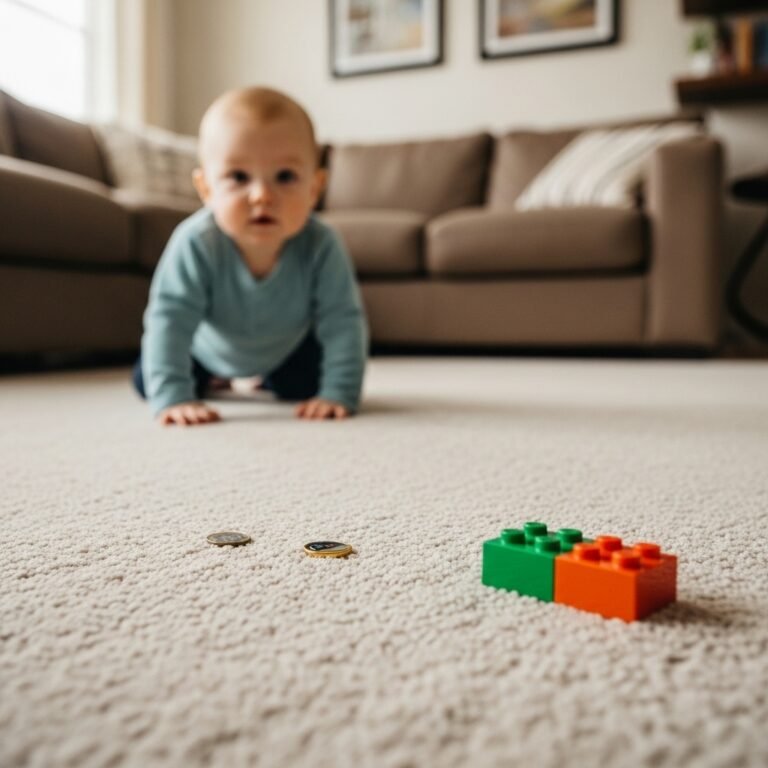
- Choking Hazards: Does the toy have small parts that could easily break off? Things like button eyes on stuffed animals, small wheels on cars, or little accessories. The general rule is if a part can fit through a toilet paper tube, it’s a choking hazard for a child under three.
- Paint Condition: Be extra cautious with older, painted toys. Chipping or peeling paint is a red flag, especially on toys made before 2011, as they could contain lead. When in doubt, it’s best to leave it behind.
- Battery Compartments: If it’s an electronic toy, open the battery compartment. You’re looking for any signs of rust or corrosion from old, leaky batteries. This can be difficult to clean and may mean the toy no longer works.
- The Sniff Test: Don’t be shy! Give the toy a good sniff. A strong smell of mildew, mold, or cigarette smoke can be very difficult to remove completely. It’s usually best to pass on stinky items.
A Quick Tip: Keep a small toilet paper tube or a choke-test tool in your bag when you go thrifting. It makes checking for small parts quick and easy!
Here’s a handy checklist you can pull up on your phone while you’re shopping:
| Safety Check | What to Look For |
|---|---|
| Cracks & Breaks | Any visible damage, sharp edges, or splinters. |
| Small Parts | Anything that could detach and become a choking hazard. |
| Paint | Peeling, chipping, or cracking paint, especially on vintage toys. |
| Electronics | Rust or corrosion in the battery compartment. |
| Smell | Strong odors like mildew, mold, or smoke. |
The Great Toy Sort: Prepping for the Deep Clean
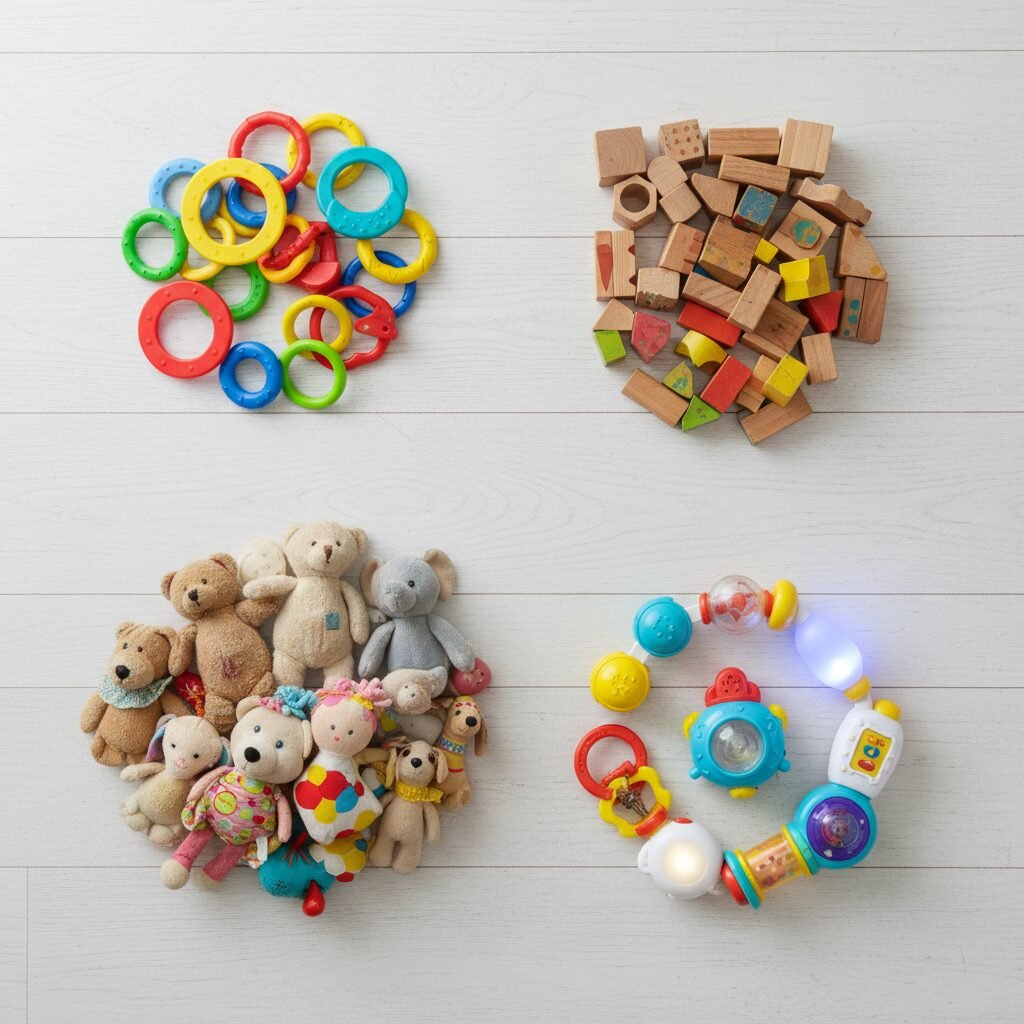
Okay, you’re home with your amazing thrift store haul! Congratulations! Before we get to the suds, the first step is to sort everything into categories. Different materials require different cleaning methods to get them sanitized without causing damage. This little bit of prep work makes the whole process so much smoother.
Grab a few laundry baskets or just clear some space on the floor and divide your treasures into these four main groups:
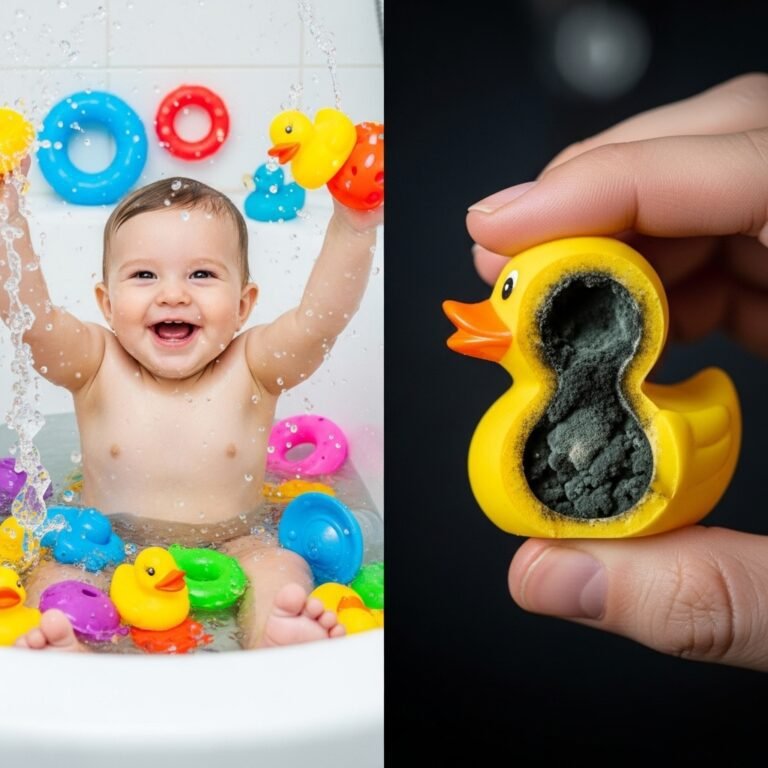
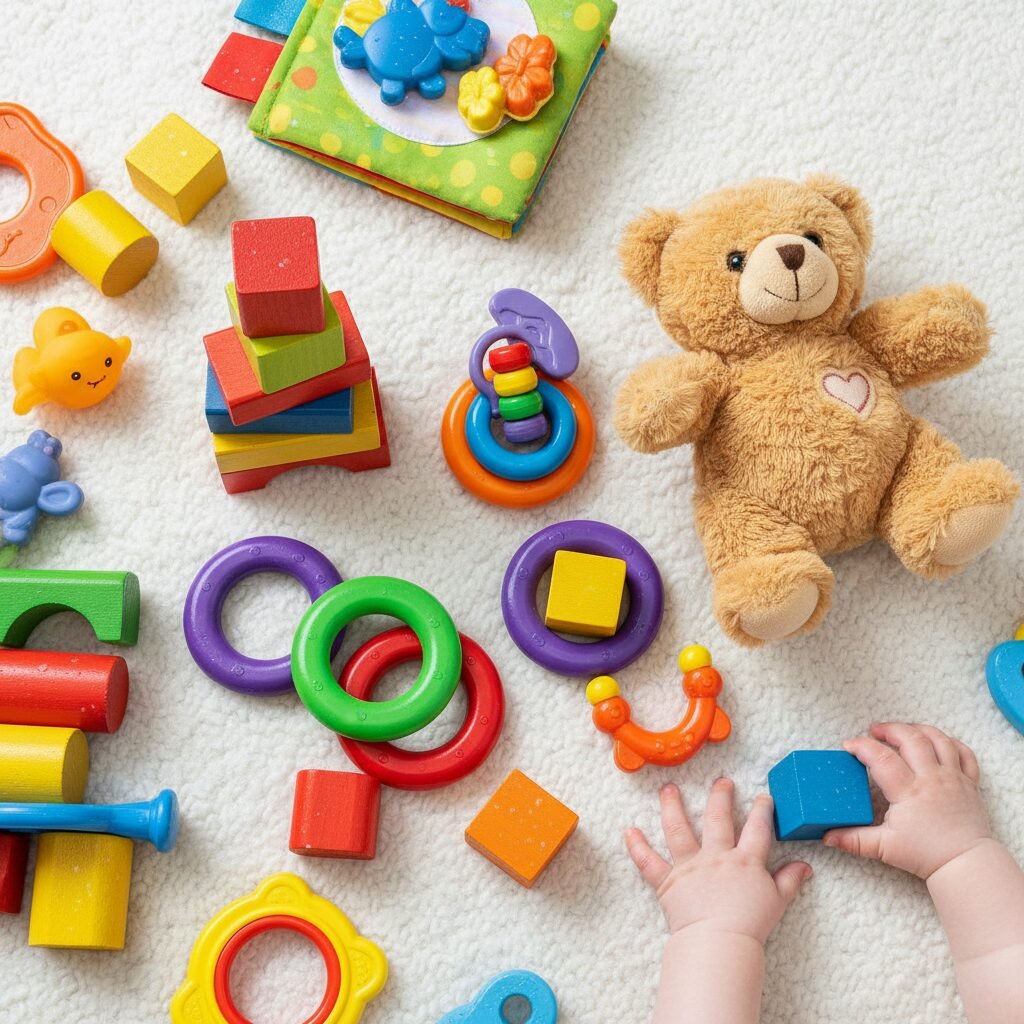
- Hard Plastic & Solid Rubber Toys: This is usually the biggest pile! It includes things like stacking rings, plastic blocks, bath toys, and any solid toy that doesn’t have batteries or fabric parts.
- Wooden Toys: This category is for all your classic wooden blocks, puzzles, and pull-toys. Wood is porous, so it needs special care.
- Plush & Fabric Toys: All the soft and cuddly items go here. Think stuffed animals, fabric books, dolls, and play mats.
- Electronic & Battery-Operated Toys: This group includes anything that lights up, makes noise, or moves. These require a ‘no-soak’ approach to protect their inner workings.
Safety First! Before you start sorting, take a moment to remove any and all batteries from the electronic toys. This prevents any accidental water damage and is an important safety step.
Once you have your piles, you’re ready to tackle them one by one. It’s much less overwhelming when you can focus on one type of cleaning at a time. Let’s get to it!
Your Step-by-Step Cleaning Playbook
This is where the magic happens! We’re going to banish those germs and make these toys sparkle. Remember to use cleaning solutions that are safe for your baby. While there are many ‘baby-safe’ commercial cleaners, simple solutions of soap and water, vinegar, or a heavily diluted bleach solution (when rinsed thoroughly) are incredibly effective.
For Hard Plastic & Rubber Toys (Non-Electronic)
These are often the easiest to clean. You have two great options:
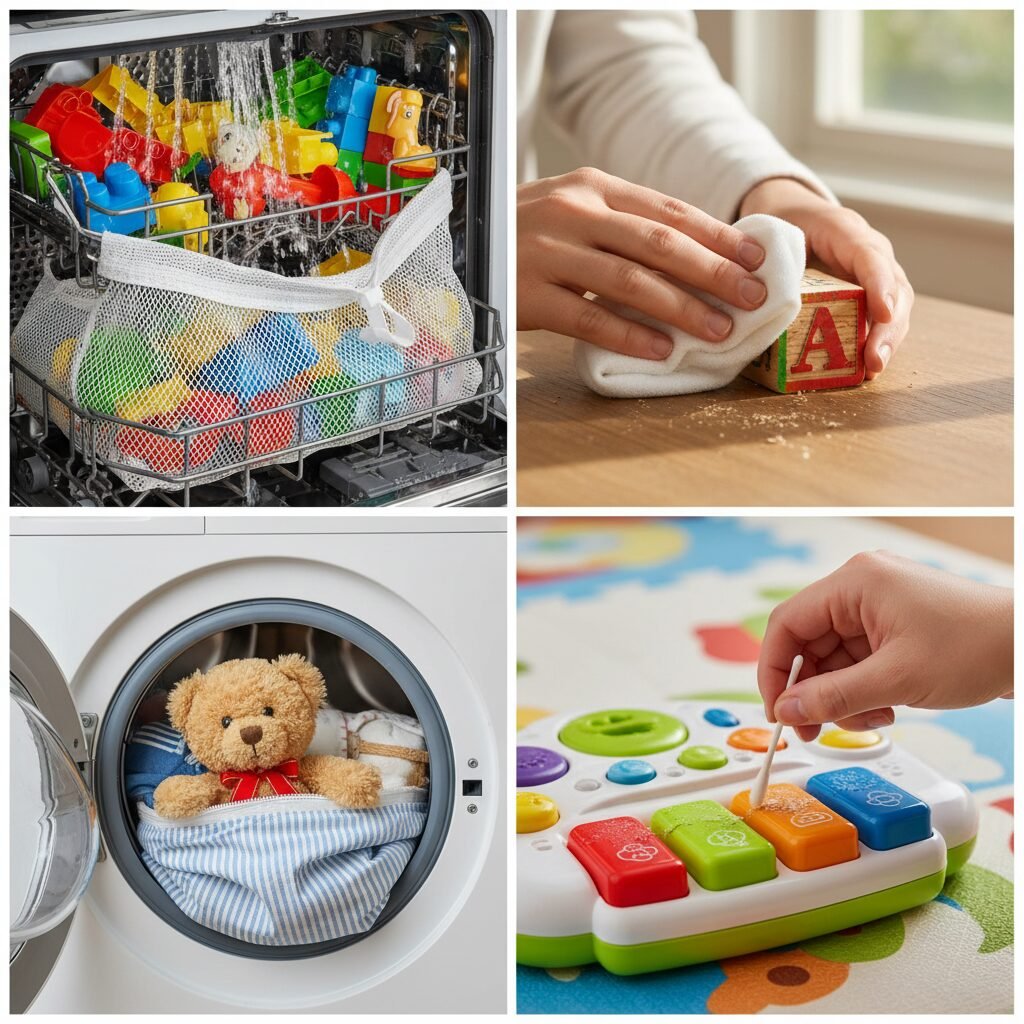
- The Dishwasher Method: For smaller, dishwasher-safe toys, place them in a mesh laundry bag or a dishwasher basket on the top rack. Run a hot water cycle with your regular detergent. The heat and steam do a fantastic job of sanitizing.
- The Hand-Washing Method: Fill a sink or basin with hot water and a squirt of dish soap. Let the toys soak for a few minutes, then use a clean brush (a baby bottle brush works wonders!) to scrub all the nooks and crannies. To disinfect, you can prepare a second basin with a sanitizing solution. A great option is a solution of one tablespoon of unscented household bleach per one gallon of water. Let the toys soak for 5 minutes, then rinse them extremely well with clean water. Alternatively, a solution of equal parts white vinegar and water works as a natural disinfectant.
For Wooden Toys
Wood is naturally antimicrobial, but it doesn’t like to be soaked! Submerging wooden toys can cause them to swell, warp, and crack.
- The Wipe-Down Method: Create a cleaning solution of equal parts white vinegar and water in a spray bottle or bowl. Lightly dampen a clean cloth with the solution—do not saturate it. Thoroughly wipe down the entire surface of each wooden toy. The vinegar will clean and disinfect without damaging the wood. Let the toys air dry completely, preferably in the sun.
For Plush & Fabric Toys
Most soft toys can be cleaned just like clothing.
- The Washing Machine Method: Check the tag first, but most stuffed animals and fabric books can go in the washing machine. To protect them, place them inside a mesh laundry bag or a zippered pillowcase. Wash on a gentle cycle using a baby-safe, fragrance-free detergent. You can use warm or hot water for better sanitizing if the fabric can handle it.
- Drying: You can either tumble dry on a low heat setting (the heat helps kill any remaining germs) or hang them to air dry. Placing them in direct sunlight is another fantastic, natural way to sanitize.
For Electronic & Battery-Operated Toys
This group requires a careful, water-free approach.
- The Surface-Wipe Method: Never, ever submerge an electronic toy in water. Instead, use a disinfecting wipe or a cloth lightly dampened with a solution of rubbing alcohol or your vinegar/water mix. Wring the cloth out well so it’s not dripping. Carefully wipe down the entire plastic surface, paying close attention to buttons and crevices where grime can hide. Use a cotton swab to get into tight spots. Let it air dry completely before putting batteries back in.
Here’s a quick summary to help you remember:
| Toy Type | Best Cleaning Method | Key Tip |
|---|---|---|
| Hard Plastic / Rubber | Dishwasher (top rack) or hand-wash with hot, soapy water. | Can be sanitized with a diluted bleach or vinegar soak. Rinse thoroughly! |
| Wooden | Wipe down with a damp cloth and a 1:1 vinegar/water solution. | Do not soak! Air dry completely. |
| Plush / Fabric | Machine wash on gentle cycle in a mesh bag. | Use a baby-safe detergent. Sun drying adds extra sanitizing power. |
| Electronic | Wipe surface with a disinfecting wipe or lightly dampened cloth. | Never submerge. Remove batteries first. |
The Final Touches: Drying, Storing, and Peace of Mind
You’re on the home stretch! The washing is done, and now it’s time to ensure everything is perfectly dry and ready for playtime. Improper drying can lead to mildew or mold, which undoes all your hard work.
The Power of the Sun
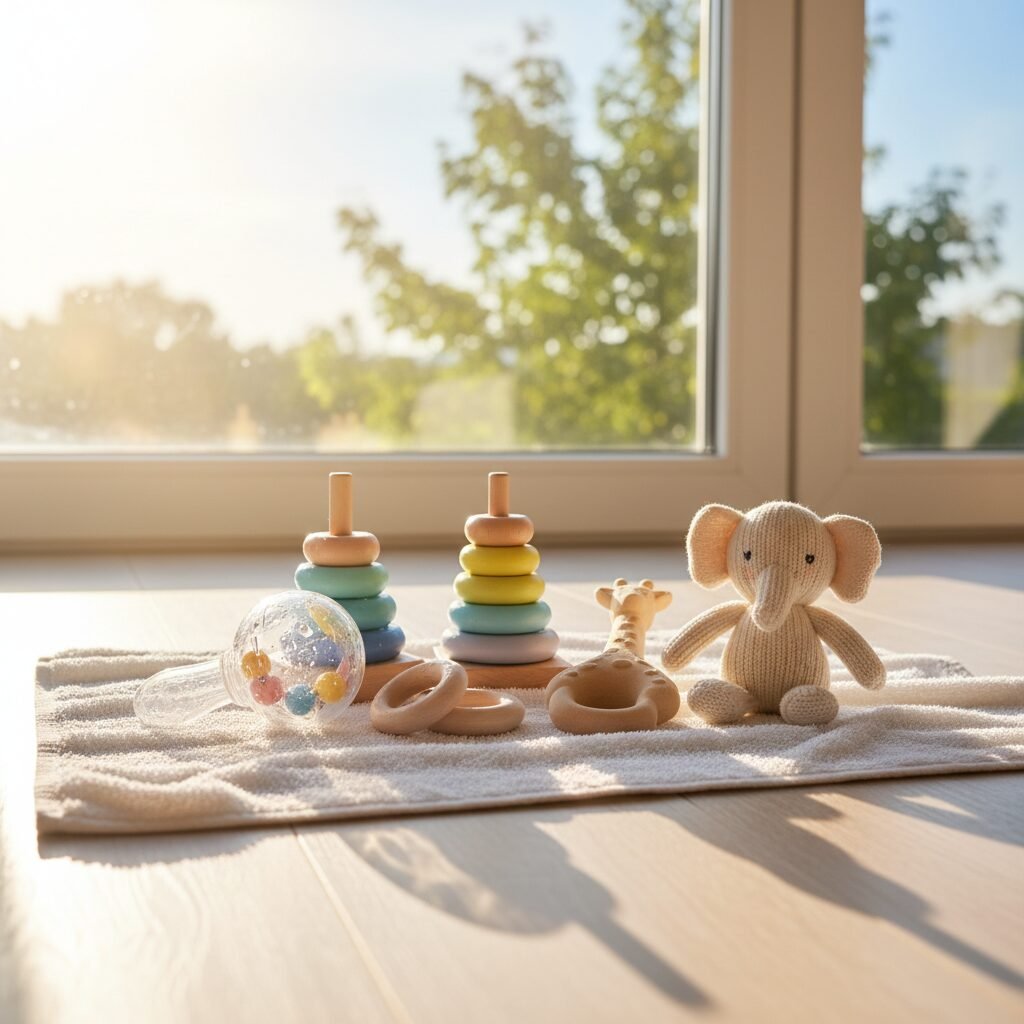
Whenever possible, let your toys air dry in a sunny spot. The sun’s ultraviolet rays are a natural sanitizer and can help kill any lingering bacteria. Lay plastic, rubber, and wooden toys on a clean towel or a drying rack. You can also hang mesh bags of toys on a clothesline.
A Gentle Warning: Be mindful that very bright, direct sun can sometimes cause the colors on painted or plastic toys to fade over time. A few hours is usually plenty!
Other Drying Methods
- Towel Drying: For a quicker result, you can hand dry toys with a clean, lint-free towel.
- Low-Heat Dryer: For plush toys, as mentioned, a trip through the dryer on a low or no-heat setting can fluff them up and ensure they are dry all the way through to the stuffing.
- Good Ventilation: If you’re drying indoors, make sure there’s good air circulation. You can place toys on a drying rack near an open window or a fan.
The Final Inspection
Once every single toy is bone-dry, give them one last look. Make sure no new cracks appeared during cleaning and that everything still looks safe and sound. Now comes the best part: presenting these wonderfully clean, ‘new-to-you’ toys to your little one!
Storing Your Clean Toys
Keep your freshly cleaned toys clean by storing them in a clean place. A dedicated toy box, canvas bin, or shelving unit works perfectly. It feels so good to know that your baby’s play space is filled with fun, engaging, and—most importantly—safe toys that you thoughtfully prepared just for them.
Conclusion
See? You did it! That pile of thrift store question marks has been transformed into a treasure trove of safe, clean fun for your baby. By taking the time to inspect, sort, and clean your second-hand finds, you’ve not only saved money and made an eco-friendly choice, but you’ve also created a healthy environment for your child to learn and play.
Remember, being a parent isn’t about having all the newest, most expensive things. It’s about love, care, and resourcefulness—and you’ve just shown you have all of that in spades. So go ahead and enjoy watching your little one delight in their ‘new’ toys. You can rest easy knowing they are perfectly clean and safe, all thanks to your thoughtful effort. Happy playing!