The Stress-Free Guide to Prepping and Labeling Formula for Daycare
That first daycare drop-off is a whirlwind of emotions, isn’t it? You’ve packed the tiny diapers, the extra set of clothes, and their favorite lovey. But then comes the feeding plan, and suddenly, a million questions pop into your head. Am I doing this right? Is it safe? What if they mix up the bottles? Take a deep breath, you’re doing great. As a pediatric nurse and lactation consultant who has supported thousands of new parents, I can tell you that you are not alone in this worry. The good news is that preparing formula for daycare doesn’t have to be a source of stress. With a little planning and a solid routine, it can become a simple, seamless part of your morning. This guide will walk you through every single step, from communicating with your childcare provider to packing the perfect bottle bag. Let’s get you and your little one set up for success!
First Things First: Partnering with Your Daycare

First Things First: Partnering with Your Daycare
Before you buy a single label or measure a single scoop of powder, your first and most important step is to have a conversation with your daycare director or your child’s primary caregiver. Every facility has its own set of rules and preferences, often based on state licensing requirements and their own workflow. Thinking of them as your partner in your baby’s care will make everything smoother. When you’re on the same page, you can rest easy knowing your baby’s nutritional needs are being met safely and consistently.
Your Daycare Communication Checklist:
Schedule a quick chat and have these questions ready. Jotting down the answers will help you build your new routine.
- Formula Prep Policy: Do you prefer parents to send pre-mixed bottles, or do you require water and powder to be sent separately for mixing on-site? This is the most critical question and will dictate your entire process.
- Labeling Requirements: How, specifically, do you need the bottles to be labeled? Most will require your baby’s full name and the date. Some may also ask for the time of preparation or the number of ounces.
- Storage & Warming: Do you have a designated refrigerator for bottles? What is your procedure for warming a bottle before feeding?
- Water Supply: Do parents need to provide their own water for mixing? If so, is there a preferred type (e.g., nursery water, distilled, purified)?
- Leftover Formula: What is your policy on partially finished bottles? For safety, most daycares are required to discard any formula one hour after a feeding begins. This is standard and safe practice!
A Friendly Tip: Frame this conversation as a partnership. Saying something like, “I want to make feeding time as easy and safe as possible for you and my baby. Could you walk me through your ideal formula prep and labeling process?” goes a long way in building a great relationship with your caregivers.
To Mix or Not to Mix? Choosing Your Prep Method
To Mix or Not to Mix? Choosing Your Prep Method
Once you know your daycare’s preference, you’ll generally fall into one of two camps: sending bottles ready-to-drink or sending the components to be mixed just before feeding. Both are perfectly safe and effective when done correctly. Let’s break down the pros and cons of each so you can feel confident in your choice.
Method 1: Sending Pre-Mixed Bottles (The Grab-and-Go)
This involves preparing all of your baby’s bottles for the day at home, usually the night before or in the morning. You’ll mix the powder and water, seal the bottles, and keep them refrigerated until you leave the house.
- Pros: It’s incredibly convenient for daycare providers. They can just grab a bottle, warm it, and feed. This can mean a happier, less fussy baby who gets their meal faster.
- Cons: This method requires strict temperature control. The bottles must stay cold (below 40°F / 4°C) during transport and be placed in a refrigerator immediately upon arrival. Prepared formula is only good for 24 hours from the time of mixing.
Method 2: Sending Powder & Water Separately (The Fresh Mix)
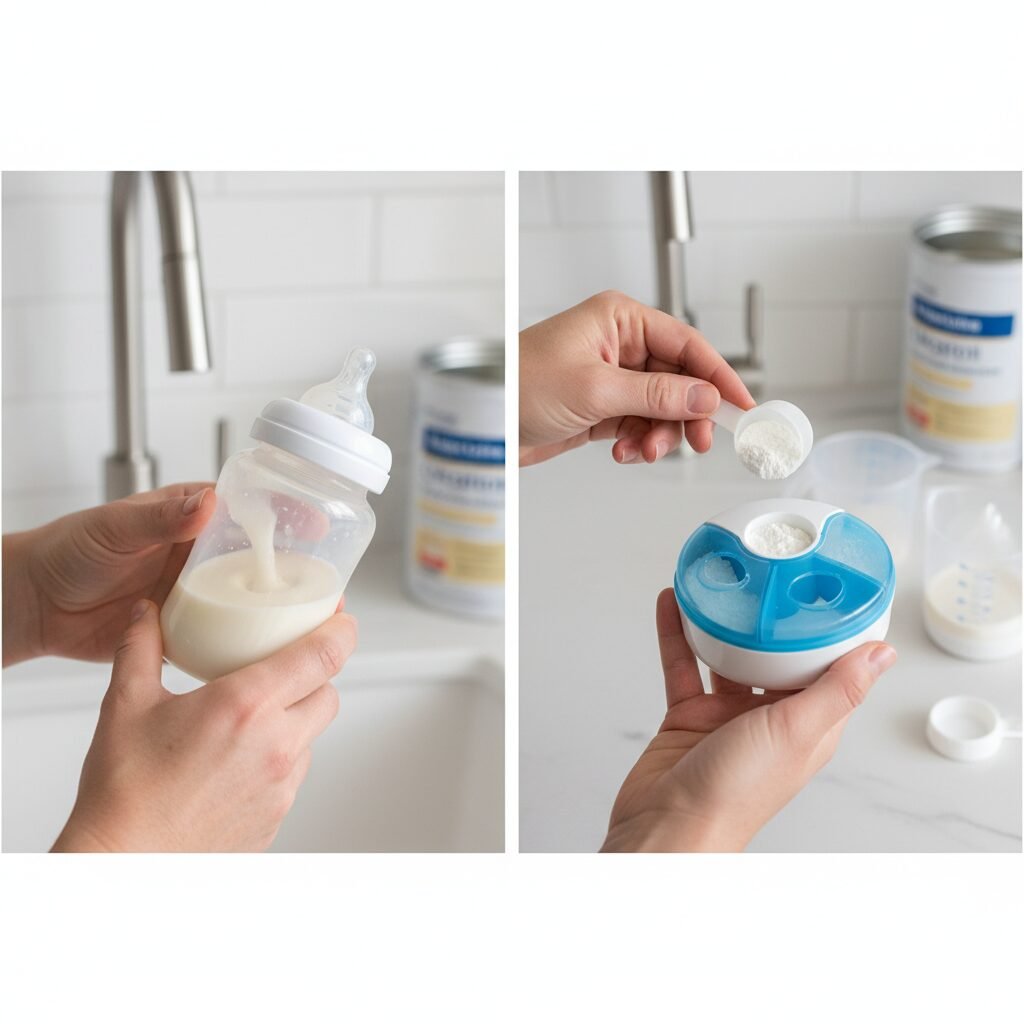
With this method, you pre-measure the correct amount of formula powder into each individual clean, dry bottle or into a compartmentalized formula dispenser. You’ll also send a separate, large, labeled bottle of the water you use at home.
- Pros: This is the safest method from a spoilage perspective. There’s no risk of bacteria growing during your commute. The formula is mixed fresh for every feeding.
- Cons: It places an extra step on the caregivers, who have to combine the water and powder. While they are pros, it introduces a small potential for error (which is minimized by your perfect pre-measuring!).
| Feature | Pre-Mixed Bottles | Powder & Water Separate |
|---|---|---|
| Convenience for Daycare | High | Lower |
| Spoilage Safety | Requires constant refrigeration | Extremely low risk |
| Formula Freshness | Good (good for 24 hours if refrigerated) | Excellent (mixed just before feeding) |
| Parent Prep Routine | Batch prep bottles all at once | Measure powder, send separate water |
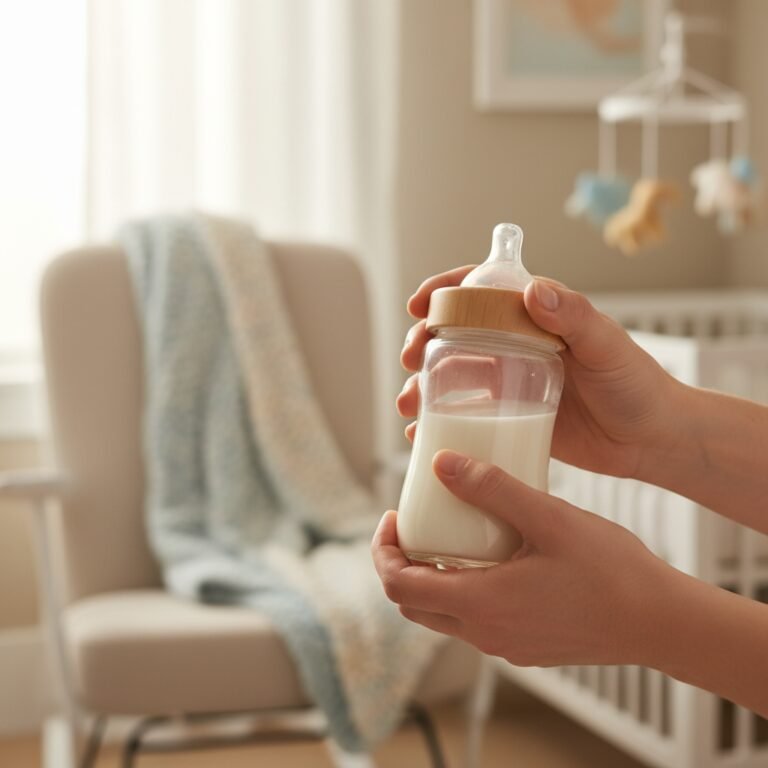
Your Step-by-Step Formula Prep Station
Your Step-by-Step Formula Prep Station
Alright, you’ve spoken with daycare and chosen your method. Now it’s time to get hands-on. Think of this like setting up a little command center. Having everything in one place and following the same steps every time will make the process fast, efficient, and, most importantly, safe for your baby.
-
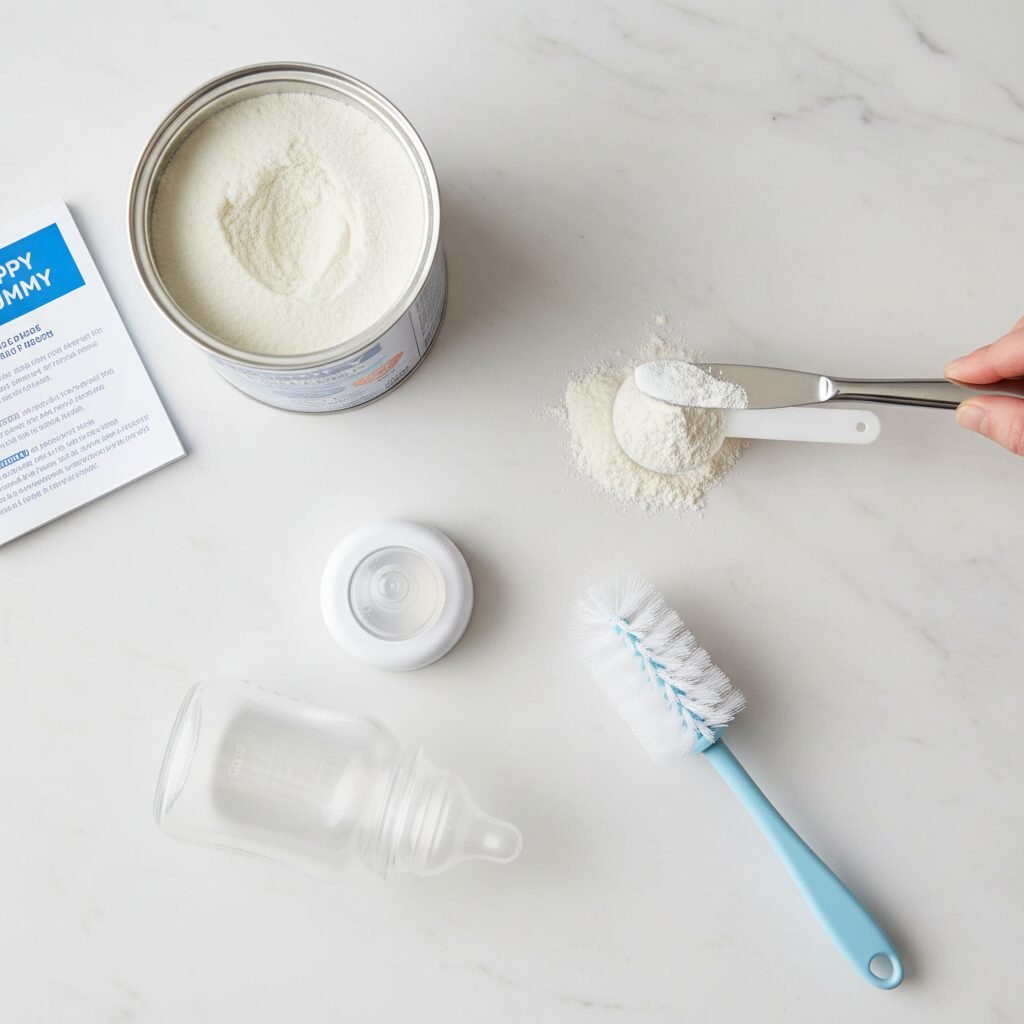
Step 1: Create a Sanitary Workspace
Start by washing your hands thoroughly with soap and water. Then, ensure your counter space is clean. All your equipment—bottles, nipples, rings, caps, and any measuring tools—should be washed in hot, soapy water (or run through the dishwasher) and completely dry before you begin.
-
Step 2: Measure with Precision
This is the most critical step for your baby’s nutrition. Always use the scoop that came with your specific can of formula. Do not use a scoop from a different brand or type. Fill the scoop and level it off with a clean, straight edge, like the back of a butter knife. Do not pack the powder down. A level, unpacked scoop is a perfect scoop.
Safety Warning: Never, ever add extra water to “stretch” formula. Diluting formula can lead to a dangerous imbalance of electrolytes and deprive your baby of the essential calories and nutrients they need to grow. Always follow the ratio of water-to-powder listed on the formula can’s instructions.
-
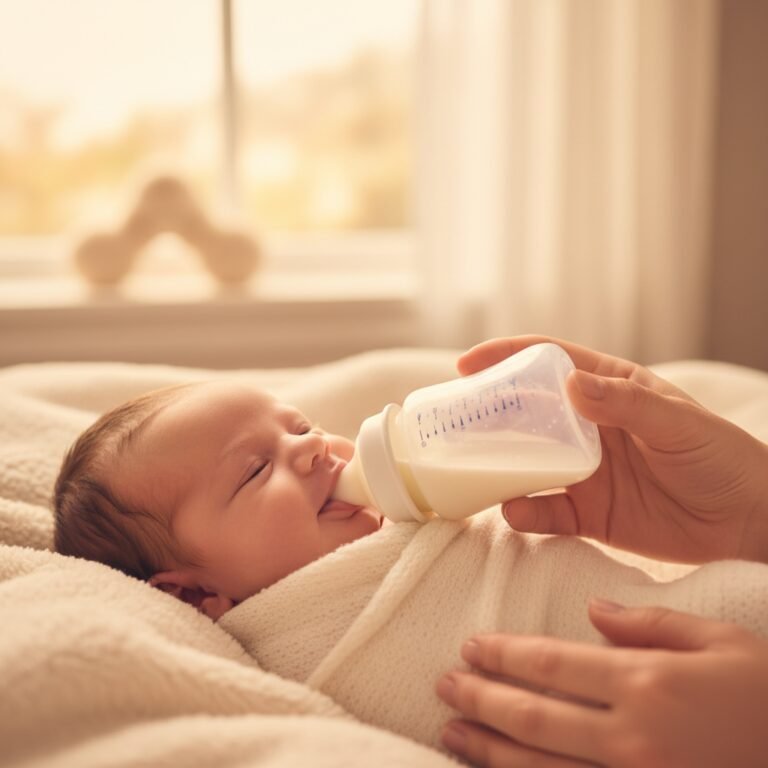
Step 3: The Mixing Process
If you’re pre-mixing bottles, add the measured water to the bottle first, then add the leveled scoops of powder. This ensures a more accurate measurement. Cap the bottle and shake or swirl it until the powder is completely dissolved. Immediately place the prepared bottles in the back of the refrigerator where it’s coldest.
If you’re sending powder and water separately, simply add the pre-measured, leveled scoops of powder into a clean, completely dry bottle. Cap it tightly. Prepare your separate water bottle for the daycare to use for mixing.
Labeling Like a Pro: Making Sure Your Baby Gets the Right Bottle
Labeling Like a Pro: Making Sure Your Baby Gets the Right Bottle
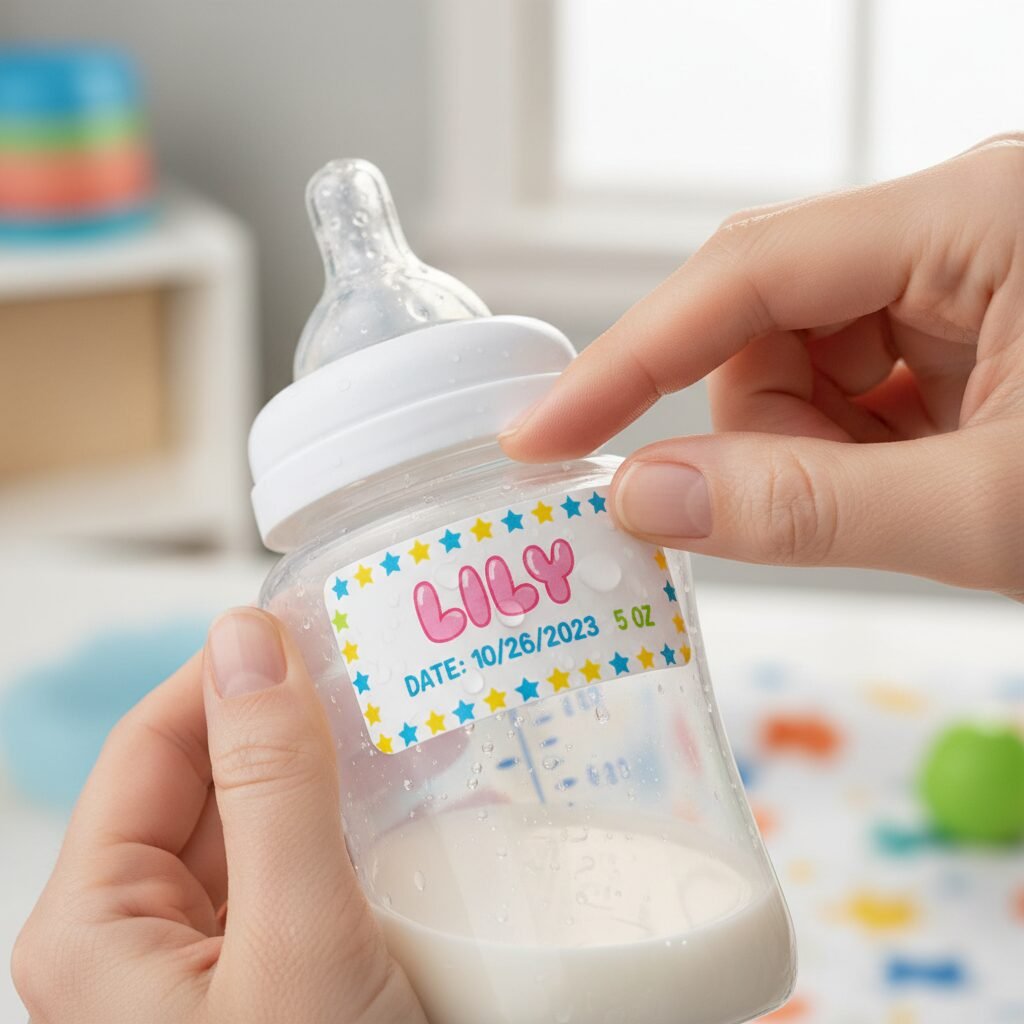
In a room full of babies and bottles, clear and durable labels are a non-negotiable safety measure. A great label prevents mix-ups and gives your caregivers the exact information they need at a glance. Fumbling with a smeared or fallen-off label is the last thing a caregiver with a hungry baby wants to do!
What to Include on Every Single Label:
- Your Baby’s Full Name: First and last name to avoid any confusion with other children.
- The Date: The date the bottle was prepared. This is crucial for tracking the 24-hour rule for pre-mixed formula.
- Contents & Amount: For example, “4 oz Breastmilk” or “5 oz Formula.” Even if you only use one type, it’s a great habit.
Battle-Tested Labeling Methods:
Bottles go through a lot—condensation, warming, and handling. You need a label that can withstand it all.
| Labeling Method | Pros | Cons |
|---|---|---|
| Waterproof Daycare Labels | Specifically designed for this purpose. They are durable, clear, and don’t smudge or peel off when wet. Many are customizable and cute! | They are a recurring cost. You’ll need to keep a supply on hand. |
| Silicone Bottle Bands | These are reusable, stretchy bands that fit around the bottle. You can write on them with a special marker or have them personalized. They are eco-friendly and easy to spot. | Higher initial investment. You need to wash them daily along with the bottles. |
| Masking or Painter’s Tape | A great, low-cost option. It sticks well even with condensation and is easy to write on with a sharpie. You can peel it off easily at the end of the day. | Not as durable as a waterproof label and you have to write it out fresh every day. |
A permanent marker directly on the bottle can work in a pinch, but it often rubs off during the day and can be tough to scrub off completely during washing.
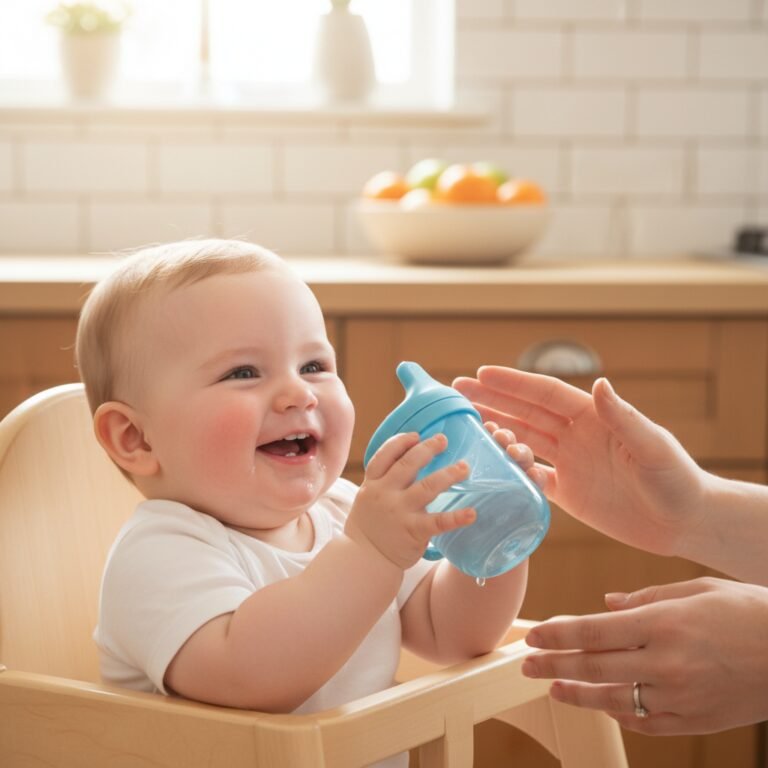
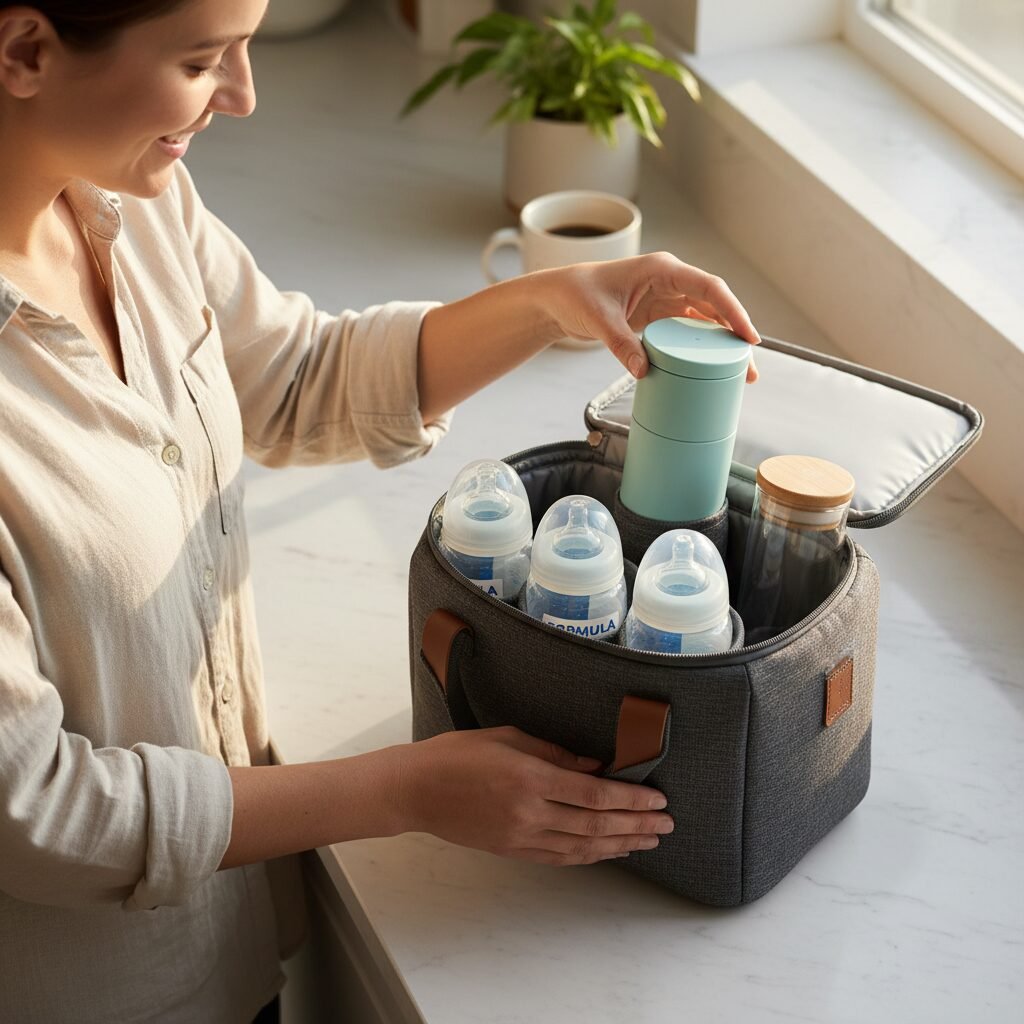
The Morning Dash: Packing and Transporting Bottles Safely
The Morning Dash: Packing and Transporting Bottles Safely
You’ve done all the prep work, and now it’s time to get out the door. Safely transporting the bottles is the final, crucial step to ensuring your baby has a happy and well-fed day.
Keep It Cool
For pre-mixed bottles, temperature control is everything. Bacteria can multiply rapidly in formula that is at room temperature. Pack the bottles in an insulated cooler bag with at least one solid, frozen ice pack. Don’t rely on the bag alone. The ice pack is essential for maintaining a safe temperature during your commute, especially on warmer days or if you have a few stops to make before drop-off.
The Golden Rule of Formula Safety: Once a feeding begins, the bottle must be used within one hour. It cannot be re-refrigerated or re-warmed. This is why caregivers will discard any leftover formula. It’s not wasteful; it’s safe!
Pack an Extra
Life with a baby is unpredictable! They might go through a growth spurt and be extra hungry, or a bottle might get accidentally spilled. It’s always a wise idea to pack one extra bottle’s worth of formula (either a whole pre-mixed bottle or one serving of pre-measured powder) than you think your baby will need for the day. Your future, less-stressed self will thank you.
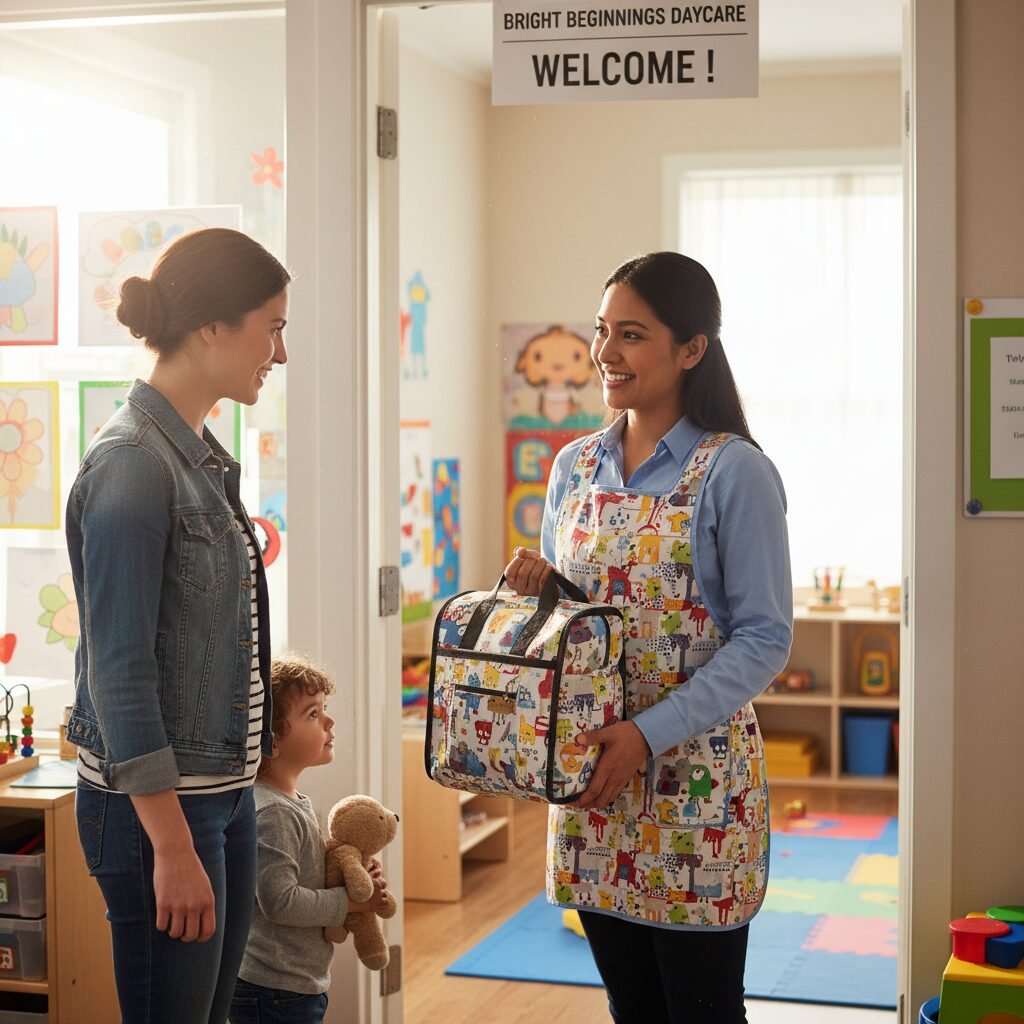
The Hand-Off
When you arrive at daycare, don’t just leave the bottle bag on a hook. Hand the cooler directly to a caregiver. This is a great time for a quick communication check-in: “Here are Leo’s five bottles for the day. They’re all ready to go!” This simple action ensures the bottles get into the refrigerator immediately and confirms the day’s feeding plan.
Conclusion
And there you have it! What might have seemed like a daunting task is really just a series of simple, manageable steps. By communicating clearly with your daycare, choosing the prep method that works for you, and establishing a consistent routine for prepping, labeling, and packing, you are taking amazing care of your baby. This will all become second nature faster than you can imagine, freeing up your mental energy to focus on what really matters: that happy reunion and all the snuggles at the end of the day. You are doing an incredible job. You’ve got this!