Terrified To Cut Baby Nails? The Hack That Prevents Bleeding Fingers
Take a deep breath. If the mere thought of bringing a sharp object near your baby’s precious, wriggly fingers sends a jolt of anxiety through you, I want you to know one thing: you are completely normal. As a pediatric nurse, I’ve seen more new parents confess their fear of the dreaded nail trim than almost any other baby care task. It feels like a high-stakes operation, and those tiny talons seem to grow at the speed of light!
Those paper-thin nails are surprisingly sharp, and a newborn who can’t yet control their movements can easily leave little red scratches on their own sweet face. So, trimming is a necessity, not a cosmetic choice. But why is it so hard? Baby nails are soft, flexible, and often seem fused to the delicate skin of the nail bed, making it incredibly easy to accidentally nick them.
But what if I told you there’s a simple, game-changing hack that can virtually eliminate the risk of bleeding fingers? Forget holding your breath and hoping for the best. In this guide, we’ll walk through everything you need to know to turn nail-trimming terror into a calm, confident, and even bonding experience. We’ll cover the right tools, the perfect timing, and the one technique that will change everything. Let’s do this together.
Why Are Baby Nails So Intimidating? (It’s Not Just You!)

Why Are Baby Nails So Intimidating? (It’s Not Just You!)
Before we dive into the ‘how,’ let’s talk about the ‘why.’ Understanding the unique nature of your baby’s nails can help demystify the process and validate your feelings of hesitation. It’s not a failure on your part; it’s a biological reality that makes this task tricky for everyone.
The Anatomy of a Newborn Nail
Unlike our own firm, thick nails, a newborn’s nails are incredibly soft and thin. They can feel more like stiff paper than a real nail. The biggest challenge, however, lies underneath. The area where the nail plate ends and the skin of the fingertip begins (called the hyponychium) is often very tightly attached in newborns. There’s very little separation between the free edge of the nail and the sensitive skin beneath. When you try to slip a clipper or scissor blade under the nail, it’s easy to catch a bit of that skin, which is rich with blood vessels. This is why even a tiny nick can bleed surprisingly much and cause you (and your baby) distress.
The Need for Speed
You’re not imagining it—your baby’s nails grow astonishingly fast. This is because cell turnover in infants is much quicker than in adults. You might trim them perfectly one day, only to find them sharp and scratch-worthy just a few days later. This relentless pace means you have to face the task frequently, which doesn’t give you much time to get over your fear from the last session. It can feel like a constant, stressful cycle. Remember, this is a sign of healthy, rapid growth, even if it feels like a grooming nightmare!
A Reassuring Thought: Every single parent has been where you are. Feeling nervous shows how much you care about your baby’s safety and well-being. This guide is here to replace that nervousness with confidence.
Your Toolkit for Tear-Free Trimming: Choosing the Right Gear
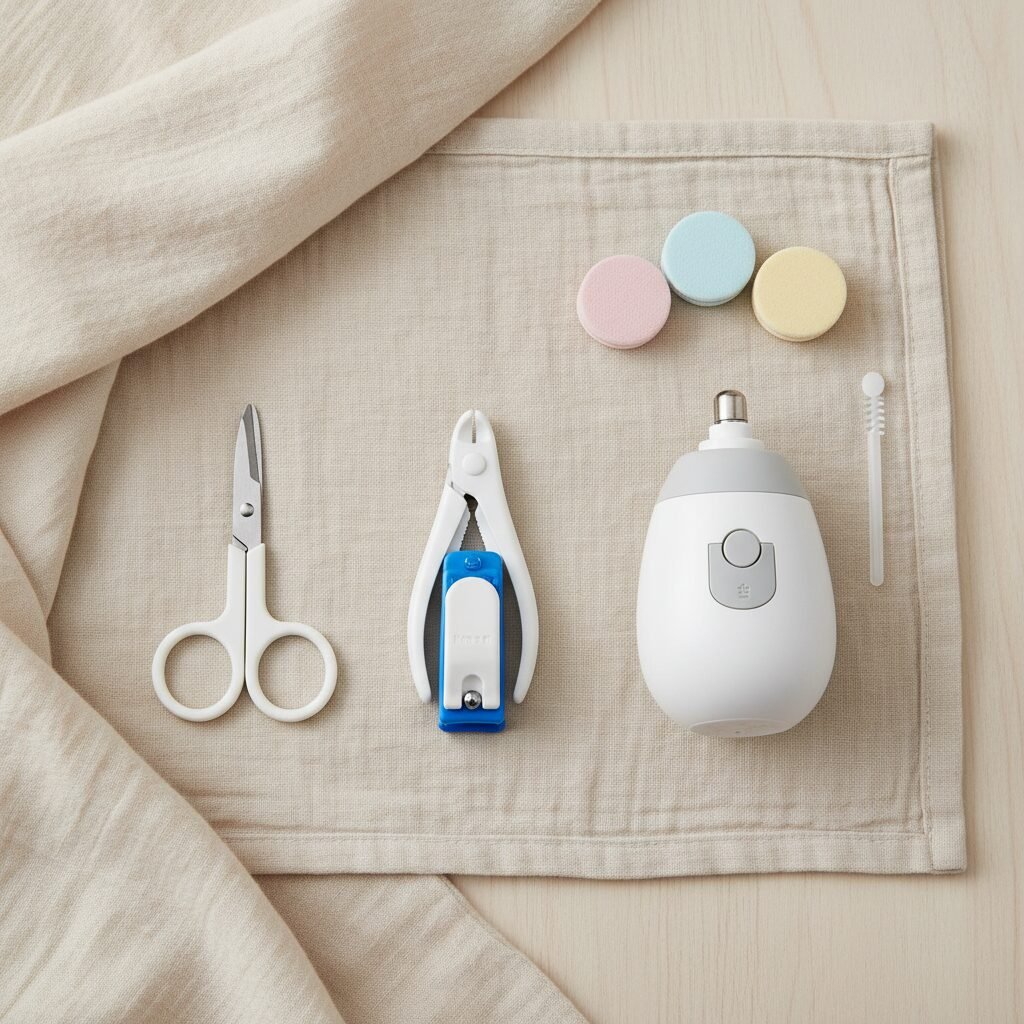
Your Toolkit for Tear-Free Trimming: Choosing the Right Gear
Walking into the baby aisle can be overwhelming. When it comes to nail care, you have a few options, and what works wonders for one parent might not be the right fit for another. Let’s break down the most common tools so you can choose your champion. The key is finding what makes you feel the most comfortable and in control.
Here’s a comparison of the top three contenders:
| Tool Type | Pros | Cons | Best For |
|---|---|---|---|
| Baby Nail Clippers |
|
|
Parents who are confident and want to get the job done quickly. Best used on a calm or sleeping baby. |
| Baby Nail Scissors |
|
|
Parents who want maximum visibility and control. Great for carefully trimming around the curve of the nail. |
| Electric Nail File/Trimmer |
|
|
Anxious parents who want the safest possible option. It’s the gold standard for preventing any cuts. |
Pro-Tip: Don’t Forget the Emery Board!
Regardless of which tool you use for the main trim, always have a soft baby emery board on hand. After clipping or cutting, there can be tiny sharp edges left behind. A quick, gentle file in one direction (not back and forth) will smooth everything out, leaving a snag-free finish that won’t scratch your baby’s delicate skin.
The Game-Changing Hack: The ‘Push and Clip’ Method Explained
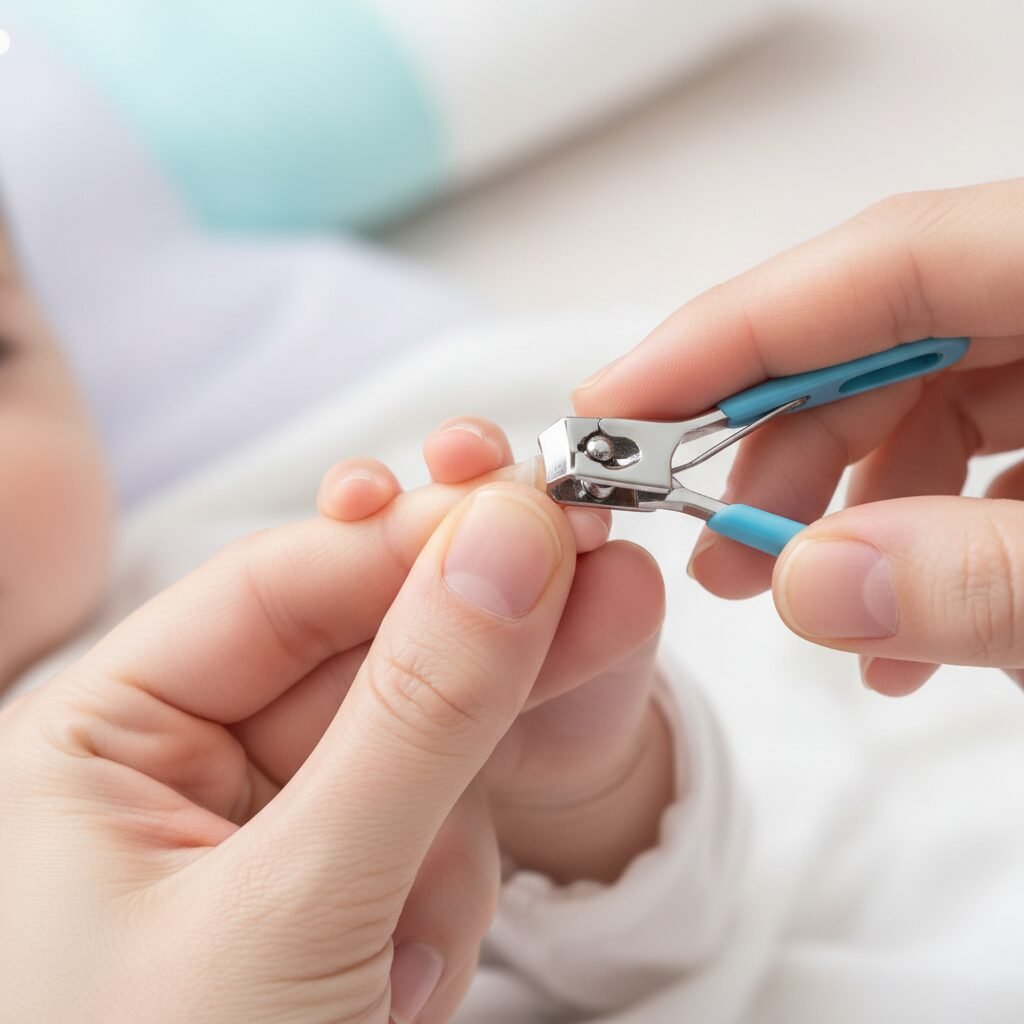
The Game-Changing Hack: The ‘Push and Clip’ Method Explained
Alright, this is the moment you’ve been waiting for. This is the technique I’ve taught to hundreds of nervous parents, and it works like a charm. It’s not about a fancy new gadget; it’s about a simple, manual trick that creates a safe buffer between the nail and the skin. I call it the ‘Push and Clip’ method.
The entire goal is to manually separate the fingertip pad from the nail plate right before you trim. This gives you a clear, skin-free edge to work with, dramatically reducing the chance of an accidental nick. Ready? Let’s go through it step-by-step.
- Get into Position: Find a comfortable, well-lit spot. Sit with your baby in your lap, facing away from you, or have them lie down on a changing pad. If they are in your lap, you can gently cradle their body with one arm, using that same hand to steady their hand. You need one hand to hold the baby’s hand and the other to operate the tool.
- Take a Single Finger: Don’t think about all ten fingers at once. Focus on one at a time. Hold their tiny finger firmly but gently between your thumb and index finger.
- The ‘Push’: This is the magic step. Use the pad of your thumb to press down and pull back the fleshy part of your baby’s fingertip, moving it away from the edge of the nail. You will physically see the white part of the nail separate from the skin underneath, creating a visible, safe gap.
- The ‘Clip’ (or ‘Snip’ or ‘File’): While holding the fingertip pad down, bring your chosen tool (clippers or scissors) to the nail. Because you’ve created that separation, you can now clearly see the nail edge and can confidently clip the white part without touching any skin. If using an electric file, this method still helps by giving you a clearer, more stable surface to file against.
- Follow the Curve: Trim fingernails by following the natural curve of the finger. For toenails, it’s best to cut them straight across to help prevent ingrown nails later on.
- Smooth the Edges: After the trim, use that soft emery board to gently file away any sharp points.
- Breathe and Praise: You did it! Give your baby a little kiss and a cuddle. Even if they’re asleep, positive energy is always good. Move on to the next finger when you’re ready.
Safety First! Never, ever try to bite your baby’s nails. Your mouth contains a lot of bacteria that can cause a nasty infection if you accidentally break the skin. Stick to clean, sterilized tools designed for babies.
Timing is Everything: The Best Times to Tackle Those Talons

Timing is Everything: The Best Times to Tackle Those Talons
A huge part of a successful nail trim is choosing the right moment. Trying to do this when your baby is hungry, tired, or in a wriggly mood is like trying to solve a puzzle during an earthquake. It’s setting yourself up for failure and stress. Instead, be strategic and work with your baby’s natural rhythms.
The ‘Ninja’ Method: While They Sleep
This is the holy grail of baby nail trimming. When your baby is in a deep sleep, they are relaxed, still, and completely unaware of what you’re doing. You can take your time, get the lighting just right, and work through each nail without any resistance. Many parents find the best time is about 30 minutes after they’ve fallen asleep for a nap or for the night.
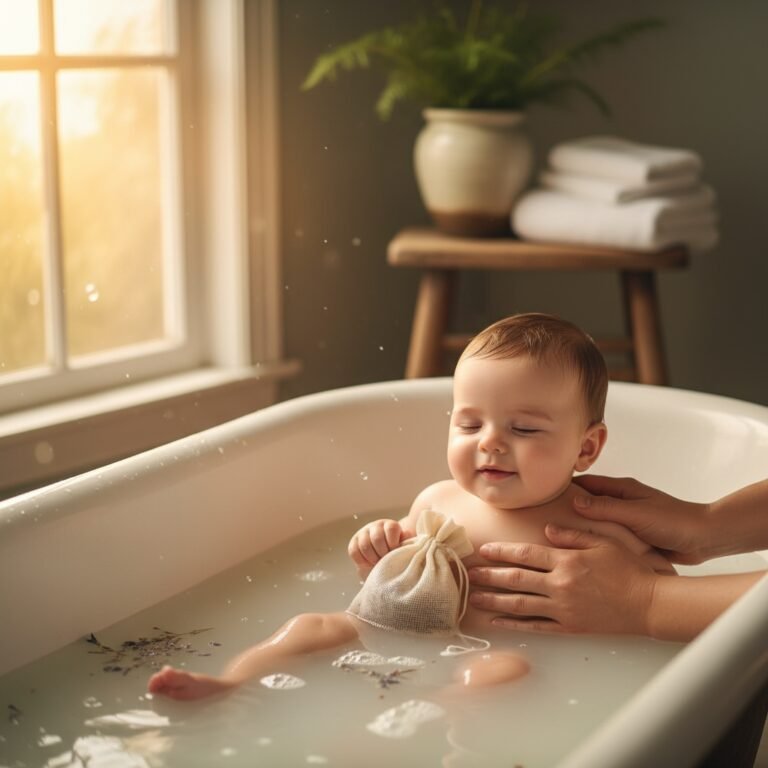
The Post-Bath Spa Treatment
A warm bath is wonderfully relaxing for a baby, and it has the added benefit of making their nails extra soft and pliable. This makes them much easier to cut or file. After you’ve dried them off and they’re bundled in a towel, feeling calm and content, is a perfect window of opportunity for a quick and easy trim.
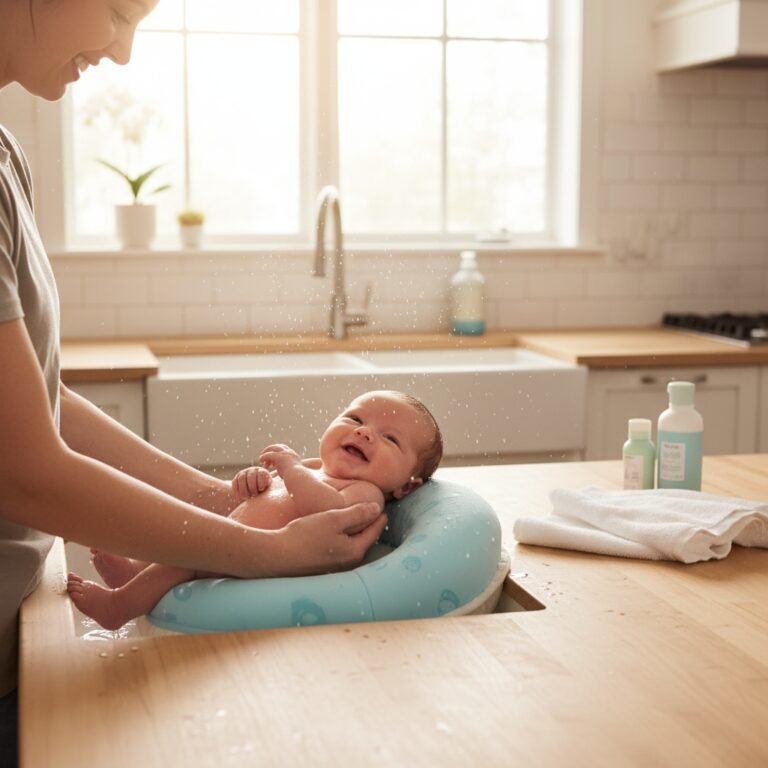
The Distraction Technique: During a Feed
For some babies, the ultimate distraction is a full tummy in progress. If you are bottle-feeding, you might be able to prop the bottle and trim with your free hand. If you are breastfeeding, this is a great time to enlist a partner. While you focus on feeding and keeping the baby happy and latched, your partner can quietly and gently work on the nails of the free hand. This teamwork can make the process go much more smoothly.
Make it Routine
Whatever time you choose, try to be consistent. Turn it into a calm, quiet moment. Sing a soft song or talk to your baby in a soothing voice. If you are calm and confident, your baby is much more likely to pick up on those cues and remain relaxed. Don’t treat it like a scary medical procedure; frame it as just another part of your gentle care routine, like getting dressed or having a bath.
Oops, I Nicked the Skin! A Calm Guide to First Aid

Oops, I Nicked the Skin! A Calm Guide to First Aid
Let’s be realistic. Even with the best tools, perfect timing, and the ‘Push and Clip’ hack, accidents can happen. You might be tired, the baby might jerk unexpectedly… it happens. And I can promise you, it has happened to almost every parent on the planet. The most important thing is not to panic. Your calm reaction is what your baby needs most.
If you do cause a small nick, here’s exactly what to do:
- Don’t Panic: Your baby will likely cry more in reaction to your startled response than from the actual pain, which is usually minimal. Take a deep, calming breath. You are not a bad parent. This is a tiny setback, not a catastrophe.
- Apply Gentle Pressure: Take a clean, soft cloth, a sterile piece of gauze, or a tissue and press it firmly but gently against the cut. Hold it there for a minute or two. Fingertips have a rich blood supply, so it might look like a lot of blood, but the pressure will usually stop the bleeding very quickly.
- Clean the Area: Once the bleeding has stopped, you can rinse the area with cool water. You don’t need to use soap or antiseptics, as these can be irritating. Just a simple water rinse is fine. Gently pat it dry.
- Skip the Bandage: This is critical. Do not put a bandage or a liquid bandage on a baby’s finger. It can easily come off and become a serious choking hazard. Babies are constantly putting their hands in their mouths, making this a significant risk. The cut is small and will heal very quickly on its own in the open air.
Important Safety Warning: Never use an adult-sized bandage on an infant’s finger. They are a major choking risk. The wound is superficial and will heal best when kept clean, dry, and exposed to the air.
Once you’ve administered first aid, give your baby a huge cuddle. Offer a feed or a pacifier for comfort. And most importantly, offer yourself some grace. You were doing a necessary care task with love. Forgive yourself instantly and move on. You’ll be more confident for the next time, I promise.
Conclusion
You’ve made it! You now have a complete roadmap to conquer the challenge of trimming your baby’s nails. Let’s quickly recap the key to your success: it’s all about combining the right tool for your comfort level with the game-changing ‘Push and Clip’ technique. By creating that physical barrier between the nail and the skin, you are setting yourself up for a safe and successful trim every single time.
Remember to be patient with yourself and your baby. Choose a time when you are both calm and relaxed, whether that’s during a nap, after a bath, or with the help of a partner. And if a tiny nick does happen, you now know exactly how to handle it calmly and safely, without panic.
This is just one of the many small hurdles of new parenthood that can feel monumental at first. But just like you’ll master the perfect swaddle or learn to interpret your baby’s different cries, you will master this, too. With each little trim, your confidence will grow. You are a capable, loving, and wonderful parent. You’ve got this.