How to Baby Proof Stairs with Banisters (No Drilling Required)
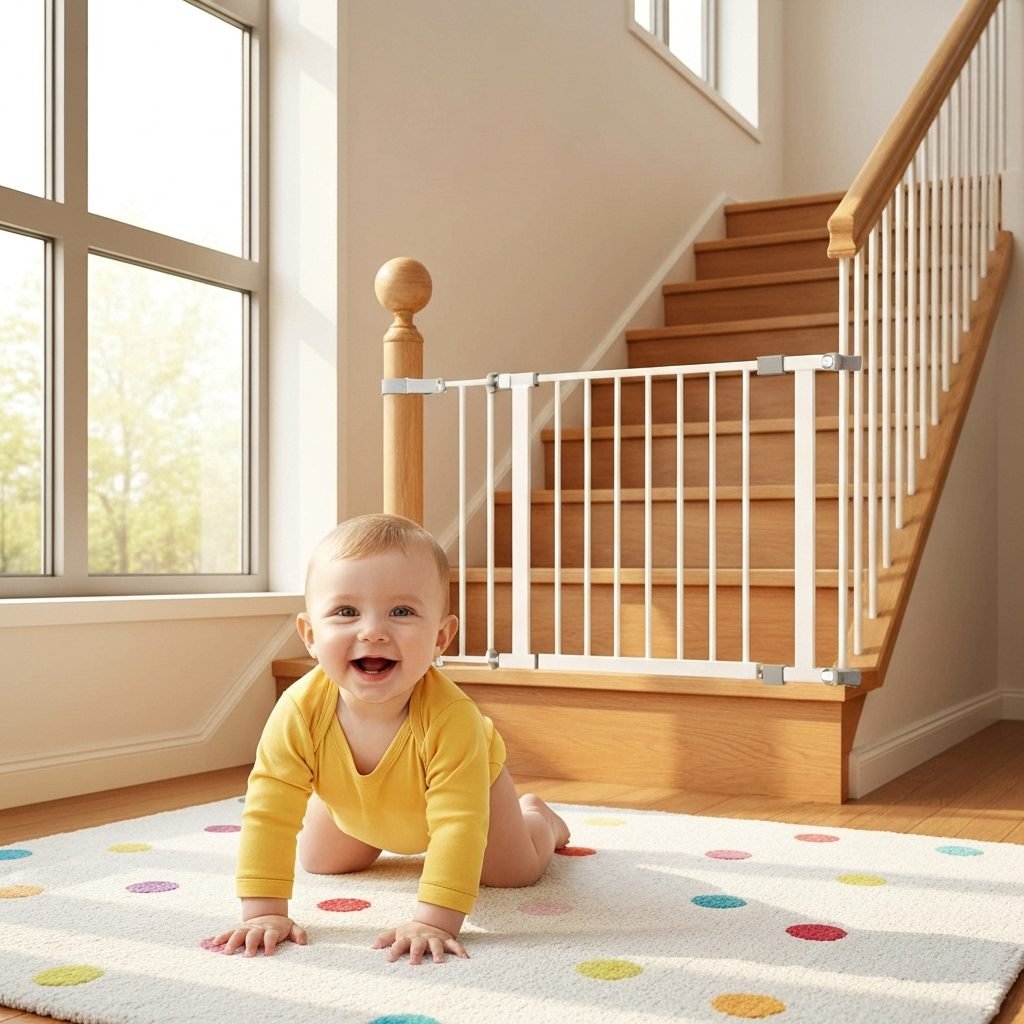
Hey there, amazing new parent. Take a deep breath. You’ve mastered the swaddle, you can change a diaper in the dark, and you’re just starting to feel like you’ve got this whole baby thing down. Then, it happens. Your sweet, wobbly little one becomes a surprisingly fast crawler, and their new favorite destination is… the stairs. That little jolt of panic is a universal parenting milestone!
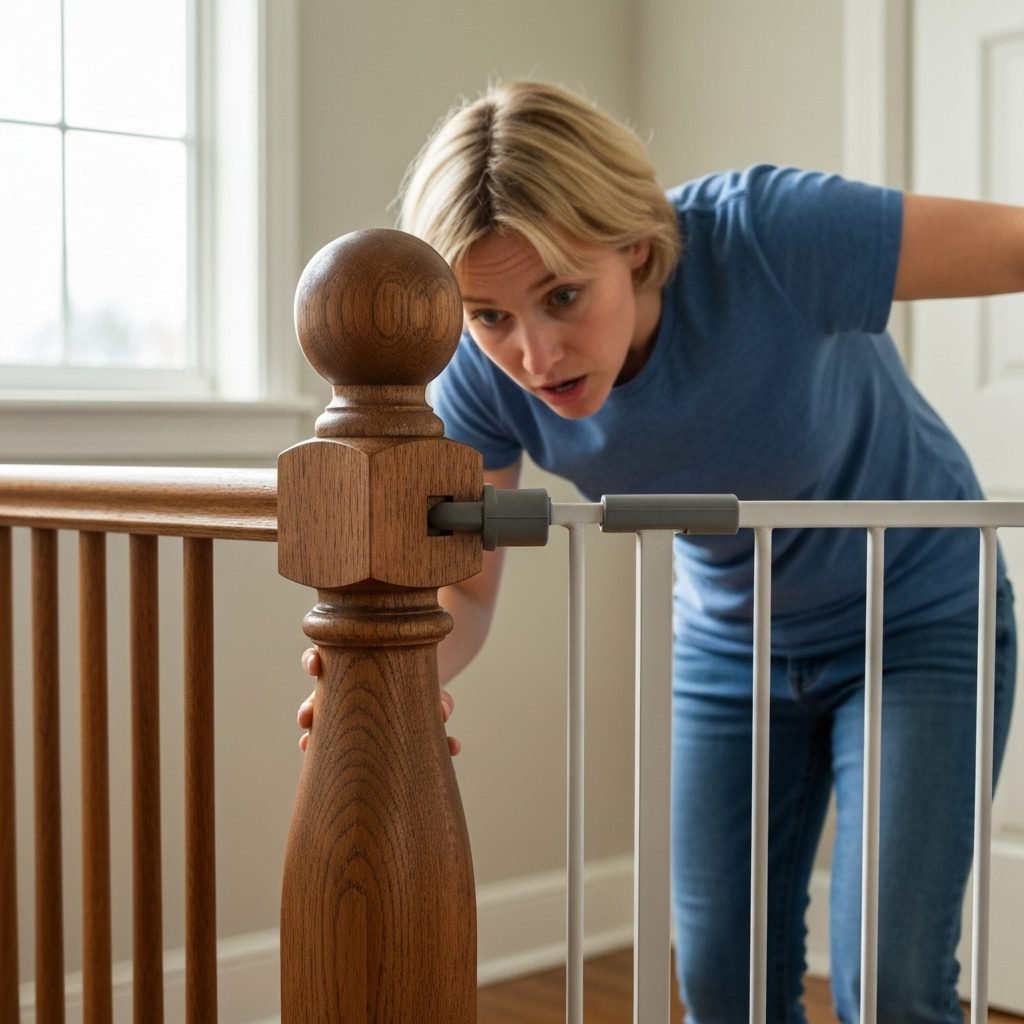
But when you go to install that highly-rated baby gate, you hit a snag. A big, round, wooden snag. Or maybe a sleek, square one. Your banisters. Suddenly, the instructions on the box seem written for a different house entirely. And if you’re renting, or simply don’t want to leave permanent holes in your beautiful woodwork, the word “DRILL” feels like a four-letter word.
Don’t worry, I’m here to tell you that you absolutely can make your stairs safe without damaging your home. As a pediatric nurse and lactation consultant, I’ve helped countless families navigate the world of baby proofing. Securing stairs, especially those with tricky banisters, is one of the most common challenges. This guide will walk you through the best no-drill solutions, step-by-step, so you can get back to enjoying all those precious moments, worry-free.
The Banister Dilemma: Why Standard Gates Don’t Always Work
First things first, if you’re feeling frustrated, know that it’s not you—it’s the banister! Most baby gates are designed to be installed between two flat, parallel walls. Staircases, with their posts, spindles, and angles, are anything but standard. Let’s break down the common challenges:
Understanding the Mismatch
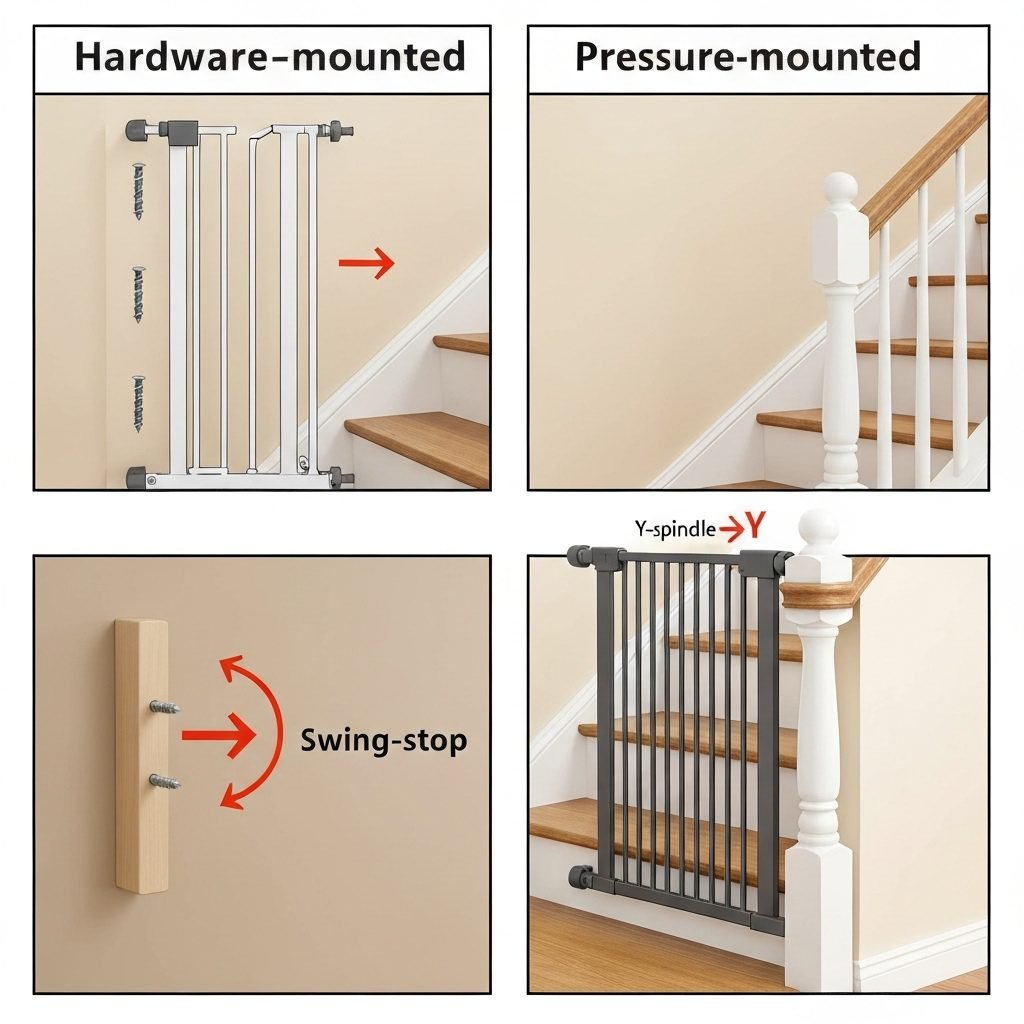
- Pressure-Mounted Gates: These work by creating tension between two surfaces. When one of those surfaces is a round or tapered banister post (also called a newel post), the small, flat pressure pads on the gate can’t get a secure grip. They can easily slip, slide, or be pushed out of place by a determined toddler. This is a major safety hazard.
- Hardware-Mounted Gates: These are the gold standard for top-of-stairs safety because they screw directly into the wall. But what do you do when there’s no wall on one side, only a banister? You can’t (and shouldn’t) drill directly into a delicate spindle or a beautiful, solid wood post.
Different Banisters, Different Problems
Whether you have classic round posts, modern square ones, or intricate wrought iron, each presents a unique challenge. The core issue is the lack of a solid, flat surface to mount against. Trying to force a standard gate to fit can lead to a wobbly, unreliable barrier—which is worse than no gate at all because it gives a false sense of security.
A Quick Safety Note: A poorly installed gate is one of the biggest risks. Never try to use zip ties, rope, or other DIY hacks that aren’t specifically designed for baby gates. Your child’s safety depends on a secure, properly installed barrier.
The good news? An entire market of clever products has emerged to solve this exact problem. You don’t need to be a DIY expert or remodel your staircase. You just need the right tools for the job.
Your No-Drill Toolkit: The Best Solutions for Banisters

Welcome to the wonderful world of no-drill baby gate solutions! These genius inventions are designed to create that flat surface your gate needs, all without leaving a single mark on your woodwork. Let’s explore the top contenders so you can choose the best fit for your home.
1. Banister Adapter Kits (The Universal Problem-Solver)
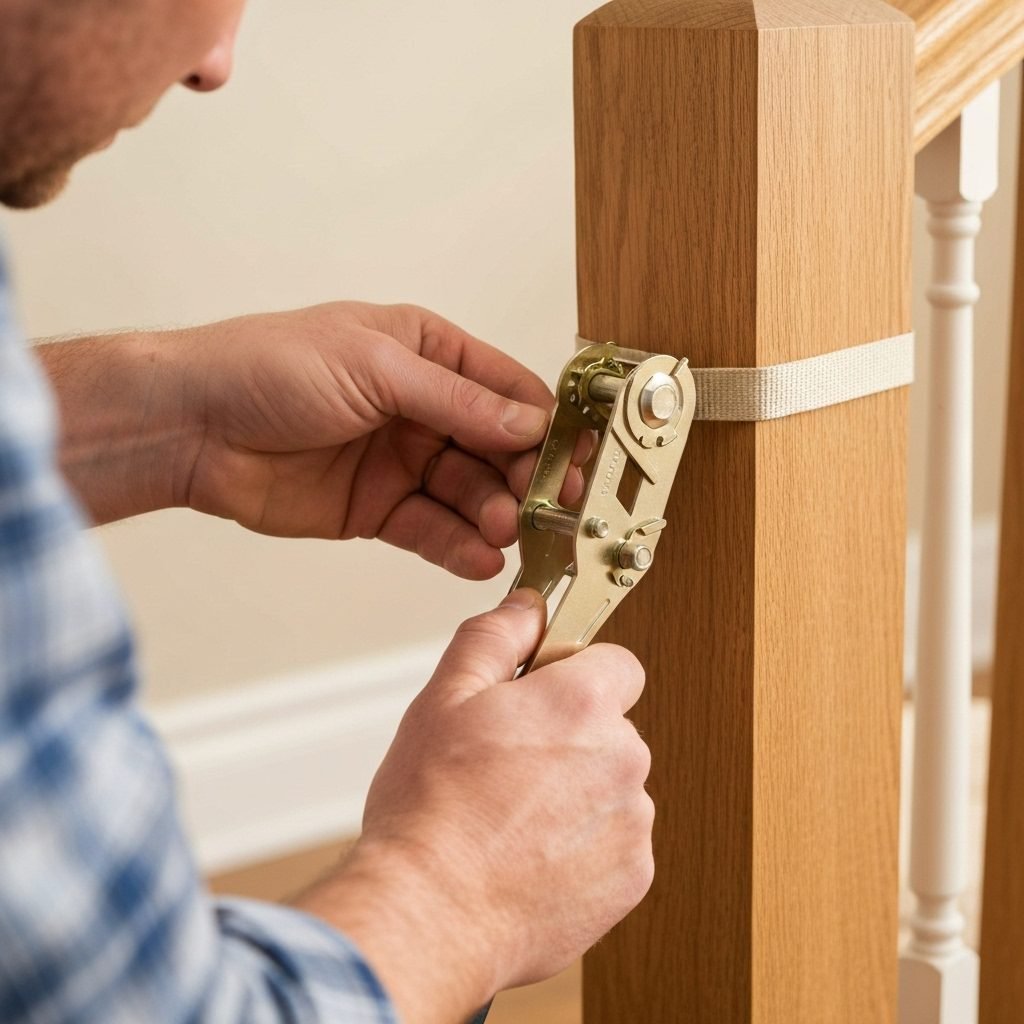
These are the most popular and versatile solution. A banister adapter kit typically consists of wooden slats or plastic mounts that you strap securely to your round or square post. This creates a solid, flat surface to which you can install either a pressure-mounted or a hardware-mounted gate.
- How they work: You place the wood or plastic guard against your post and use the heavy-duty straps provided to ratchet it tightly in place. The inside of the guard is usually lined with a non-slip material to protect your banister and prevent sliding.
- Best for: Almost any type of post—round, square, or oversized. They are a fantastic way to safely install a hardware-mounted gate at the top of the stairs without drilling into your banister.
2. Pressure-Mounted Gates with Y-Spindles
If you’re gating the bottom of the stairs or an area between rooms with a banister, a pressure-mounted gate with a special adapter can be a great, easy option. A Y-spindle (sometimes called a V-spindle) replaces the standard flat pressure bolt that comes with the gate.
- How they work: The forked ‘Y’ shape of the spindle cups around your banister post or spindle, providing a much more stable and secure fit than a flat pad.
- Best for: Bottom of stairs or doorways with spindles. They are typically not recommended for the top of the stairs.
Here’s a quick comparison to help you decide:
| Solution Type | Best Use Case | Pros | Cons |
|---|---|---|---|
| Banister Adapter Kit | Top or bottom of stairs; works with both pressure and hardware-mounted gates. | Extremely secure; creates a flat surface for any gate; versatile for all post shapes. | Slightly more complex installation; can be bulkier. |
| Y-Spindle Adapter | Bottom of stairs or hallways with round spindles. | Very simple and quick to install; clean look; affordable. | Only works with specific pressure-mounted gates; not for top of stairs; less versatile for post shapes. |
Step-by-Step Guide: Installing Your No-Drill Gate Like a Pro
Alright, you’ve chosen your solution, and you’re ready to install it. Let’s walk through this together. We’ll use the popular Banister Adapter Kit method as our example, as it’s the most versatile.
- Step 1: Measure, Measure, Measure!
Before you even open the box, grab a measuring tape. Measure the width of your stair opening at the top and bottom. Measure the circumference of your banister post. Write these down! This ensures the gate and adapter kit you bought will actually fit. - Step 2: Prepare Your Adapter Kit
Unpack your banister adapter. It will likely have one or two wooden or plastic pieces and a set of straps. Read the specific instructions for your model. Usually, you’ll thread the straps through the slots on the adapter before you put it on the post. - Step 3: Secure the Adapter to the Banister
Hold the adapter against the post where you plan to mount the gate. Wrap the straps around the post and thread them through the buckle or ratchet mechanism. Pull them tight. You want zero wiggle or slip. Once tightened, trim any excess strap length if the instructions recommend it. You now have a solid, flat surface ready for your gate! - Step 4: Install Your Gate
Now, install your baby gate as if you were mounting it to a normal wall. If it’s a hardware-mounted gate, you will drill your screws directly into the wooden adapter piece you just installed (not your banister!). If it’s a pressure-mounted gate, you’ll tighten the pressure bolts against the flat surface of the adapter. - Step 5: The All-Important Wiggle Test
This is the most critical step. Grab the gate firmly with both hands and give it a good shake. Push on it. Pull on it. It should not budge, slide, or lift. If there is any movement, go back and tighten the adapter straps and the gate’s mounting hardware. Check the gate’s latch to ensure it engages securely every time.
You did it! See? No drills into your beautiful woodwork, and you have a rock-solid, safe barrier protecting your little one.
Top vs. Bottom of the Stairs: A Critical Safety Distinction
Not all stair locations are created equal in the world of baby proofing. The gate you choose for the bottom of the stairs may not be the safest choice for the top, and this is a non-negotiable safety rule.
Why the Top of the Stairs is Different
The top of the stairs poses the highest risk because a fall from this height can be the most serious. Because of this, safety experts universally agree on one thing:
Safety Mandate: Only a hardware-mounted gate should ever be used at the top of a staircase. These gates screw into the wall (or a no-drill adapter) and are structurally more secure than pressure-mounted gates.
Pressure-mounted gates, even when installed perfectly, can be dislodged by a strong, persistent push from a determined toddler, creating a catastrophic fall risk. Furthermore, many pressure-mounted gates have a threshold bar at the bottom that runs along the floor. This bar is a significant trip hazard at the top of a flight of stairs, especially for tired parents carrying a baby in the middle of the night.
The Best Setup for Maximum Safety:
- Top of Stairs: Use a hardware-mounted, swing-stop gate attached to the wall on one side and a no-drill banister adapter kit on the other. A ‘swing-stop’ feature is crucial; it prevents the gate from ever swinging open out over the stairs.
- Bottom of Stairs: This is a great place for a pressure-mounted gate. Here, the risk is only that a child might get a few steps up before you can get to them. A pressure-mounted gate with a Y-spindle adapter is often a perfect, easy-to-install solution for this location.
Making this distinction is the single most important decision you’ll make when baby proofing your stairs. It provides layers of protection where they matter most.
Beyond the Gate: Layering Your Stair Safety
A properly installed gate is your number one defense, but creating a truly safe home is all about adding layers of protection. Think of the gate as your fortress wall; these extra tips are the watchtowers and spotlights that support it.
- Keep Stairs Clear: This one is for the adults as much as the kids! Clutter on the stairs (shoes, toys, laundry baskets) is a major trip hazard. Make it a family rule to keep the staircase completely clear at all times.
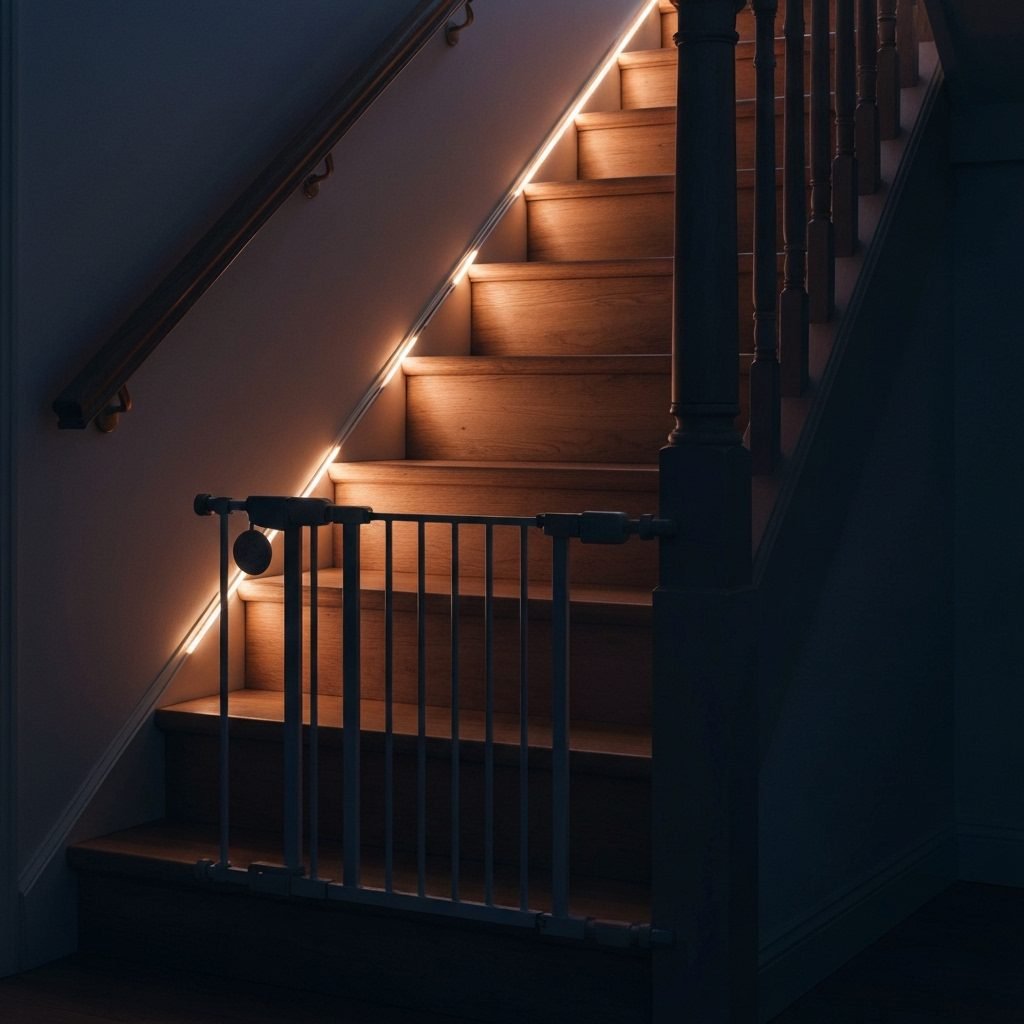
- Light the Way: A dark staircase is dangerous. Install nightlights in the hallways leading to the stairs and consider motion-activated LED strip lights along the baseboards or under the handrail for safe passage at night.
- Check Your Treads: If you have hardwood stairs, consider adding non-slip carpet treads. If you already have a carpet runner, check it regularly for loose spots or frayed edges that could cause a trip.
- Teach Safe Stair Skills: Once your baby is a confident crawler, start teaching them how to go down the stairs safely. Guide their body so they learn to go down backward, feet-first, on their belly. This is a vital skill that will serve them well long after the gates come down. Repetition is key!
- Constant Supervision: Finally, remember that no baby proofing product is a substitute for adult supervision. The gates are there to prevent accidents in those moments when you have to turn your back to answer the door or grab something from the kitchen.
By combining a secure gate with these simple habits, you’re not just proofing your stairs; you’re building a culture of safety in your home that will protect your little one as they grow.
Conclusion
Whew, you made it! You faced the banister dilemma and came out on top. By understanding the unique challenges of your staircase and choosing the right no-drill solution, you’ve successfully created a safer environment for your little explorer to thrive. It’s a huge accomplishment, and you should feel incredibly proud.
Remember to give your gates a regular ‘wiggle test’ every week or so, just to make sure everything is still tight and secure. As your child grows, they’ll get stronger and more curious, so diligence is key.
Baby proofing can feel overwhelming, like a never-ending to-do list. But every outlet you cover, every cabinet you latch, and every gate you install is a tangible act of love. You’re doing an amazing job. Now, go enjoy the peace of mind that comes with knowing your adventurous little one is safe and sound.