Help! I Cut My Baby’s Finger While Trimming Nails (Do This Now)
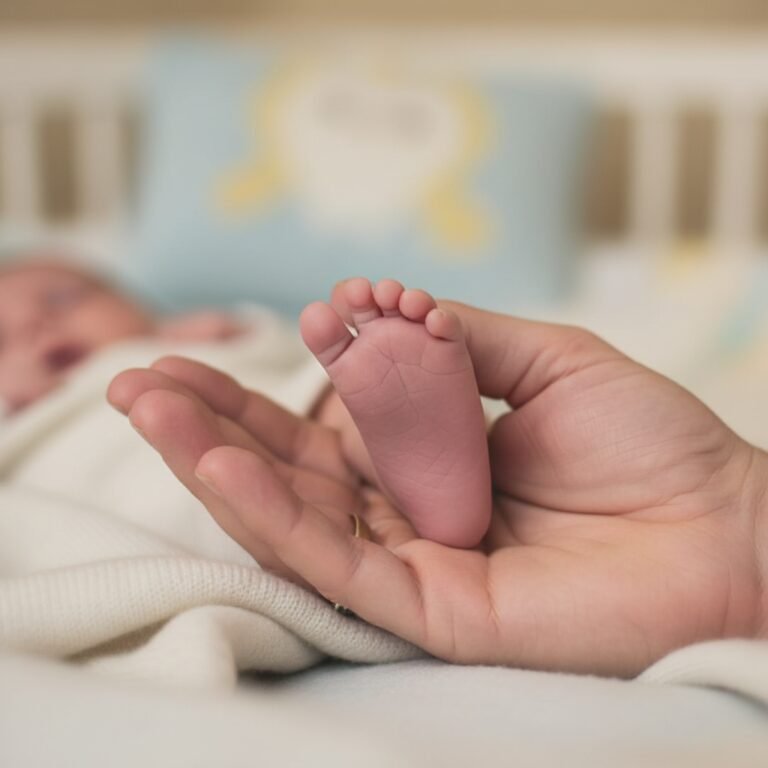
Oh, that heart-stopping moment. One second you’re carefully trimming those tiny, paper-thin nails, and the next, there’s a little cry and a speck of blood. Your heart plummets into your stomach, and a wave of guilt washes over you. Please, hear me when I say this: Take a deep breath. You are not alone, and you did not fail as a parent.
As a pediatric nurse and lactation consultant for over two decades, I can tell you that this is one of the most common accidents new parents experience. It happens to the most careful, loving, and attentive parents. Those little fingers are just so small, and babies are so wiggly! The fact that you’re here, seeking out the right way to handle it, proves what a wonderful and conscientious parent you are.
So let’s push that guilt aside for a moment. Right now, your baby needs you to be calm and confident. This guide will walk you through exactly what to do, step-by-step, to take care of that little nick and ensure it heals perfectly. We’ll also talk about how to make nail trimming less stressful for both of you in the future. You’ve got this.
First Things First: Your 5-Step Action Plan
First Things First: Your 5-Step Action Plan
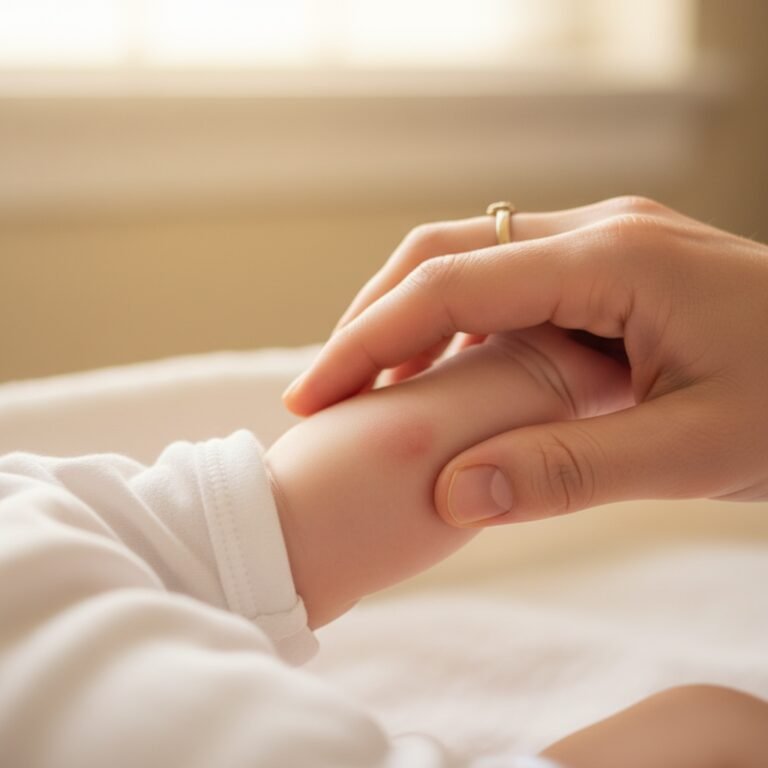
Your first instinct might be to panic, but your baby will pick up on your anxiety. The most important thing you can do is stay calm. This is a very minor injury that you are fully equipped to handle. Let’s get that little finger taken care of.
- Apply Gentle Pressure: Grab a clean, soft cloth, a tissue, or a sterile piece of gauze. Gently but firmly press it against the cut. Don’t peek for at least 2-3 minutes! Fingertips have a lot of blood vessels, so it might seem like it’s bleeding a lot for such a tiny cut. Consistent pressure is key to helping it clot.
- Rinse with Cool Water: Once the bleeding has stopped (or slowed to a tiny ooze), hold the finger under cool running water for a minute. You can also use a clean, wet cloth to gently dab the area. This helps to clean out the cut without the sting of antiseptics like alcohol or hydrogen peroxide, which aren’t necessary for a small nick like this.
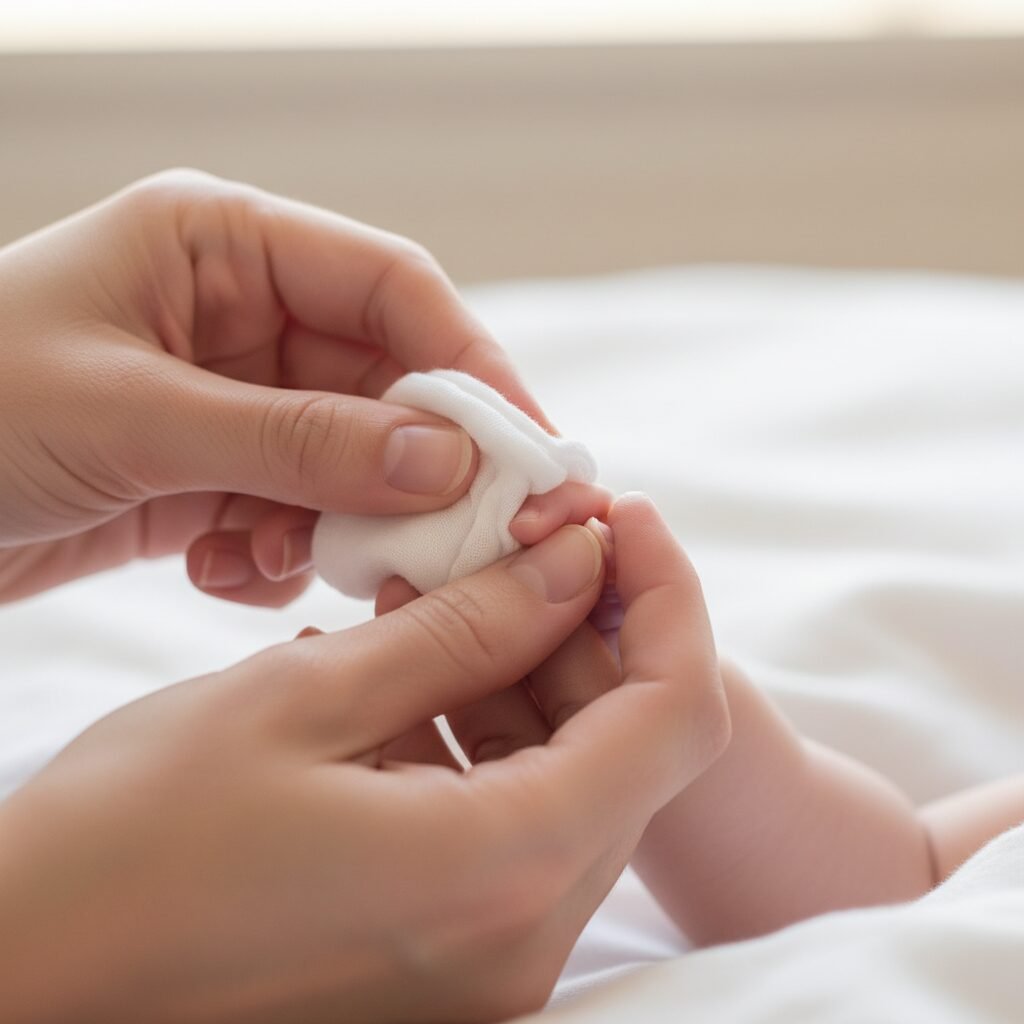
- Gently Pat Dry: Use another clean, soft cloth to gently pat the area dry. Don’t rub, as this could restart the bleeding.
- Apply Ointment (Optional): You can apply a very thin layer of an over-the-counter antibiotic ointment like Neosporin or Polysporin. This can help prevent infection and keep the skin moist. However, be mindful that your baby will likely put their hands in their mouth, so use a very small amount. Some pediatricians prefer to skip this step and just keep the area clean and dry. When in doubt, a quick call to your doctor’s nurse line can provide clarity.
- To Bandage or Not to Bandage?: This is a common question. While a bandage can keep the cut clean, a traditional adhesive bandage on a baby’s finger poses a significant choking hazard if it comes loose.
Safety Warning: Avoid using small, traditional adhesive bandages on infants and toddlers, as they can easily come off and become a choking risk.
Instead of a standard bandage, consider these options:
- Leave it open to the air: For a very minor nick that has stopped bleeding, keeping it clean and letting the air get to it is often the best and safest choice.
- Use a liquid bandage: A liquid bandage can be painted on to seal the cut without the choking risk. It will wear off on its own in a few days. Check with your pediatrician before using one for the first time.
- Use a larger bandage securely wrapped: If you feel a covering is necessary, you could use a larger piece of gauze and medical tape wrapped around the entire finger, ensuring it’s secure but not tight enough to cut off circulation. This is often more trouble than it’s worth and is best reserved for more significant cuts.
For most tiny nail-trimming accidents, applying pressure, cleaning the area, and then leaving it open to the air is all you need to do.
The Next 24-48 Hours: Monitoring for Infection

The Next 24-48 Hours: Monitoring for Infection
The chance of a small, clean cut getting infected is very low, but it’s always wise to know what to look for. Over the next day or two, just keep an eye on that little fingertip. You don’t need to obsess over it, but a quick peek during diaper changes is a good idea.
When to Call the Doctor
Most of these nicks heal beautifully without any issues. However, you should call your pediatrician if you notice any of the following signs of infection:
- Increased Redness or Swelling: A little pinkness right after the cut is normal, but if the redness spreads, darkens, or the finger looks puffy 24 hours later, it’s time to call.
- Pus or Discharge: Any yellow or greenish fluid coming from the cut is a clear sign of infection.
- Red Streaks: If you see red lines extending from the cut up the finger or hand, this can be a sign of a more serious infection and requires immediate medical attention.
- Fever: A rectal temperature of 100.4°F (38°C) or higher in a newborn is always a reason to call the doctor, regardless of the cause.
- Increased Pain or Fussiness: If your baby seems unusually irritable, won’t stop crying, or acts like the finger is very painful long after the initial incident, trust your gut and get it checked out.
Reassuringly, these complications are very rare from a simple nail clipping accident. Your watchful eye is just a great layer of proactive care!
Let’s Talk About Guilt (Because It’s Real)

Let’s Talk About Guilt (Because It’s Real)
Okay, now that the practical first aid is done, let’s address the elephant in the room: the awful feeling in the pit of your stomach. The ‘mom guilt’ or ‘parent guilt’ is real, and it can be intense. You might be thinking, ‘How could I have let that happen?’ or ‘I’m a terrible parent.’
Let me put on my seasoned nurse hat and tell you something with 100% certainty: You are a great parent who had a very normal accident. I have seen doctors, surgeons, and the most meticulous parents I know do the exact same thing. Babies are wiggly. Their nails are tiny. Their skin is delicate. It is a recipe for occasional nicks.
This accident doesn’t define your parenting. It’s a tiny blip in a long, beautiful journey. What defines you is how you reacted: you comforted your baby, tended to their need, and sought out information to do it right. That’s the mark of a truly caring and wonderful parent. So, give yourself the same grace and compassion you give your baby. Forgive yourself, snuggle your little one close, and know that this is just one of many small learning moments you’ll have together.
Your Guide to Tear-Free Nail Trimming in the Future
Your Guide to Tear-Free Nail Trimming in the Future
Now that you’ve managed the situation like a pro, let’s make sure nail day is less stressful from now on. With the right tools and timing, you can turn it into a non-event.
Choosing Your Tool
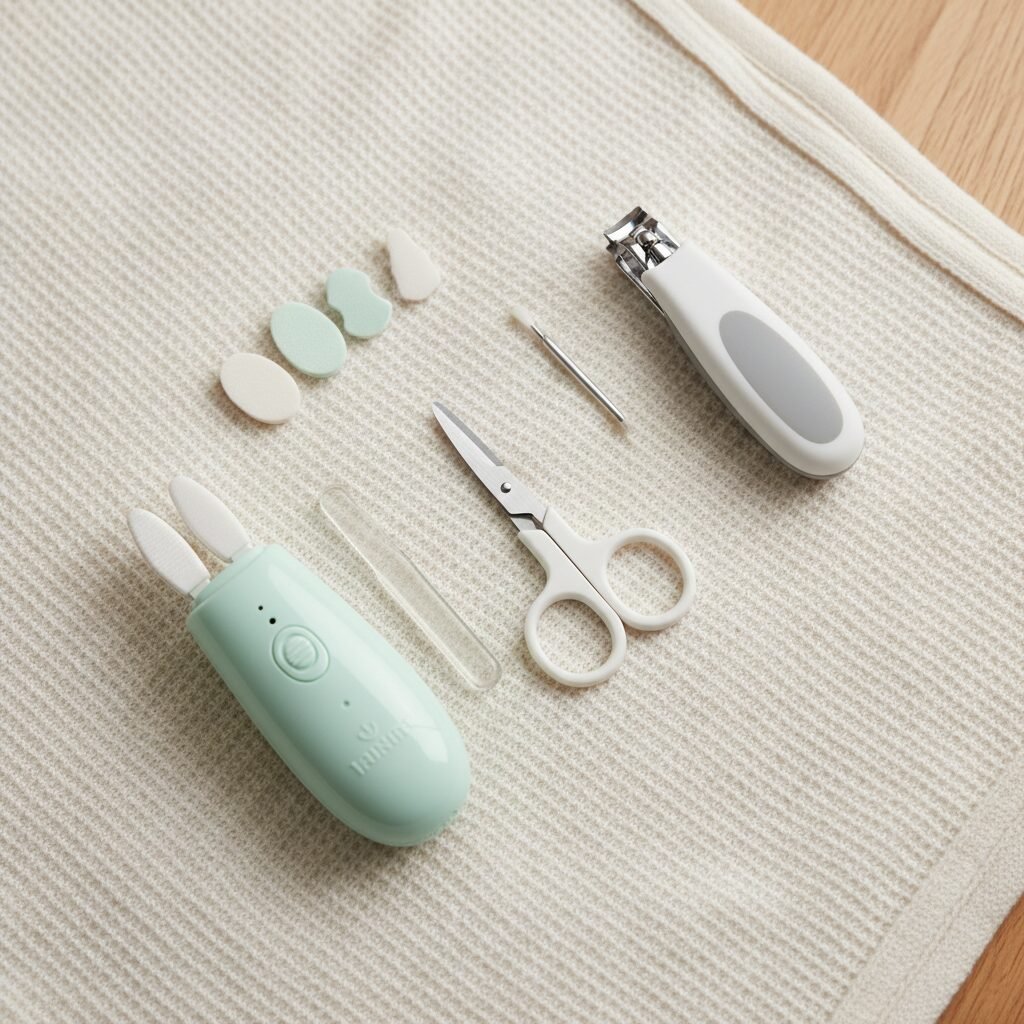
Not all nail tools are created equal, especially for tiny fingers. What works for one parent might not work for another. Here’s a breakdown:
| Tool | Pros | Cons |
|---|---|---|
| Baby Nail Clippers | Quick and efficient; familiar tool for most parents. | Can be hard to see the tiny nail, increasing the risk of nicks. The ‘snap’ can startle a sleeping baby. |
| Baby Nail Scissors | Rounded tips for safety; allow for better visibility of what you’re cutting. | Can be intimidating for some parents; takes a bit more coordination. |
| Electric Nail File/Grinder | Virtually impossible to cut the skin; smooths nails without sharp edges; quiet motor. | Takes longer than clipping; some babies dislike the vibration. The cost is higher. |
The Best Technique for Safe Trimming
Once you have your tool of choice, follow these steps for a smooth experience:
- Pick the Right Time: The golden rule of baby nail care is to do it when they are calm and still. The top two times are when your baby is in a deep sleep or right after a warm bath when their nails are soft.
- Get in Position: Make sure you have excellent lighting. Sit in a comfortable position where you can securely hold your baby. Having them in your lap, facing away from you, can work well.
- Isolate the Finger: Hold your baby’s hand firmly but gently. Take the finger you are working on and use your thumb to press the finger pad down and away from the nail. This creates a safer margin for clipping or filing.
- Cut or File Carefully: If clipping, trim straight across. Don’t worry about rounding the corners, as this can lead to ingrown nails. For toenails, always cut straight across. If filing, gently move the file across the nail edge until it’s smooth and no longer sharp.
- Give Lots of Praise: Even if they’re asleep, a soft, soothing voice can help. If they’re awake, smile, sing, and make it a positive experience. A little cuddle and praise afterward go a long way!
Conclusion
See? You handled it. That moment of panic is over, your baby’s little finger is on the mend, and you now have a solid plan for the future. Remember the key takeaways: apply pressure, keep it clean, watch for any unusual signs, and most importantly, forgive yourself.
Parenting is a journey filled with learning curves, and navigating these little challenges is part of the process. Every time you handle a situation like this, you build confidence and strengthen the incredible bond you have with your child. You’re doing an amazing job. Now go give that baby (and yourself) an extra hug.