How to Massage Your C-Section Scar for Faster Healing (and Less Pain)
Hello, wonderful new mama. First, let’s just take a moment to honor what you’ve been through. Whether your C-section was planned or unexpected, you brought a new life into this world through major surgery. You are, in a word, incredible. As you navigate the beautiful chaos of new parenthood, your own healing can sometimes take a backseat. Your body has done something amazing, and now it’s time to give it a little love and attention back.
You might be looking at your C-section scar with a mix of emotions—gratitude, maybe some sadness, and a bit of apprehension. You might wonder, ‘Will it always feel this tight? This numb?’ That’s where a gentle, powerful practice called scar massage comes in. It might sound a little intimidating, but I promise, it’s a simple and safe technique you can do at home to promote healing, reduce discomfort, and even help you reconnect with your body. Think of it as a few minutes of quiet self-care that can make a huge difference in your recovery journey. In this guide, we’ll walk through it all together, step by step, with the warmth and care you deserve.
Why Bother with Scar Massage? The Gentle Science of Healing
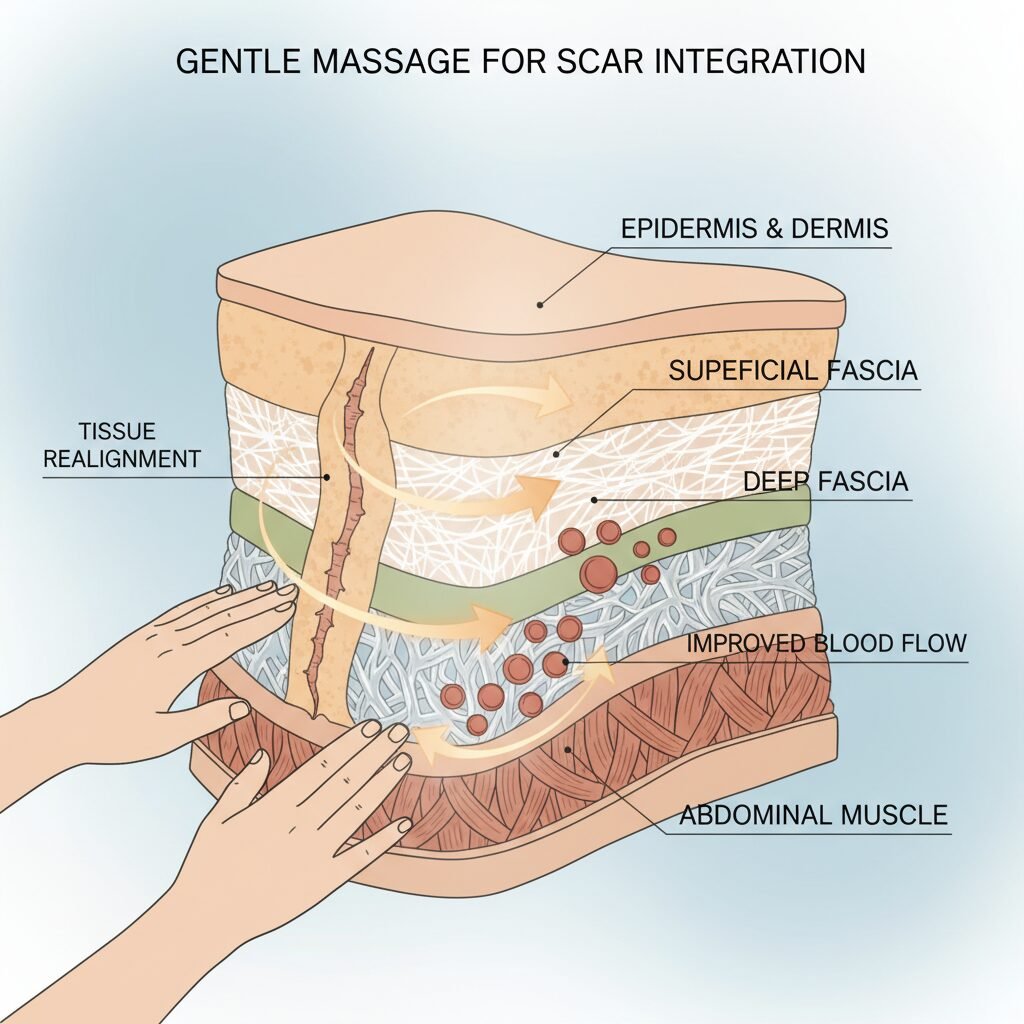
Before we dive into the ‘how,’ let’s talk about the ‘why.’ Understanding what’s happening beneath the surface can empower you and make the process feel less mysterious. When your body heals from an incision, it creates scar tissue. This is a natural and amazing part of the healing process! Your body lays down collagen fibers to knit the tissues back together.
Sometimes, however, these fibers can get a little… disorganized. Instead of laying down in smooth, flexible lines, they can form in a jumbled, crisscross pattern. This can create what we call adhesions. Think of it like a tiny, internal web that can stick different layers of tissue together—skin, fat, muscle, and fascia—that are supposed to slide freely against each other.
These adhesions can cause a few common issues for C-section mamas:
- A ‘Puckered’ or ‘Shelf’ Look: When the skin is stuck to the deeper muscle layers, it can create an indentation or a small overhang of tissue above the scar.
- Tightness or Pulling: You might feel a pulling sensation when you stretch, twist, or even just stand up straight. This is often due to adhesions restricting the normal movement of your tissues.
- Numbness or Hypersensitivity: The nerves in the area were disrupted during surgery. Adhesions can sometimes interfere with nerve regeneration, leading to numb patches or, conversely, areas that feel overly sensitive or tingly.
- Lower Back or Pelvic Pain: It’s all connected! Tightness in your abdomen can pull on your pelvic and back muscles, contributing to aches and pains elsewhere.
Gentle massage works by encouraging those collagen fibers to remodel and align in a more organized, flexible way. It helps to break down minor adhesions, increase blood flow to the area (which brings oxygen and nutrients for healing), and stimulate nerve endings to improve sensation. It’s a way of communicating with your body, telling it, ‘It’s safe to be soft and flexible here again.’ It’s not about erasing your scar—it’s a part of your story!—but about making it a comfortable, integrated part of you.
Getting Started: Timing, Tools, and Your Safe Space
Alright, are you ready to give it a try? The most important part of this process is starting at the right time and in the right way. Your safety and comfort are priority number one.
When to Start Massaging Your C-Section Scar
This is the golden rule, so I want you to hear it loud and clear: timing is everything. You must wait until your incision is fully healed. This means no scabs, no open areas, and no signs of infection. For most women, this is around 6 to 8 weeks postpartum.
Safety First: Always, always, always get the official green light from your doctor, midwife, or a pelvic floor physical therapist before you begin any direct scar massage. They will check your incision to make sure it’s ready. Starting too early can interfere with healing or introduce infection.
What You’ll Need
The good news is, you don’t need any fancy equipment. The best tools are already attached to you!
- Clean Hands: Wash your hands thoroughly before you begin.
- A Comfortable Spot: Find a place where you can lie down comfortably with your knees bent, like on your bed or a soft rug. This position helps to relax your abdominal muscles.
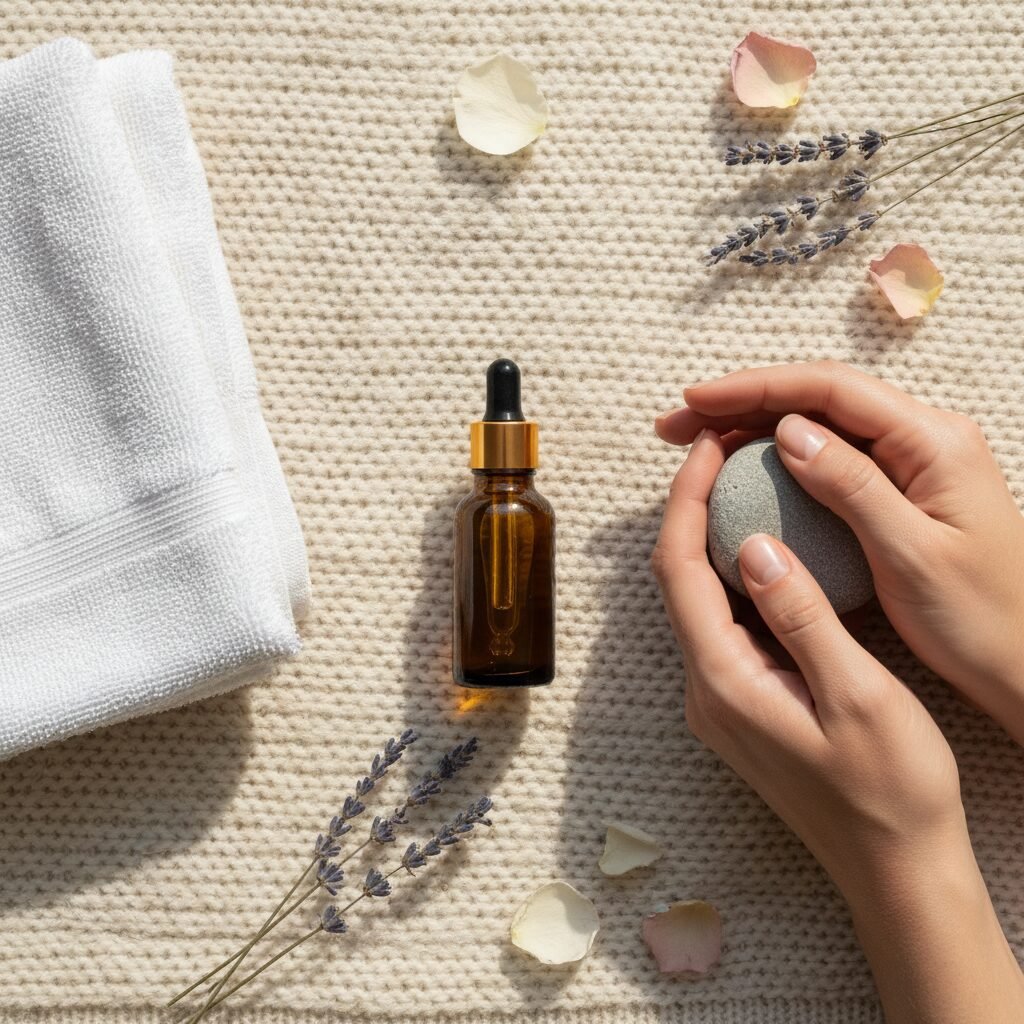
- An Optional Lubricant: While you can do the massage on dry skin, many women find it more comfortable to use a little bit of oil or cream. This helps your fingers glide without pulling. Choose something gentle and unscented. Good options include:
- Vitamin E oil
- Unrefined coconut oil
- Silicone-based scar sheets or gels (specifically designed for scars)
- A simple, hypoallergenic lotion
Creating a Calm Moment
Mama, you deserve a moment to yourself. Try not to rush this. Think of it as a mini-ritual of self-care. Put on some calming music, take a few deep, belly breaths before you start, and release the tension in your shoulders. This isn’t a chore; it’s a moment to connect with your body and honor its healing journey. Just five minutes a day is a wonderful start.
Your Step-by-Step Guide to C-Section Scar Massage
Let’s get into the techniques. Remember to start slowly and gently. The goal is to feel a gentle stretch or pressure, never sharp pain. If anything hurts, stop and consult with your healthcare provider.
We’ll approach this in two phases, starting with indirect touch and moving to direct massage once your body is ready.
Phase 1: Gentle Desensitization (Starting around 6-8 weeks, with doctor’s clearance)
The goal here is to get your nervous system comfortable with touch in the area again, especially if it feels numb or ‘weird.’ You won’t be touching the scar directly just yet.
- Lie down comfortably with your knees bent. Take a few deep breaths.
- Place your fingertips about an inch or two above your scar.
- Using gentle pressure (just enough to move the skin’s surface), make small, slow circles with your fingertips. Go clockwise for a minute, then counter-clockwise.
- Move your fingers to the side of your scar and repeat the small circles. Do this on both sides.
- Finally, move your fingers an inch or two below your scar and do the same.
- You can also try gently stroking the skin around the scar with different textures, like a cotton ball, a silk scarf, or a soft washcloth, to help wake up the nerves.
Phase 2: Direct Scar Massage (Once you’re comfortable with Phase 1 and the scar is well-healed)
Now, we’ll work directly on the scar line itself. Use a bit of your chosen oil or lotion if you like. Aim for about 5-10 minutes each day.
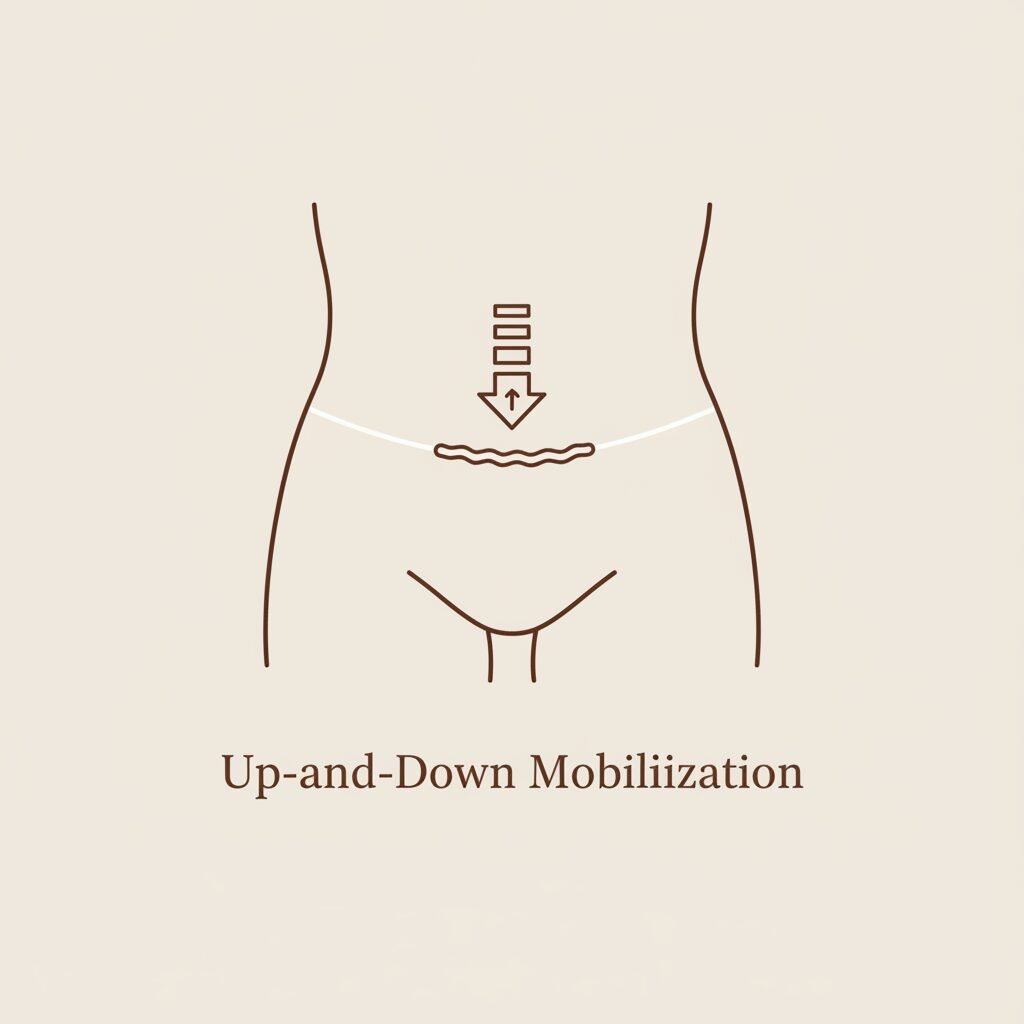
- Up-and-Down Mobilization: Place two fingers directly on one end of your scar. Gently move the skin up towards your head, hold for a few seconds, and then down towards your feet. It’s a small, gentle stretch. Scoot your fingers along the scar and repeat all the way across.
- Side-to-Side Mobilization: Go back to the start of your scar. This time, gently push the skin side-to-side. Hold the stretch for a few seconds in each direction. Again, work your way across the entire length of the scar.
- Circular Scar Friction: Place one or two fingers directly on top of the scar. With firm but gentle pressure (enough to move the scar itself, not just glide over the skin), make small circles right on the scar line. Move along the scar, making these little circles until you’ve covered the whole thing.
- Skin Rolling (This is a more advanced technique): Once you’re comfortable with the above techniques, you can try to gently lift the scar tissue. Try to pinch the scar between your thumb and index finger and gently lift it up and away from the underlying tissue. You might not be able to lift it much at first, and that’s okay! Just the gentle attempt is helpful. You can try to ‘roll’ the scar between your fingers as you move along its length. This is fantastic for breaking up deeper adhesions.
Listen to your body. If any spot feels particularly tight or stuck, spend a little extra time there, breathing into the gentle stretch. It should never be painful.
Listening to Your Body: What’s Normal and When to Stop

As you begin this practice, you’ll become more attuned to your body’s signals. It’s so important to listen to them. Your healing journey is unique, and you are the expert on your own body.
What to Expect and What’s Normal
It’s common to experience a range of sensations, especially at first. You might feel:
- Numbness: Many areas might feel dull or numb. This is very normal, and massage can help to slowly bring sensation back.
- Tingling or ‘Zingers’: As nerves regenerate, you might feel little electrical zaps or tingles. This is usually a good sign!
- Tenderness: The area might be tender, but it shouldn’t be sharply painful. Think of the ‘good’ feeling of stretching a tight muscle.
- Weirdness: Honestly, sometimes it just feels strange and disconnected. That’s okay. The act of touching the area helps to remap it in your brain and make it feel like a part of you again.
- Emotional Release: Don’t be surprised if emotions come up. Your scar is connected to a powerful, life-changing experience. Allowing yourself to feel whatever comes up is part of the healing process.
Over time, with consistent, gentle massage, you should notice the scar becoming softer, flatter, and more mobile. The skin around it should move more freely, and any numbness or tightness should gradually improve.
Red Flags: When to Stop and Call Your Doctor
Your safety is paramount. Stop massaging immediately and contact your healthcare provider if you experience any of the following:
- Sharp or increasing pain
- Redness, warmth, or swelling around the scar
- Any bleeding or oozing from the incision
- A foul odor coming from the area
- A fever or feeling unwell
These can be signs of infection or other complications that need medical attention. Trust your gut—if something doesn’t feel right, it’s always best to get it checked out.
Beyond Massage: Other Ways to Support Your C-Section Recovery
Scar massage is a fantastic tool, but it’s just one piece of the recovery puzzle. Supporting your body from the inside out will help you feel your best and heal beautifully.
Hydration and Nutrition
Your body is busy repairing tissues, and it needs the right building blocks! Make sure you’re drinking plenty of water throughout the day (especially if you’re breastfeeding). Focus on a diet rich in protein, vitamin C, zinc, and healthy fats. Think colorful fruits and veggies, lean meats, fish, nuts, and seeds. These nutrients are essential for collagen production and tissue repair.
Gentle Movement
Once you have clearance from your doctor for exercise, gentle movement is key. Start with walking. It’s a wonderful way to increase blood flow, reduce the risk of blood clots, and gently engage your core. As you feel stronger, you can incorporate specific postpartum exercises that focus on deep core and pelvic floor rehabilitation. Avoid sit-ups or crunches in the early days, as they can put too much pressure on your healing abdomen.
Pelvic Floor Physical Therapy
I cannot recommend this enough! A pelvic floor physical therapist is a specialist in postpartum recovery. They can assess your scar, core strength, and pelvic floor function. They can give you personalized massage techniques and exercises to address any specific issues, like adhesions, diastasis recti (abdominal separation), or pelvic pain. It’s like having a personal trainer for your recovery, and it is a game-changer for so many women.
Emotional Healing
Remember that healing isn’t just physical. Be kind to yourself. Your body has changed, and your birth experience might not have been what you expected. Give yourself grace. Talk about your experience with your partner, a friend, or a support group. Journaling can also be a powerful outlet. Your emotional well-being is deeply connected to your physical healing.
Conclusion
There you have it, mama. A gentle guide to caring for your C-section scar. It’s more than just a physical technique; it’s a way to reclaim your body, to honor your journey into motherhood, and to give yourself a few precious moments of care in a day that is otherwise dedicated to your new little one.
Remember to be patient. Healing takes time. Some days you’ll feel great, and other days you might feel tired and tender. That’s all part of the process. Every small act of self-care, every gentle massage, is a step forward. Your scar is not a flaw; it’s a beautiful mark of strength and love, the doorway through which your child entered the world. Treat it, and yourself, with all the kindness you deserve. You’ve got this.