Don’t Toss Them! 10 Creative Ways to Repurpose Baby Clothes
Hello, wonderful parents! As a pediatric nurse and lactation consultant, I’ve shared so many precious moments with new families. I’ve seen the joy in your eyes as you dress your little one in that perfect coming-home outfit, and I’ve also seen the bittersweet pang you feel when, in the blink of an eye, that same outfit is too small. That growing pile of tiny clothes represents so much more than just fabric—it’s a collection of memories, milestones, and moments filled with love.
You wash them, you fold them, and you might pack them away in a box, wondering what to do. The thought of just giving them all away can feel like letting go of a piece of your baby’s first year. So, what if you didn’t have to? What if you could transform those cherished garments into something new and beautiful? Today, I want to share some love-filled, creative, and surprisingly simple ways to give those sweet baby clothes a second life. Let’s dive into 10 wonderful projects that turn memories into treasures.
Crafting Cherished Heirlooms: Keepsakes to Treasure Forever
Some outfits are just too special to cut up for a practical project. The sleeper they wore for their first giggle, the onesie from their first holiday—these deserve to be honored. These ideas focus on creating lasting heirlooms that you and your family can cherish for years to come.
1. The Classic Memory Quilt
This is perhaps the most beloved way to repurpose baby clothes, and for good reason! A memory quilt is like a warm, cozy hug from the past. Every patch tells a story. While it might sound intimidating, it can be a project for all skill levels.
- Getting Started: Select 15-20 of your favorite cotton items like onesies, sleepers, and t-shirts. Choose pieces with different colors and patterns for a visually interesting look.
- The Process: You’ll need to cut uniform squares from the clothes. A common size is 6×6 inches. To make the stretchy fabric easier to work with, it’s a great idea to iron on a fusible interfacing to the back of each piece before cutting. Arrange your squares on the floor to create a design you love, then sew them together in rows. Finally, you’ll add batting and a backing fabric.
- No-Sew Option: If sewing isn’t your thing, don’t worry! You can use iron-on hem tape to connect the squares or look for services on sites like Etsy where talented artisans will create a beautiful quilt for you.
2. Framed Art & Shadow Boxes
For that one-of-a-kind outfit—the one that holds the most powerful memory—give it the museum treatment! Framing a single piece is a simple yet stunning way to create personalized art for your home or nursery.
- How to Create It: Choose a deep frame, often called a shadow box. Carefully press the outfit and mount it onto a piece of acid-free cardstock or fabric backing using small pins or fabric glue. You can create a beautiful collage by including other mementos like their hospital bracelet, a newborn photo, their first pacifier, or their tiny hospital hat.
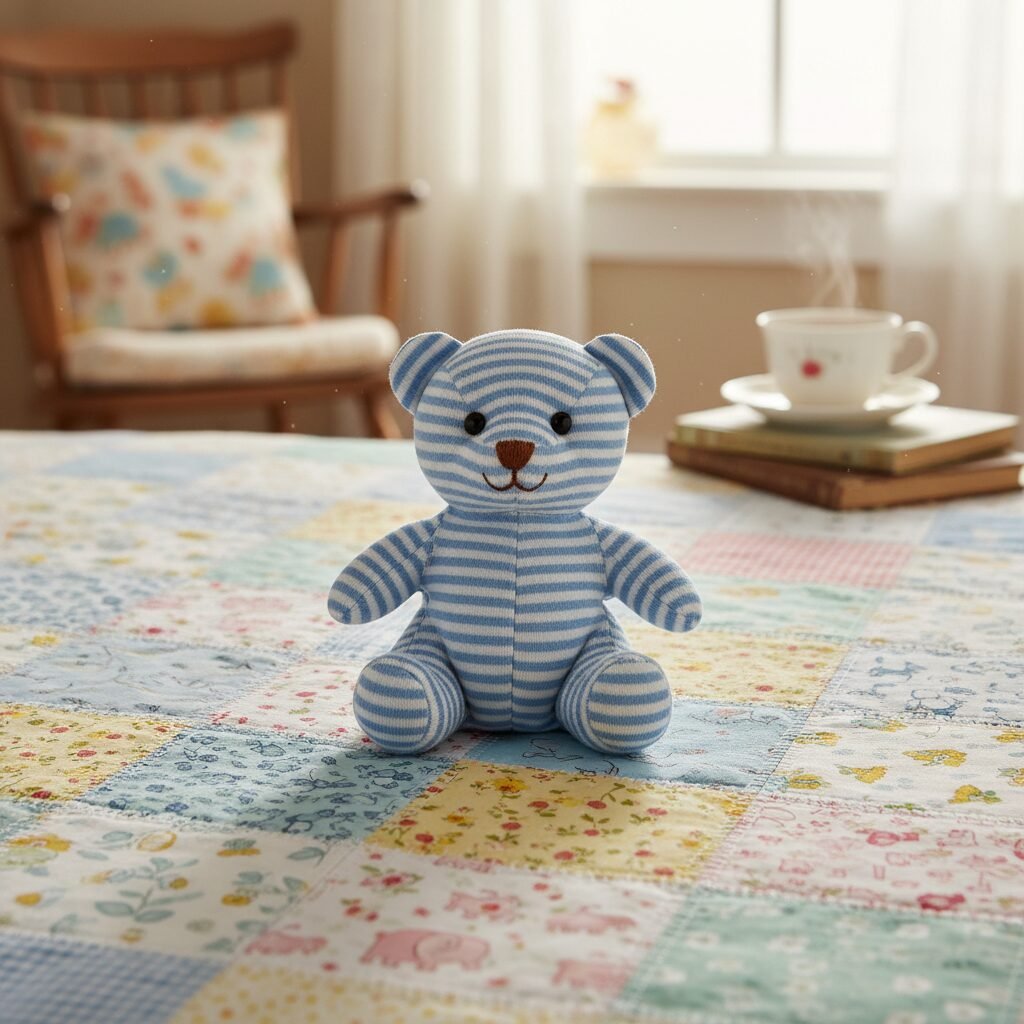
3. Custom Stuffed Animals & Memory Bears
Imagine your child cuddling a teddy bear made from their very own first-year sleepers. It’s an incredibly touching way to preserve memories in a huggable form. This project turns a piece of clothing into a cherished friend.
- DIY Path: You can find countless patterns for memory bears and other animals online. This is a more advanced sewing project, but incredibly rewarding. You’ll trace the pattern pieces onto the clothing, cut them out, and sew them together, filling the creation with stuffing.
- Hire a Pro: This has become a popular cottage industry! Many talented crafters specialize in creating these keepsakes. A quick search for ‘memory bear’ will connect you with artists who will lovingly transform your treasured items into a beautiful stuffed animal for you.
From Tiny Clothes to Everyday Treasures: Practical & Playful Upcycles
Not every project has to be sealed behind glass! Some of those durable, soft fabrics are perfect for becoming useful, everyday items. This is a wonderful way to keep the memories close and incorporate them into your daily life.
4. Adorable Throw Pillows
A tiny, soft pillow for the nursery rocking chair made from a favorite baby sweater or a collection of t-shirt logos is both cute and functional. This is one of the easiest sewing projects to start with!
- How to Make a Simple Pillow: Take a baby shirt or sweater. Cut a square or rectangle from the front and another of the same size from the back. With the ‘right’ sides of the fabric facing each other, sew around three and a half of the sides. Turn the pillowcase right-side-out, stuff it with filling, and then hand-stitch the final opening closed. Voilà!
5. Unique Bibs & Burp Cloths
Babies are messy, and you can never have enough bibs or burp cloths. If you have another little one on the way, or want to make a gift for a friend, this is a perfect project. Use the fabric from outgrown clothes that are still in good condition (or cut around the stained parts!) to create new, absorbent essentials.
- The Method: Use an existing bib or burp cloth as a template. Trace the shape onto the baby clothes and a piece of absorbent backing material like terry cloth or flannel. Cut out both pieces, sew them together (right sides facing in), leave a small opening to turn it right-side-out, and then top-stitch around the entire edge for a clean, durable finish.
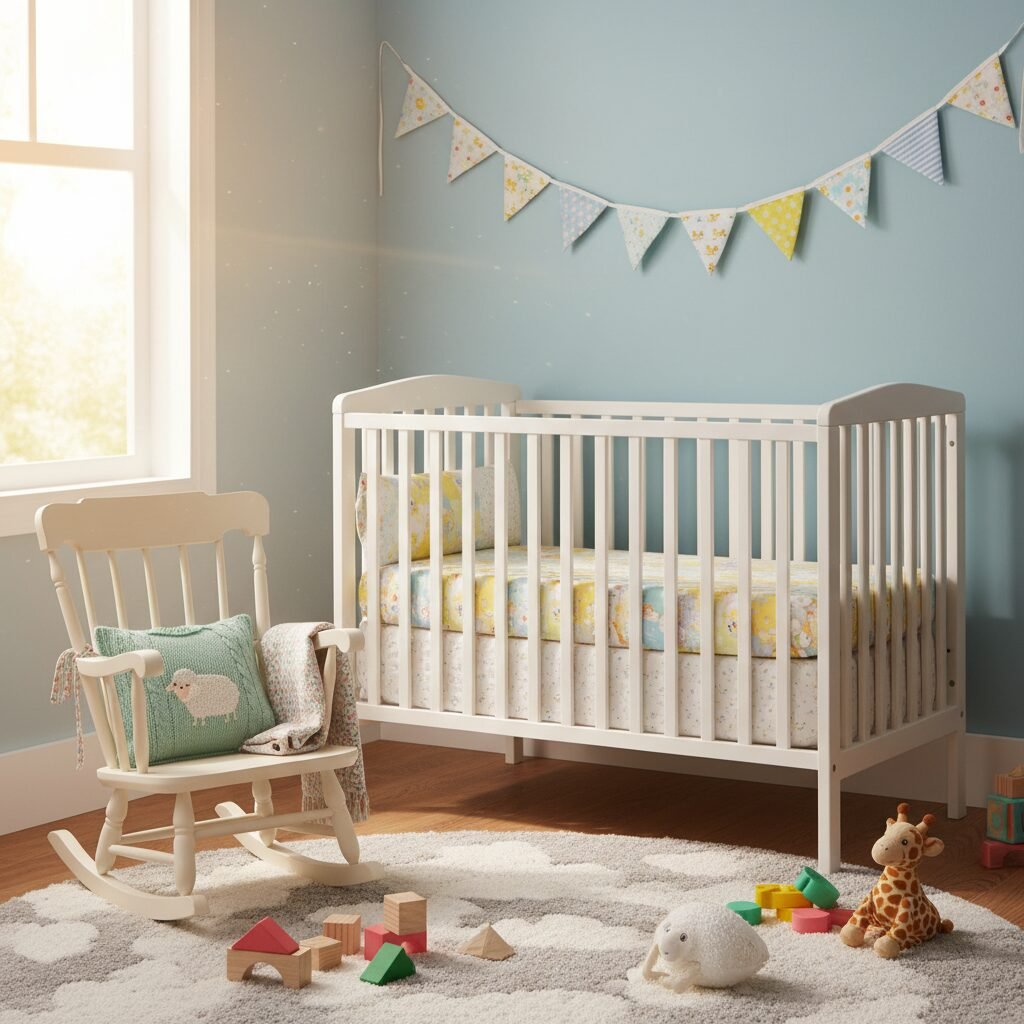
6. Fun Fabric Bunting
A string of fabric bunting is a whimsical and charming decoration for a nursery, playroom, or a first birthday party. It’s a fantastic way to use a wide variety of colors and patterns from different outfits.
Making something with your hands, using items that hold so much love, is a wonderful form of self-care during the whirlwind of parenthood. It connects you to those early memories in a tangible way.
- Easy as 1-2-3: Cut triangles of the same size from various baby clothes. You can use pinking shears to prevent fraying for a no-sew version. Then, simply fold the top edge of each triangle over a long piece of ribbon or twine and secure it with fabric glue. For a sewn version, use double-fold bias tape along the top for a professional-looking finish.
Gifts from the Heart: Sharing Memories with Loved Ones
Sharing the joy and memories with family can be incredibly special. Grandparents, in particular, will be deeply touched by a handmade gift crafted from their grandchild’s tiny clothes. These projects are perfect for holidays, birthdays, or just because.
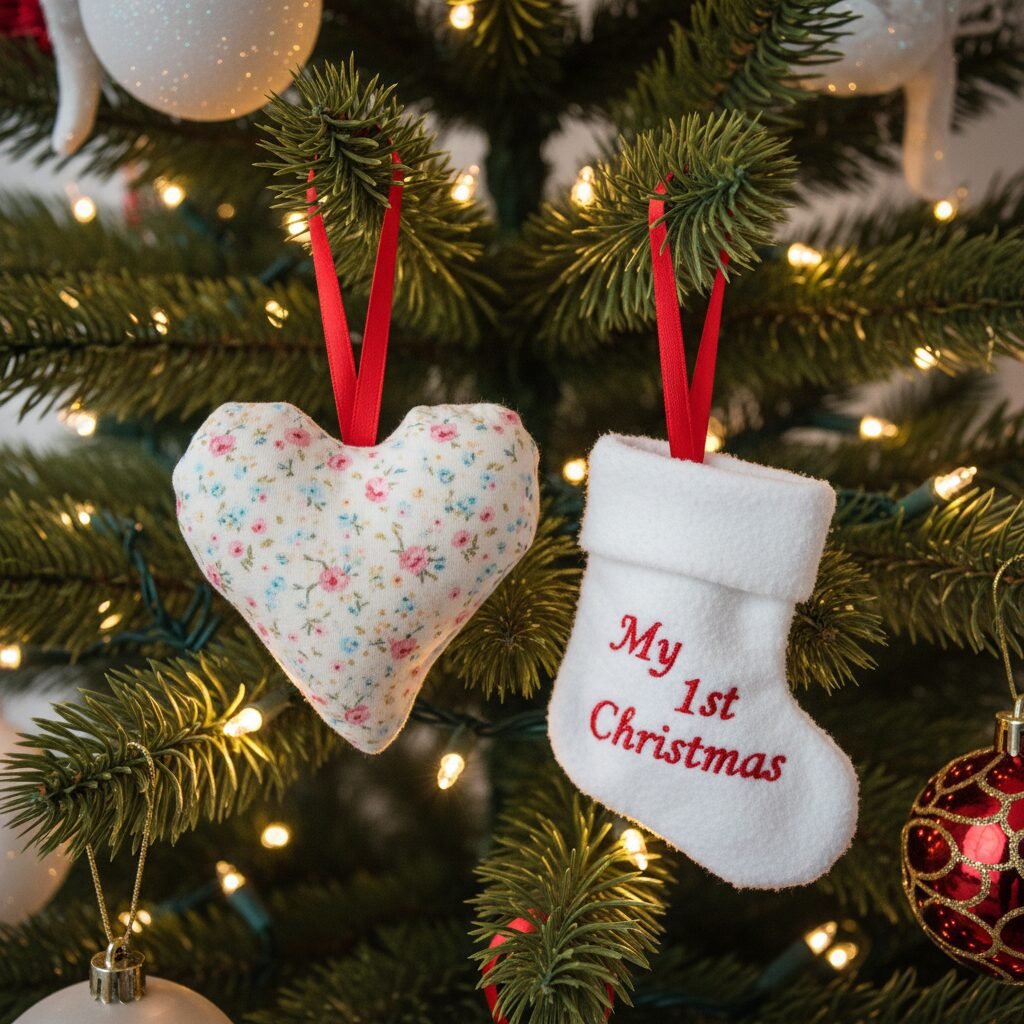
7. Sweet Holiday Ornaments
Create a new family tradition by making an ornament each year from one of that year’s most memorable outfits. These tiny treasures will make decorating the tree a walk down memory lane.
- Ideas to Try: Cut out simple shapes like stars or hearts from the fabric, lightly stuff them with cotton, and sew them shut with a loop of ribbon for hanging. You can also trace a cookie cutter for a perfect shape! Another lovely idea is to use a small embroidery hoop to frame a cute graphic from a onesie.
8. Clothes for a Favorite Doll or Stuffed Animal
If you have an older child, making clothes for their favorite doll or teddy bear from their own baby clothes is a beautiful way to connect them to their past. It’s a sweet, symbolic ‘hand-me-down’ that fosters nurturing play.
9. Fabric-Covered Keepsakes
Small scraps of fabric can be used in countless ways. Mod Podge is your best friend here! You can cover things like a wooden picture frame, a journal cover, or a small keepsake box. It’s a simple way to add a personal, sentimental touch to an ordinary object.
10. Pocket Hand Warmers or Scented Sachets
This is a wonderful gift, especially for grandparents. Create small fabric pouches (about 4×4 inches) from soft flannel sleepers. For hand warmers, fill them with rice or flaxseed before sewing them shut; they can be heated in the microwave for a few seconds. For sachets, fill them with dried lavender or cedar chips to freshen up a drawer or closet. It’s a small gift that carries a lot of warmth and love.
Your Repurposing Toolkit: Getting Started
Feeling inspired? Before you dive in, a little preparation can make the whole process smoother and more enjoyable. Here’s a quick guide to setting yourself up for success.
Choosing the Right Clothes
While sentimentality is key, fabric type matters. Cotton and cotton-blend knits (like from onesies and sleepers) are versatile and easy to work with, but they do stretch. Using a fusible interfacing on the back is a game-changer for these fabrics. Woven fabrics like denim or corduroy are very stable and great for projects like pillows. Be more cautious with delicate knits or silky materials, as they can be tricky to sew.
Prepping Your Materials
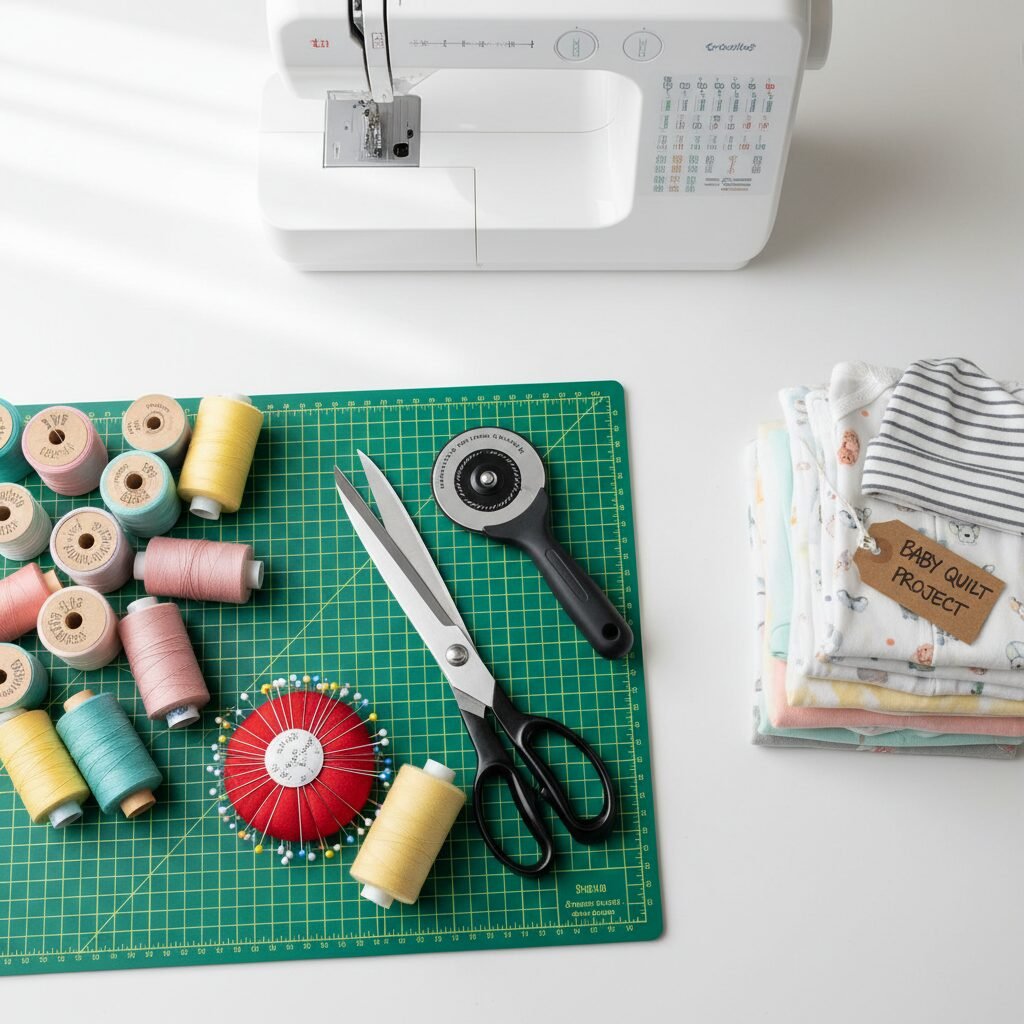
Always start by washing and drying all the clothes you plan to use, even if they’ve been stored away. This pre-shrinks them and ensures they are clean. Give them a good iron to remove any wrinkles, which will make cutting much more accurate. When cutting, use sharp fabric scissors or a rotary cutter and mat for the cleanest edges.
Essential Supplies
You don’t need a professional sewing room! Here are the basics that will cover most of these projects.
| Tool | Why You Need It |
|---|---|
| Fabric Scissors or Rotary Cutter | A sharp pair of scissors used only for fabric is essential for clean cuts. A rotary cutter and mat are faster and more precise for cutting squares. |
| Pins or Sewing Clips | To hold your fabric pieces together securely before and during sewing. |
| Needles and Thread | A basic set of hand-sewing needles and a few spools of all-purpose thread in neutral colors (white, grey, black) will get you far. |
| Fusible Interfacing | A lightweight, iron-on stabilizer that prevents stretchy knit fabrics from warping. A must-have for quilts! |
| Measuring Tape & Ruler | For measuring and ensuring your cuts are straight and your projects are symmetrical. |
| Seam Ripper | Mistakes happen! This little tool is a lifesaver for removing stitches without damaging your precious fabric. |
Conclusion
There you have it—10 ways to breathe new life into those tiny, memory-filled clothes. Each stitch you make and each piece you place is an act of love, a way of honoring the beautiful, fleeting moments of your baby’s first years. Whether you create a magnificent quilt, a simple ornament, or a cuddly bear, you’re not just making a craft; you’re weaving your family’s story into a new treasure.
Remember, this isn’t about creating a perfect, store-bought item. It’s about the process, the love, and the memories. So pick a project that speaks to your heart, start small, and enjoy the beautiful journey of turning ‘goodbyes’ into new ‘hellos’. Happy crafting!