Storing Baby Clothes In Vacuum Bags: The Ultimate Space Saving Hack
Hey there, new parent! If you’re currently navigating a landscape of adorable onesies, tiny socks that defy pairing, and outfits your little one wore for exactly ten minutes, welcome to the club. It’s amazing how someone so small can accumulate a wardrobe bigger than our own, right? The seasons change, growth spurts happen in the blink of an eye, and suddenly you’re left with bins and bags of perfectly good clothes you want to save—for a future sibling, a friend, or just for sentimental reasons.
You’ve probably heard about the magic of vacuum storage bags. They promise to shrink that mountain of fabric down to a manageable, storable size. It sounds like the perfect solution! But as a pediatric nurse, I also know you’re wondering, ‘Is it actually safe for the clothes? Will they be okay when I open them up months or years from now?’
You’ve come to the right place. Let’s walk through this together. Storing baby clothes in vacuum bags can be an absolute lifesaver for space, but there are a few key things to know to protect those sweet memories woven into every little outfit. This isn’t just about storage; it’s about preserving those clothes so they’re fresh, clean, and ready for the next adventure.
The Big Question: Is It Safe for Those Tiny Outfits?
Let’s get right to the heart of it. The short answer is: yes, for most everyday baby clothes, vacuum sealing is perfectly safe and incredibly effective. However, the ‘most’ is a really important word here. Think of it less as a one-size-fits-all solution and more as a fantastic tool for a specific job.
The primary benefit of vacuum bags is that they remove air, which significantly inhibits the growth of mold and mildew. They also create a barrier against dust, moisture, and even pests. For your everyday cotton onesies, sleepers, and play clothes, this is a huge win. These durable fabrics can handle the compression and will be protected from the elements while in storage.
When to Pause and Reconsider
The main concerns with vacuum sealing revolve around two things: moisture and fabric type.
- The Moisture Menace: If clothes are even slightly damp when sealed, you’re creating a perfect, air-free environment for mildew and musty smells to develop. This is the number one rule: everything must be bone dry.
- Delicate and Natural Fibers: Some fabrics need to ‘breathe.’ Natural fibers like wool, silk, or cashmere can be damaged by the intense compression. The vacuum can crush the fibers, leading to permanent creases and a loss of their natural loft and softness.
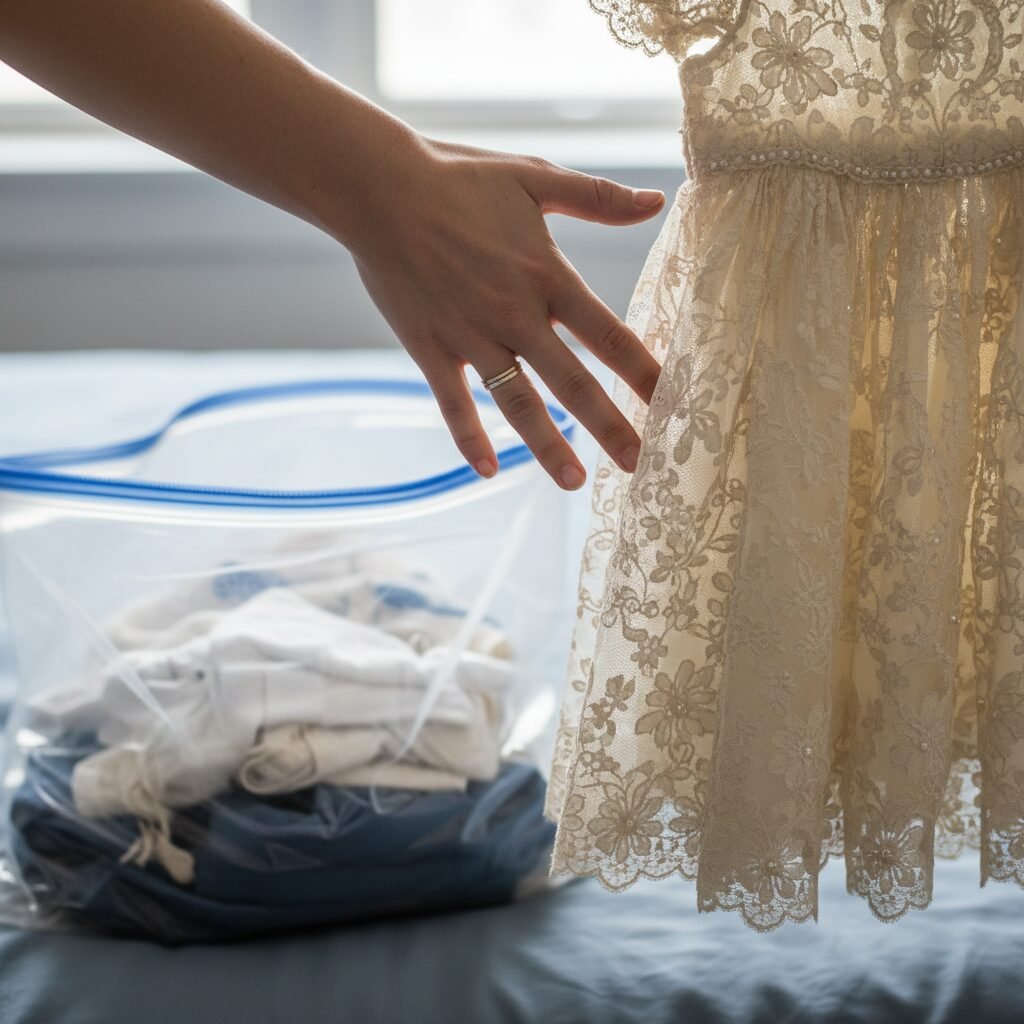
- Heirloom Headaches: For that special, irreplaceable item—like a christening gown, a hand-knitted sweater from Grandma, or a silk blessing outfit—I always advise against vacuum sealing. The risk of creasing or damaging delicate lace, beading, or embroidery is just too high for such precious items.
A Nurse’s Tip: When in doubt, leave it out. If an item is a precious keepsake you’d be heartbroken to see damaged, opt for a gentler storage method. Your peace of mind is worth more than a little extra space.
Weighing Your Options: The Pros and Cons of Vacuum Sealing
Like any parenting hack, there are amazing benefits and a few things to watch out for. Seeing it all laid out can help you decide if this method is the right fit for your family’s needs. I’m a big fan of a good old-fashioned pros and cons list to make a clear-headed decision when you’re likely running on very little sleep!
| Pros (The Wins!) | Cons (The Watch-Outs) |
|---|---|
| Incredible Space Saver: This is the biggest draw. You can reduce the volume of clothes and bedding by up to 80%, turning overflowing closets into neat, organized spaces. | Permanent Wrinkles: The intense compression can set deep wrinkles into fabrics that can be difficult or impossible to remove later, especially on certain materials. |
| Ultimate Protection: Sealed bags provide an airtight, watertight barrier against dust, dirt, mildew, insects, and odors. Your clothes come out as fresh as they went in (if prepped correctly!). | Damage to Delicate Items: Not suitable for natural fibers like wool or silk, or items with delicate embellishments like beads, sequins, or puffy paint which can be crushed or broken. |
| Easy Organization: Using clear bags allows you to see what’s inside at a glance. Grouping by size and season makes finding what you need later a breeze. | Requires 100% Dryness: Trapping any amount of moisture will lead to mildew and musty smells, effectively ruining the clothes inside. You must be absolutely certain items are completely dry. |
| Cost-Effective in the Long Run: While there’s an initial investment, reusable bags can be used for years for all sorts of storage needs, from seasonal clothes to bedding. | Potential for Bag Failure: Cheaper bags can be prone to tiny punctures or faulty seals, allowing air to slowly seep back in over time and defeating the purpose. |
Your Step-by-Step Guide to Perfect, Safe Storage

Ready to reclaim your space? Fantastic! Following these steps will ensure your baby’s clothes are packed safely and will be in great shape when you need them next. Don’t rush the process—a little extra care now pays off big time later.
-
Step 1: Wash and THOROUGHLY Dry Everything
This is the most critical step. Wash all the clothes you plan to store, even if they look clean. Invisible stains from formula or spit-up can oxidize and yellow over time. Then, dry them completely. I mean completely. If you’re using a dryer, maybe run them on an extra tumble cycle. If you’re air-drying, give them an extra 24 hours after you think they’re done. Feel the seams and waistbands—these are sneaky spots where moisture hides.
-
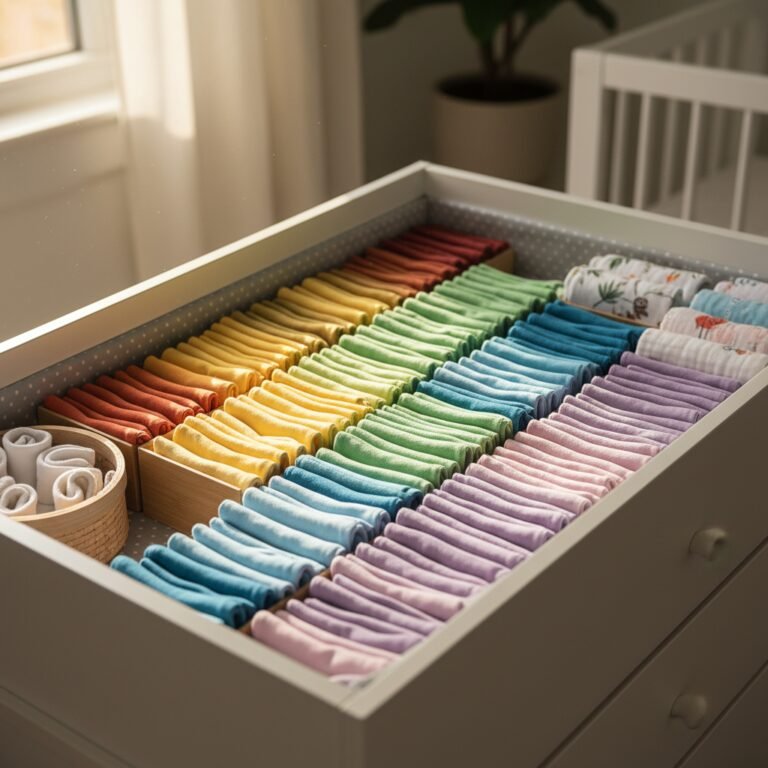
Step 2: Sort, Categorize, and Cull
Before you pack, sort clothes into logical piles. The most common method is by size (0-3 months, 3-6 months, etc.) and then by season (Summer, Winter). This is also the perfect time to pull out any items that are heavily stained or damaged. It’s okay to let some things go!
-
Step 3: Fold Neatly to Minimize Wrinkles
While some wrinkling is inevitable, how you fold makes a big difference. Avoid just stuffing clothes in. Fold items as flat as you can. For onesies and sleepers, fold the arms in and then fold them in half or thirds. For tiny pants, fold them in half lengthwise. Rolling can also be a great technique for items like t-shirts and pajamas and can sometimes result in fewer sharp creases.
-
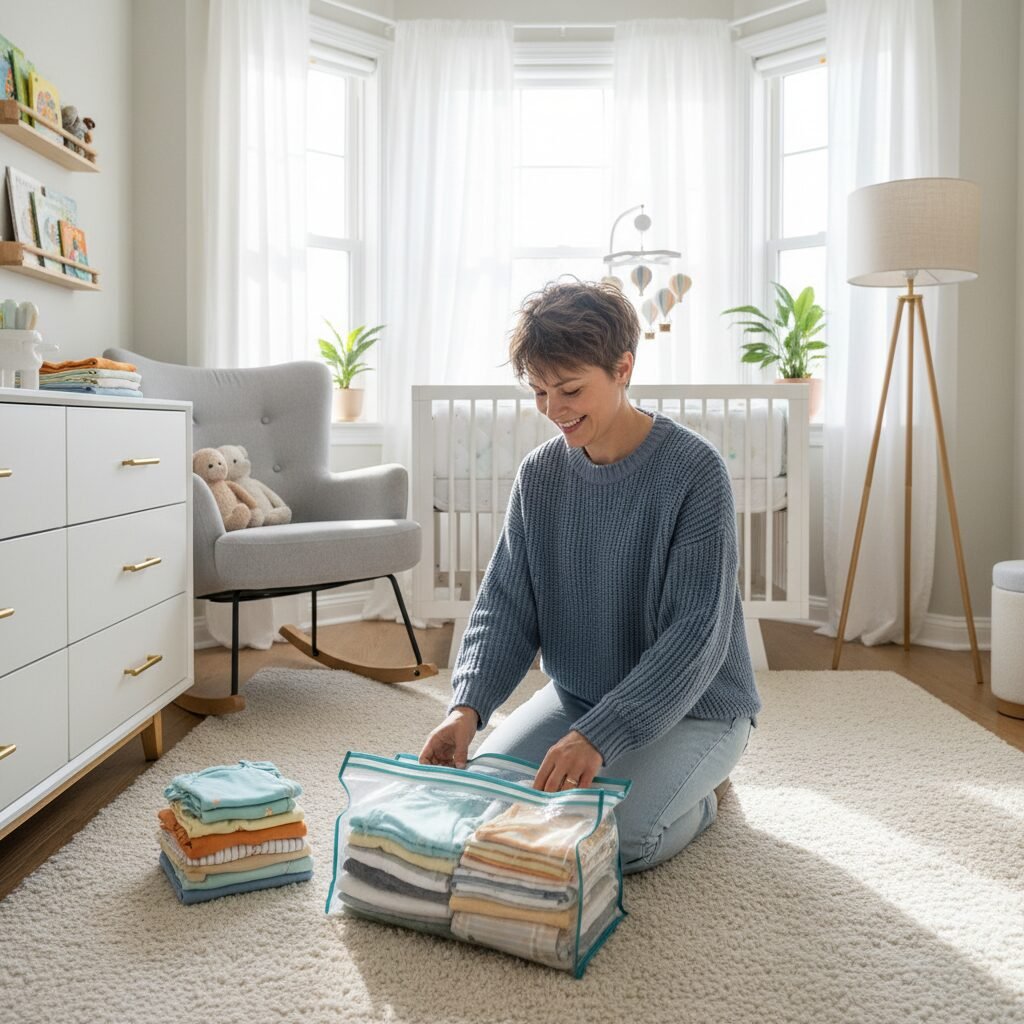
Step 4: Pack the Bag (But Don’t Overstuff!)
Place your neatly folded piles into the vacuum bag. Alternate the direction of bulky items like collars or waistbands to keep the stack level. Pay close attention to the ‘fill line’ on the bag—going over this can put stress on the seal and cause it to fail. It’s better to use two bags than to overfill one.
-
Step 5: Seal and Vacuum with Care
Run your fingers or the little plastic zipper tool that comes with the bags over the seal two or three times to ensure it’s completely closed. Attach your vacuum hose to the valve and turn it on. Watch in amazement as the bag shrinks! Stop vacuuming when the bag is compressed and firm, but not so much that the clothes are crushed into a rock-hard brick. You want the air out, but you don’t need to obliterate the contents.
-
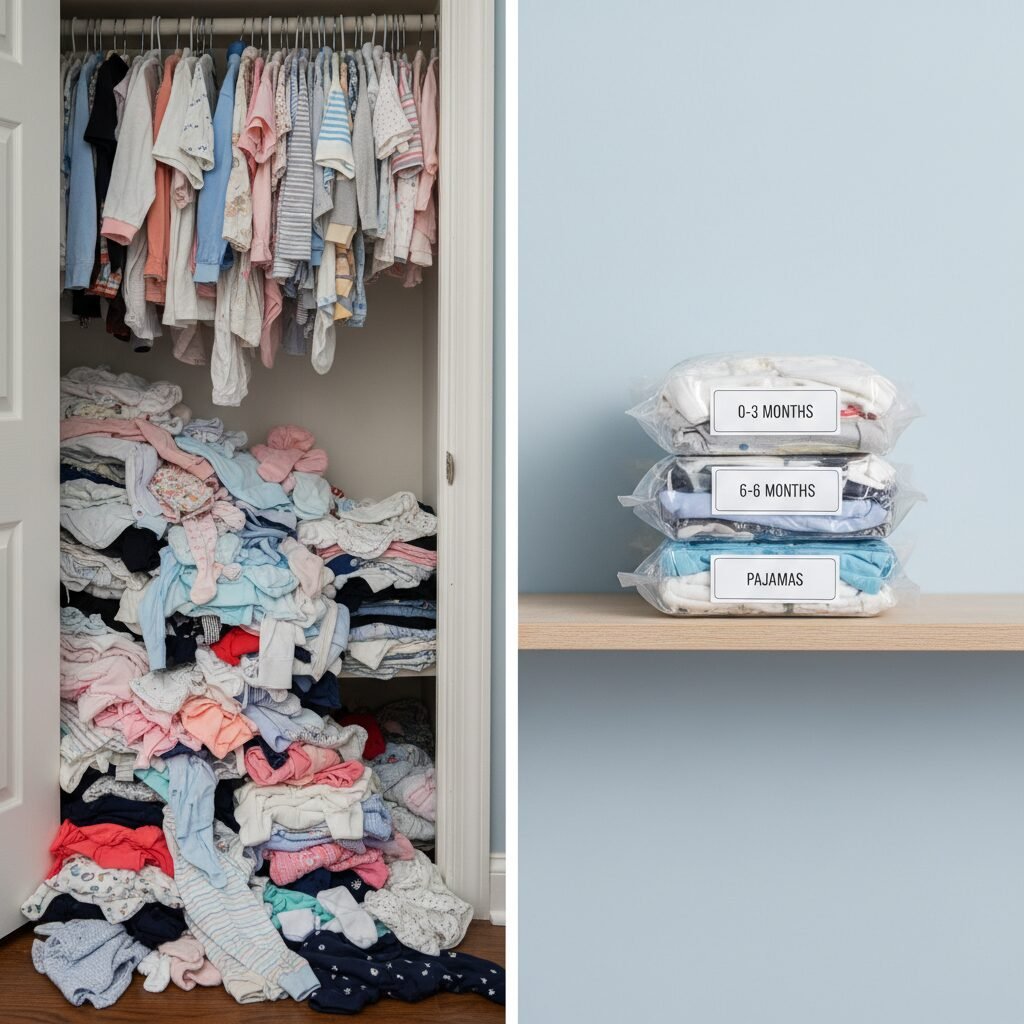
Step 6: Label, Label, Label!
Trust me, you will not remember what’s in each bag six months from now. Use a permanent marker on a piece of masking tape or a stick-on label to clearly mark the contents of each bag. Be specific! ‘0-3 Month, Boy, Summer/Fall’ is much more helpful than just ‘Baby Clothes’.
-
Step 7: Store Smart
Store the compressed bags flat in a cool, dark, and dry place. Under a bed or on a high closet shelf are great options. Avoid attics or basements where temperatures can fluctuate dramatically, which could potentially cause condensation inside the bags.
The ‘Pack This, Not That’ Checklist

Feeling a little unsure about what should get the shrink-wrap treatment and what should be stored differently? That’s completely normal! It’s all about knowing your fabrics. Here’s a quick reference table to make it super simple.
| Category | Examples | Why? |
|---|---|---|
| ✅ Go For It! (Ideal for Sealing) | Cotton onesies, sleepers, t-shirts, leggings, jeans, most pajamas, receiving blankets. | These are durable, washable fabrics that can withstand compression without much fuss. They are the perfect candidates for long-term, space-saving storage. |
| ⚠️ Use Caution (Proceed Carefully) | Puffy jackets, snowsuits, items with delicate buttons or zippers, some fleece items. | These can be sealed, but don’t compress them fully. Over-compressing can damage zippers, break buttons, or permanently flatten the insulation in winter wear. |
| ❌ Absolutely Not (Find Another Way) | Christening gowns, heirloom items, anything made of wool, silk, leather, cashmere, or lace. | These delicate and natural fibers need to breathe. The compression can crush and ruin the fibers, and the lack of airflow can cause damage over time. These treasures deserve a gentler method. |
Safety Warning: Always keep the plastic vacuum bags away from babies and children. They are a suffocation hazard. Once you’ve unpacked the clothes, dispose of the bag immediately or store it in a secure location out of reach.
Not Sold on Sealing? Other Smart Storage Solutions
If you’ve decided vacuum bags aren’t for you, or if you just need a different solution for those delicate heirloom items, don’t worry! There are plenty of other fantastic ways to keep those outgrown baby clothes organized and protected.
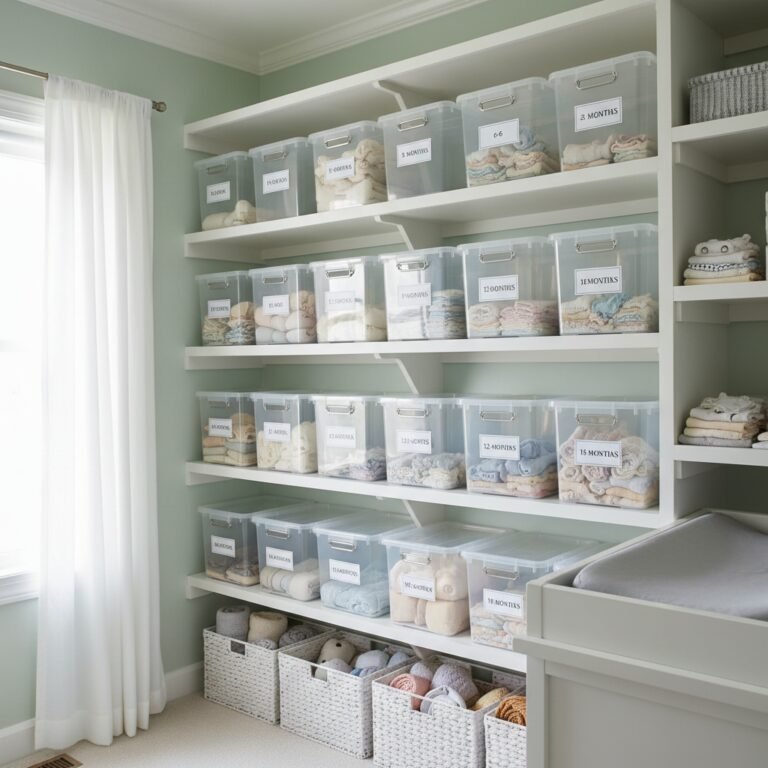
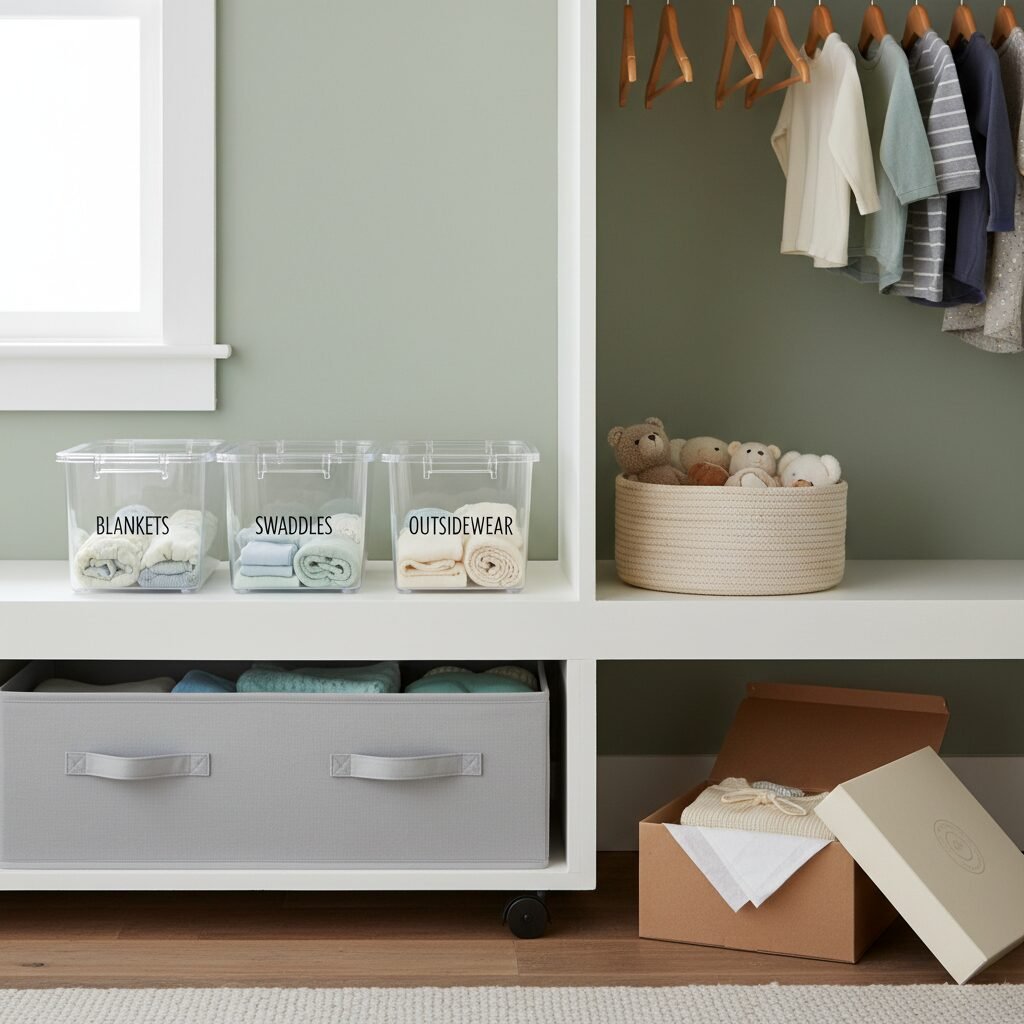
Clear Plastic Bins with Lids
This is the tried-and-true method for a reason. Bins are sturdy, stackable, and protect clothes from dust and moisture. Opt for clear bins so you can easily see the contents. You can even tuck a couple of silica gel packets (the kind that come in shoe boxes) or a cedar block inside to absorb any ambient moisture and deter pests.
Under-the-Bed Storage
That space under the crib or bed is prime real estate! You can find shallow bins with wheels or soft, zippered fabric containers designed specifically for this purpose. It keeps clothes accessible but out of sight.
Archival Storage Boxes
For those truly precious, once-in-a-lifetime outfits like a blessing gown, consider an acid-free archival box. These boxes are designed for long-term preservation of textiles. You can wrap the item in acid-free tissue paper to prevent yellowing and creasing. It’s the same method museums use!
The ‘One Tub Rotation’ System
This is a simple, ongoing method. Keep one empty, labeled storage bin in the nursery closet. As your baby outgrows an outfit, wash it and place it directly into the bin. Once the bin is full, label it with the size range (e.g., ‘6-9 Months’) and move it to your long-term storage area. It prevents the outgrown clothes from piling up and makes the task feel less overwhelming.
Conclusion
And there you have it! The complete guide to conquering that mountain of adorable, outgrown baby clothes. Vacuum sealing can be an incredible tool in your organizational arsenal, freeing up precious space and giving you peace of mind that your little one’s clothes are safe and sound.
Just remember the golden rules: wash and dry everything completely, know which fabrics are safe to seal, and label everything. For those extra-special keepsakes, a gentler approach is always best. Organizing your baby’s things doesn’t have to be another overwhelming chore. Think of it as packing away sweet memories, making room for all the new ones you’re about to create. You’ve got this!