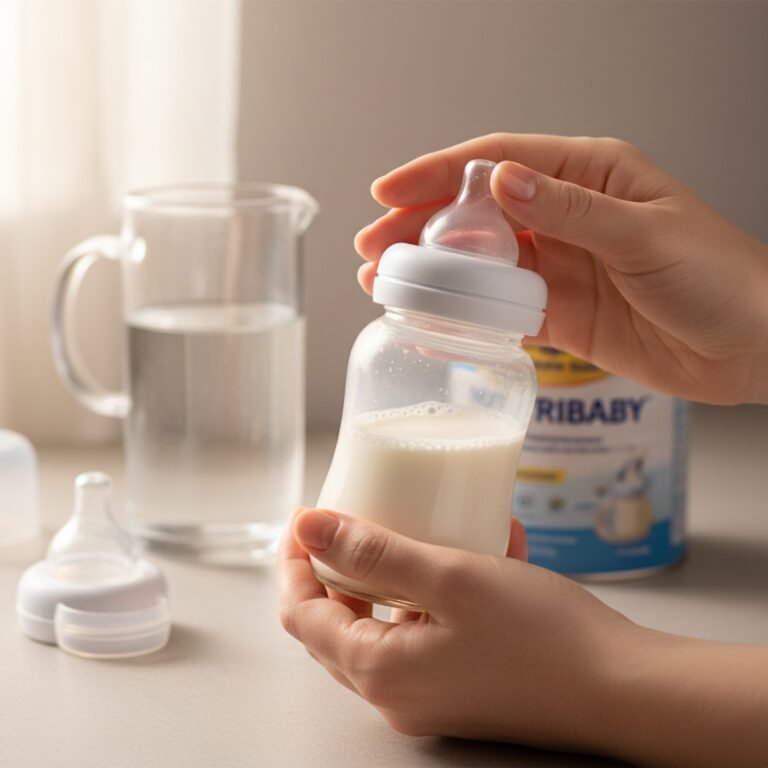
How To Organize Baby Bottles In A Tiny Kitchen
Hey there, new parent. Let me guess what your kitchen counter looks like right now. Is it a chaotic landscape of plastic and silicone? A mountain of baby bottles in various states of clean, half-assembled parts, and that one tiny valve you can never find when you need it? If you’re nodding along, please know you are in excellent company. When you bring a baby home, these tiny feeding tools seem to multiply overnight, and in a small kitchen, it can feel like a full-scale invasion.
I’ve visited countless homes and seen this exact scenario play out. The stress of a cluttered space on top of the exhaustion of caring for a newborn is real. But I’m here to tell you, with a little bit of strategy and a few clever tricks, you can absolutely create a functional, streamlined, and even peaceful bottle-prep area, no matter how tiny your kitchen is. This isn’t about achieving a picture-perfect, social-media-worthy setup. It’s about making your life easier, reducing your stress, and giving you more mental space to focus on what truly matters: snuggling that sweet baby of yours.
In this guide, we’ll walk through a simple, step-by-step process to declutter your stash, create smart zones for washing and drying, and use every inch of your space—especially the vertical kind!—to your advantage. Let’s clear the clutter and bring some calm back to your kitchen.
The ‘Less is More’ Approach: Decluttering Your Bottle Stash

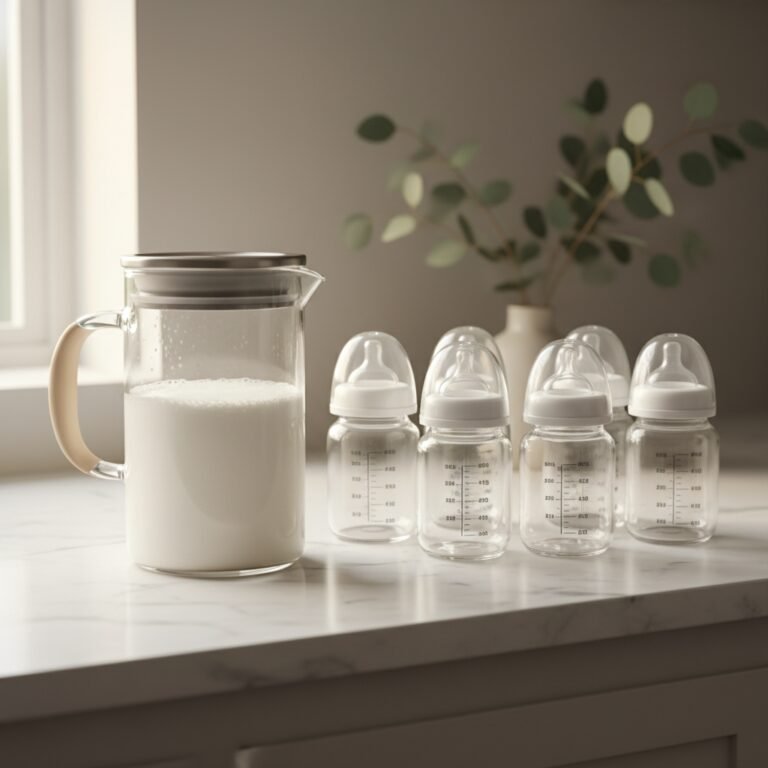
Before we talk about bins and racks, let’s start with the most impactful step: reducing the sheer number of bottles you have out at any given time. It’s so tempting to accept every hand-me-down and buy every cute set you see, but in a small space, excess is your enemy. The goal is to have enough bottles for one full 24-hour period, plus one or two extras for emergencies. For most newborns, this means about 6 to 8 bottles.
Why this number? It’s the sweet spot. It ensures you always have a clean bottle ready for the next feed without needing to wash them after every single use, but it’s not so many that they completely take over. It creates a natural rhythm: you use them throughout the day and then wash them all in one batch at night or in the morning.
How to Right-Size Your Collection:
- Take Inventory: Gather up every single bottle and part from all corners of your house. Yes, even the one in the diaper bag and the one that rolled under the sofa. Seeing them all together can be a powerful motivator!
- Choose Your Champion: Has your baby shown a preference for a specific type of bottle? If so, lean into it. There’s no sense in keeping five different brands on the counter if your little one only happily drinks from one.
- Store the Extras: This doesn’t mean you have to throw the rest away! Pack away the bottles your baby hasn’t grown into yet (like the larger 8- or 9-ounce ones) or any extras you’re not using. Store them in a labeled bin in a closet, attic, or garage. You can rotate them in as needed.
- Let Go: If you have bottles that your baby actively dislikes or that are old and scratched, give yourself permission to pass them on or recycle them (check local guidelines for plastic recycling).
Remember, the goal is to make your daily life easier. A smaller, curated collection of bottles is far less overwhelming to manage, wash, and store than a massive, chaotic pile.
Creating Your ‘Bottle Command Center’: The Wash, Dry, and Assemble Zones
Okay, now that you have a manageable number of bottles, let’s create a system. Think of it like a little assembly line. By creating designated ‘zones’ for each step of the bottle process, you stop the clutter from spreading across the entire kitchen. Everything has a home, and the whole routine becomes faster and more automatic.
The Wash Zone
This area should be right next to your sink. The key here is to keep baby items separate from the rest of your dirty dishes to maintain hygiene. I always recommend getting a simple plastic wash basin. You can keep it in one side of your sink or pull it out onto the counter when it’s time to wash. This basin becomes the dedicated home for dirty bottles. Inside this zone, keep your tools: a good bottle brush, a smaller nipple brush, and a gentle, baby-safe dish soap. When a bottle is used, rinse it out immediately if you can and pop it into the basin. This prevents old milk from hardening and makes washing so much easier.
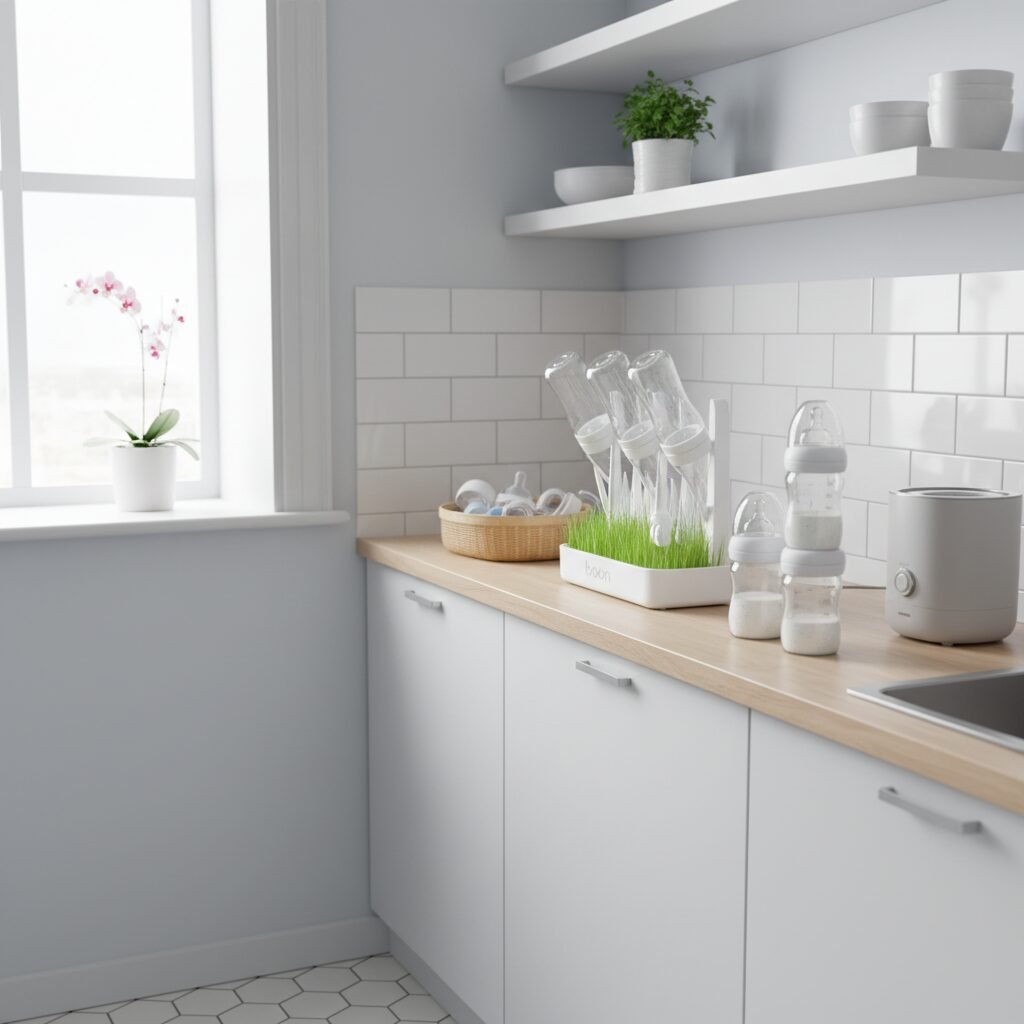
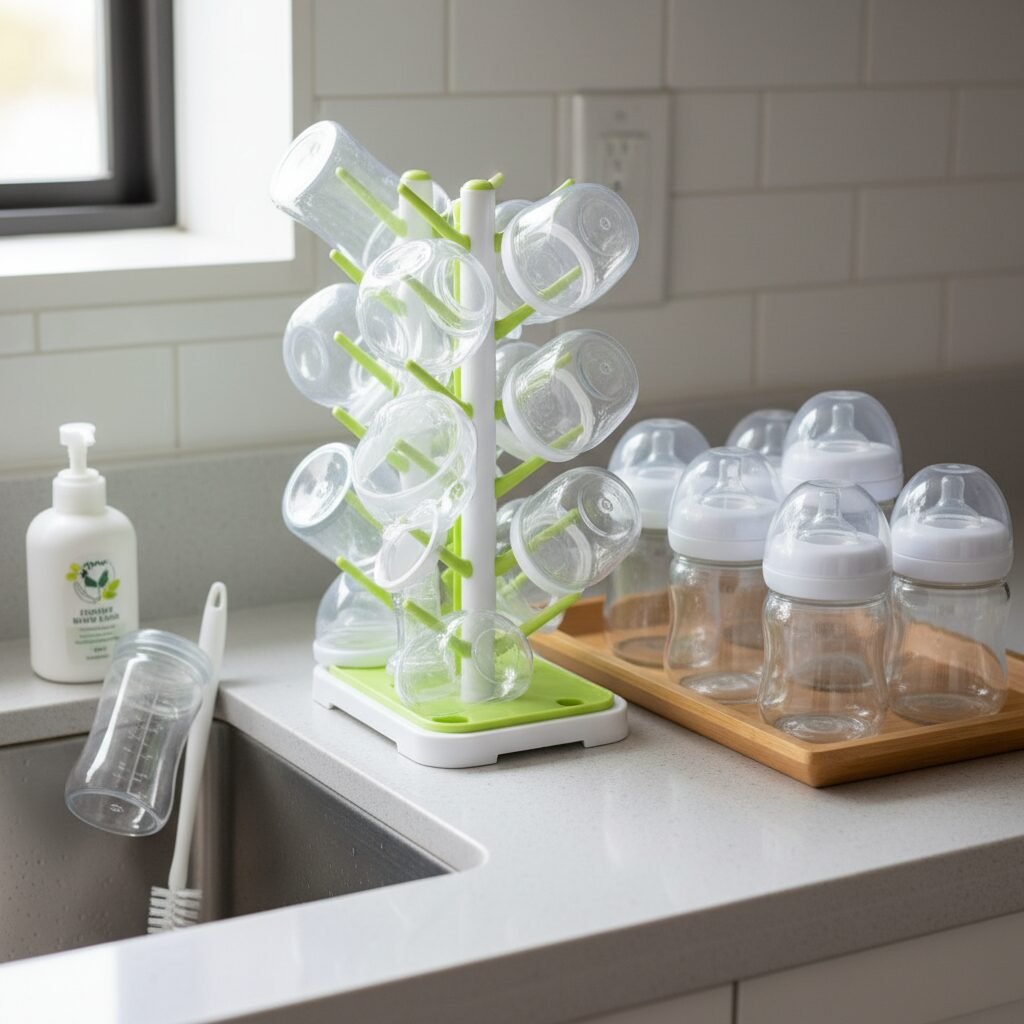
The Dry Zone
This is where tiny kitchens present the biggest challenge. Counter space is prime real estate! Forget those huge, sprawling drying racks that look like a plastic lawn. You need something that thinks vertically. Look for compact, countertop drying racks with a small footprint and vertical ‘stems’ or ‘branches’ to hold bottles, nipples, and rings. Some are even designed to fold up and be put away when not in use. If you absolutely have no counter space to spare, an over-the-sink roll-up drying rack can be a lifesaver. It allows bottles to drip directly into the sink.
The Assemble & Store Zone
Once everything is bone dry (this is important to prevent bacteria growth!), you need a place for the finished product. This could be a designated section of your counter or, even better, a dedicated spot in a cabinet right above your ‘Dry Zone’. The goal is to immediately assemble the clean, dry bottles and have them ready to grab. A simple tray or a shallow basket can define this space. You’ll grab a bottle, fill it, and be on your way—no more hunting for a matching nipple while your baby is crying.
Think Vertical! Smart Storage Hacks for Cramped Spaces
In a tiny kitchen, the secret to success is looking up. Your horizontal surfaces are limited, but your vertical space—inside cabinets and on walls—is full of untapped potential. It’s time to get creative and make those spaces work for you.
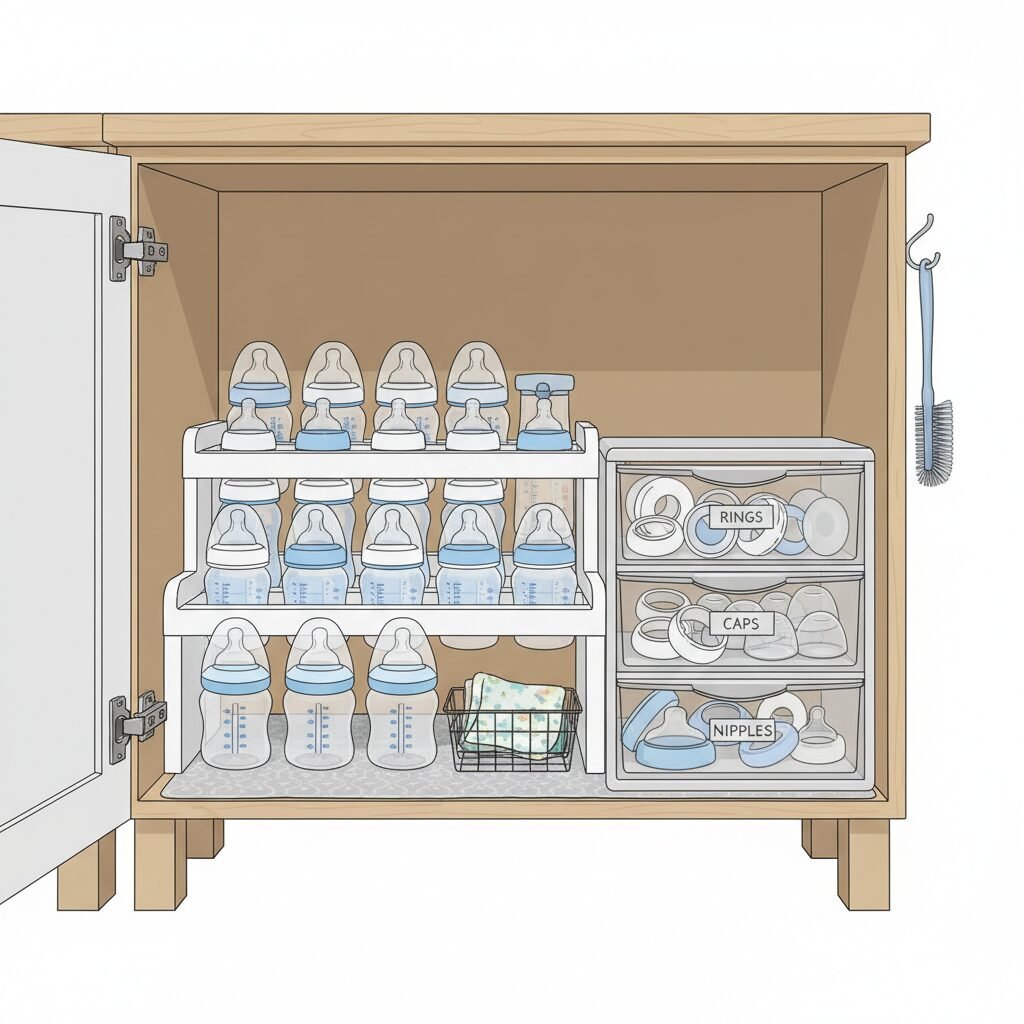
Inside Your Cabinets
Don’t just line bottles up on a shelf; that’s a recipe for them to get knocked over and lost in the back. Instead, maximize that cabinet real estate:
- Tiered Shelves: Also called a cabinet organizer or spice rack, these create multiple levels on a single shelf. You can put assembled bottles on one level and other feeding supplies (like formula canisters or bibs) on another.
- Stackable Bins: Clear, stackable bins are a game-changer. You can have one bin for assembled bottles, another for pump parts, and so on. Because they’re clear, you can see what’s inside at a glance.
- Turntables (Lazy Susans): These are pure magic for corner cabinets or deep shelves. Place your bottles on a turntable, and with a simple spin, you can bring the ones from the back to the front. No more reaching into the dark abyss of your cabinet!
On Your Walls and Doors
If your cabinet space is truly maxed out, consider using your walls.
- Small Floating Shelves: A single, small floating shelf installed near your prep area can be the perfect home for your ‘Assemble & Store Zone’.
- Over-the-Door Organizers: The inside of a pantry door is a goldmine of storage space. A clear, pocketed shoe organizer is fantastic for storing clean, dry bottle parts, pacifiers, and other small items.
Beyond the Cabinets: The Utility Cart
If you have a little bit of floor space, a narrow, rolling utility cart can become your mobile bottle station. You can stock it with bottles on one level, formula and a bottle warmer on another, and cleaning supplies on the bottom. You can keep it in the kitchen during the day and even roll it into your bedroom for easier nighttime feedings.
Taming the Tiny Parts: Solutions for Nipples, Rings, and Caps
Let’s be honest: the bottles themselves aren’t the main problem. It’s the confetti of tiny, easy-to-lose parts that creates the most chaos. Nipples, rings, caps, travel discs, anti-colic vents… they all need a home. Just tossing them into a drawer is a recipe for frustration at 3 a.m.
The solution is containment and compartmentalization. You want to be able to open a drawer or grab a basket and immediately find what you need. Here are some of my favorite ways to organize these little pieces:
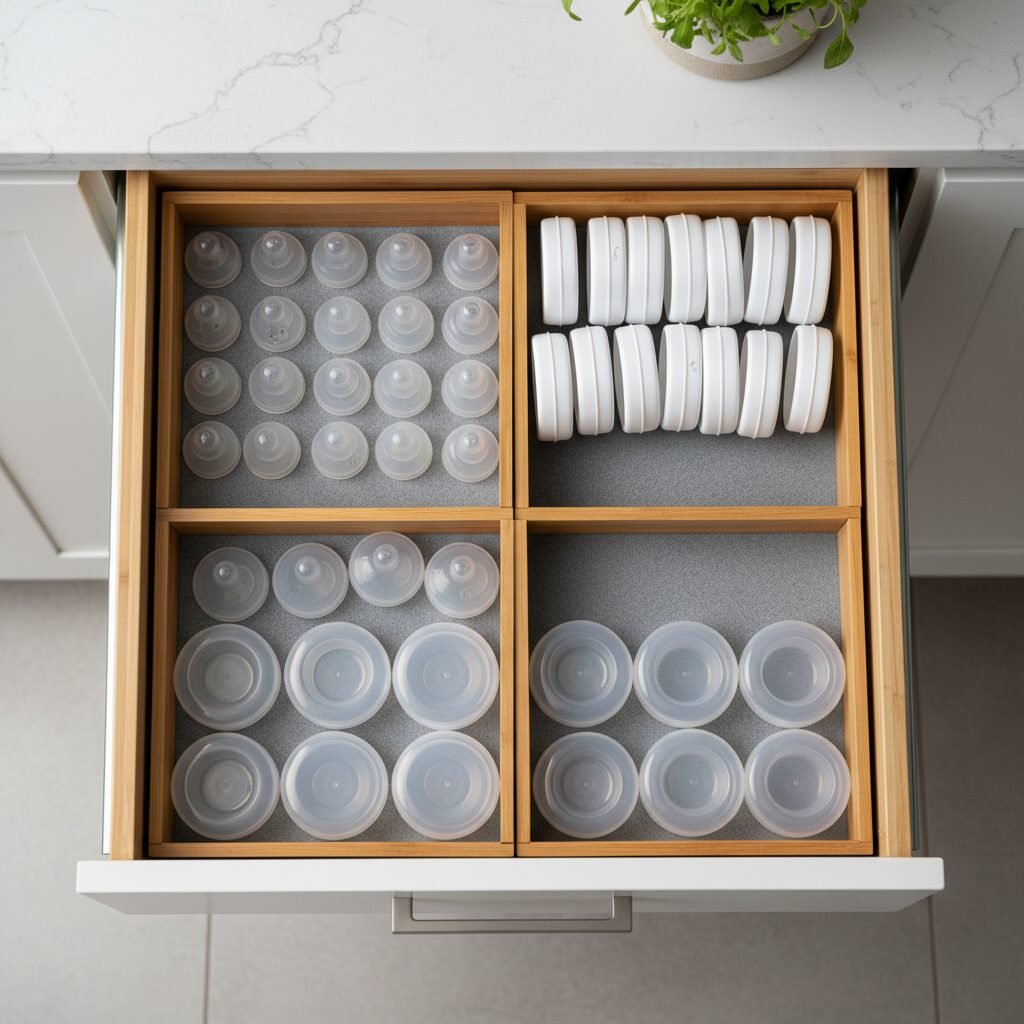
- Drawer Dividers: If you have a spare drawer, don’t just dump everything in. Use adjustable drawer dividers to create custom-sized compartments for each type of part. One section for nipples, one for rings, one for caps. It’s incredibly satisfying and so functional.
- Small Baskets or Bins: Get a few small, inexpensive baskets or clear food storage containers. Dedicate one to each part and label it. You can line these up on a cabinet shelf or on your countertop. The ‘grab and go’ nature of a basket is perfect for when you’re in a hurry.
- Dishwasher Baskets: Those little plastic cages for washing small parts in the dishwasher can do double duty. Use one as a permanent storage container in your cabinet. It keeps everything contained and breathable.
Choosing the right method depends entirely on your kitchen’s layout. Here’s a quick comparison to help you decide:
| Organizer Type | Best For | Pros | Cons |
|---|---|---|---|
| Adjustable Drawer Dividers | A dedicated shallow drawer | Highly customizable; keeps parts separated and easy to see. | Requires you to give up a whole drawer. |
| Small Labeled Baskets | Cabinet shelves or countertop | Portable and flexible; easy to grab the whole ‘nipple basket’. | Can become cluttered inside if not maintained. |
| Turntable (Lazy Susan) | Corner cabinets or deep shelves | Excellent for accessing multiple small containers easily. | Not ideal for stacking; needs a specific cabinet shape. |
| Clear Food Containers | Stacking in a deep cabinet | Stackable to save space; protects parts from dust. | Can be cumbersome to unstack to get to the bottom one. |
Safety Tip: Always make sure you’re matching the right nipple flow rate to the right ring and bottle, especially if you’re using different stages for your growing baby. Labeling your containers (e.g., ‘Newborn Nipples,’ ‘Medium Flow’) can be a huge help.
Integrating Pumping Parts and On-the-Go Prep
Your bottle organization system isn’t just for formula or prepared breast milk; it also has to accommodate the gear that comes with pumping and leaving the house. Integrating these elements from the start will make your whole routine feel seamless.
Organizing Pumping Parts
Pump parts are bulky, oddly shaped, and have their own collection of tiny membranes and valves. They deserve their own dedicated space. The ‘Wash Zone’ and ‘Dry Zone’ you already created will work perfectly for them, but their storage should be separate from your feeding bottles to avoid confusion.
- Designate a Pumping Caddy: Find a basket or bin that is large enough to hold all your pump parts: flanges, connectors, valves, membranes, and the bottles that attach to your pump. Keep this caddy near your pump or in a convenient cabinet. When it’s time to pump, you just grab the whole caddy.
- The ‘Fridge Hack’ Container: Many breastfeeding parents use the ‘fridge hack’—storing their pump parts in a sealed bag or container in the refrigerator between sessions to reduce washing. If you do this, have a specific, large, sealed container designated for this purpose. This keeps the parts clean and separate from your food.
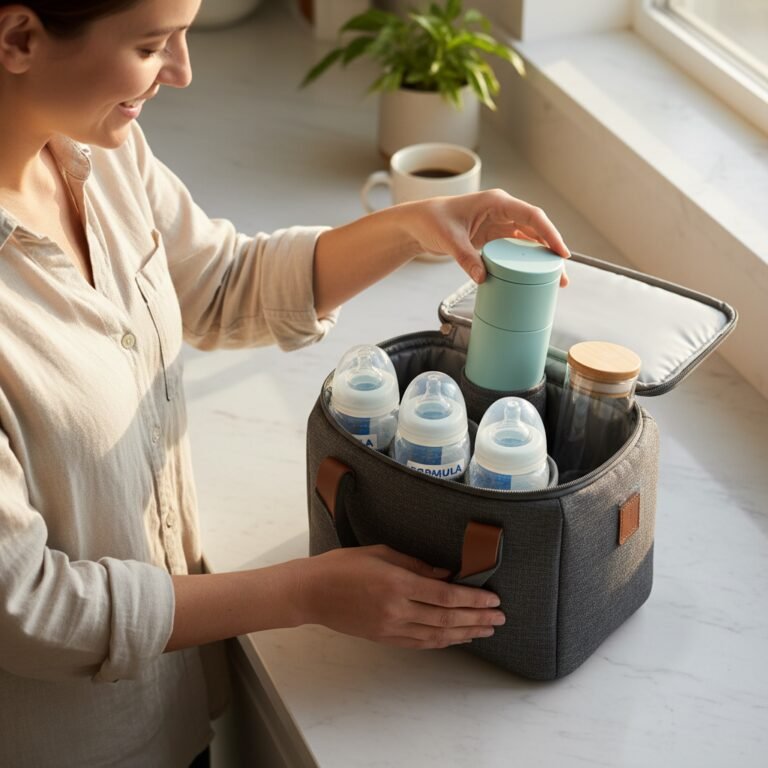
Creating an ‘On-the-Go’ Station
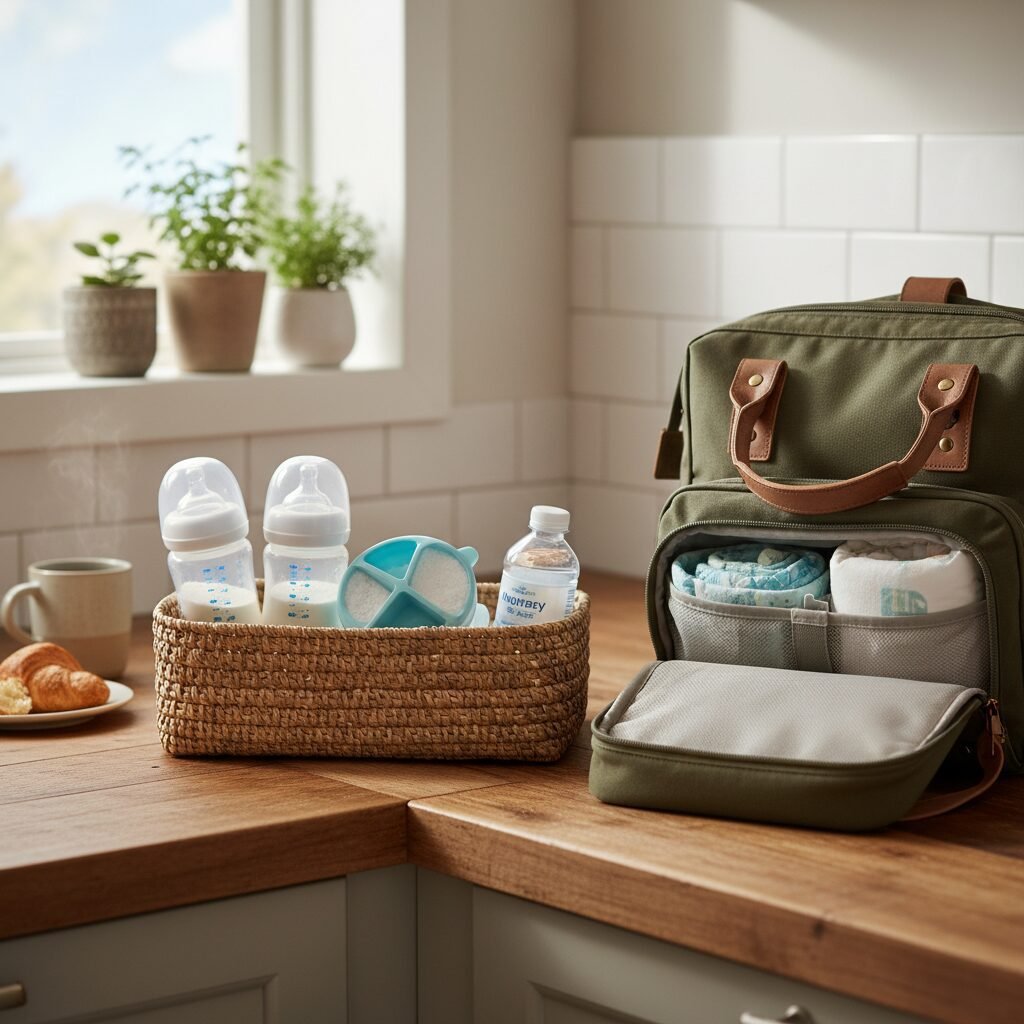
There’s nothing more stressful than trying to pack a diaper bag with a fussy baby on your hip. You can eliminate this chaos by creating a grab-and-go station. Designate a small area on your counter or a basket in a cabinet as your ‘Go Station’.
Keep this area stocked with:
- Ready-to-Go Bottles: A couple of your clean, assembled bottles.
- Formula Dispensers: Pre-portioned single servings of powdered formula.
- Bottled Water: If you use formula, having a nursery water bottle or a clean water bottle ready to go saves a step.
- Travel Caps/Discs: To prevent leaks in the diaper bag.
When it’s time to leave, you’re not searching for anything. You just grab the prepped items from your station, pop them in the diaper bag, and you’re out the door. It’s a small system that can have a huge impact on making outings feel less daunting.
Conclusion
There you have it. It might seem like a lot of steps, but at its heart, organizing your baby bottles in a tiny kitchen is all about being intentional. It’s about taking a moment to create a simple system that works for you and your space. Let’s quickly recap the core ideas: start by decluttering to a manageable number, create dedicated zones for washing and drying, think vertically to maximize your storage, and give all those tiny parts a proper home.
Please, hear this from me: do not pressure yourself to have a perfect kitchen. Life with a new baby is messy, unpredictable, and that is completely okay. The goal here is not perfection; it’s function. It’s about removing one small point of friction from your day so you have more energy for the moments that matter—the sleepy smiles, the milk-drunk cuddles, and the incredible journey of watching your little one grow.
You are doing an amazing job. Be kind to yourself, embrace the solutions that make your life feel a little bit easier, and know that you’ve got this.