No Sterilizer? No Problem! The Old-School Pot Method to Sanitize Bottles
Hello, new parent! Welcome to this beautiful, chaotic, and utterly wonderful journey. If you’re currently standing in a store (or scrolling online at 3 AM) feeling completely overwhelmed by the sheer volume of baby gadgets, please take a deep breath. You are not alone. From wipe warmers to smart bassinets, the pressure to buy everything can be intense. One of the items that often causes confusion is a bottle sterilizer. It sounds so official and necessary, right?
Well, as a pediatric nurse and lactation consultant who has seen it all, I’m here to let you in on a little secret: you don’t need a fancy, expensive sterilizer to keep your baby safe. For generations, parents have used a simple, effective, and practically free method to get the job done: a good old-fashioned pot of boiling water. It’s safe, it’s approved by the Centers for Disease Control and Prevention (CDC), and it’s probably already in your kitchen cabinet.
So, let’s quiet the noise of the baby-industrial complex together. In this guide, we’ll walk through everything you need to know about sanitizing bottles, pump parts, and pacifiers using the boiling water method. You’ve got this, and I’m here to help every step of the way.
Why Bother Sanitizing? A Quick Peek at Your Baby’s Immune System
Before we dive into the ‘how,’ let’s talk about the ‘why.’ It’s easy to wonder if sanitizing is truly necessary. After all, aren’t babies supposed to be exposed to some germs to build their immune systems? That’s a great question, and the answer is yes… eventually. But for the first few months, your little one’s immune system is still a work in progress. It’s brand new and hasn’t had the time to build up the robust defenses that you and I have.
Think of it like a brand new garden. You wouldn’t want to throw a bunch of weeds in right away; you’d want to give the delicate seedlings a chance to grow strong first. Sanitizing feeding equipment helps protect your baby from harmful bacteria, viruses, and parasites that can cause illnesses like thrush or gastroenteritis (a nasty stomach bug that can lead to vomiting and diarrhea).
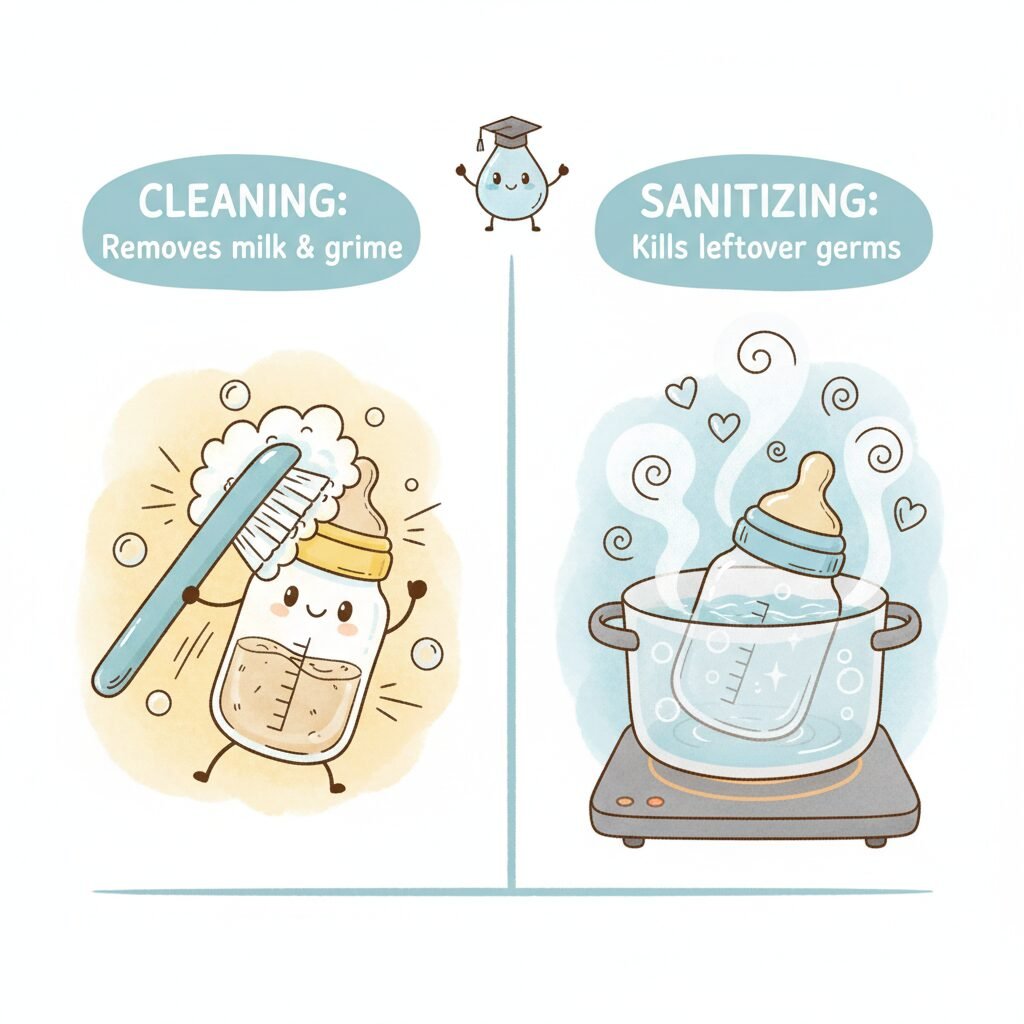
Cleaning vs. Sanitizing: What’s the Difference?
This is a key point! They aren’t the same thing, and you need to do both.
- Cleaning: This is the first and most important step. It involves using hot, soapy water and a bottle brush to physically scrub away milk residue and germs from all surfaces. You must clean items before you sanitize them. Sanitizing a dirty bottle is like spraying air freshener in a room without taking out the trash—it doesn’t solve the underlying issue.
- Sanitizing: This is the second step. It uses high heat to kill any remaining microscopic germs that might have survived the initial washing. It’s that extra layer of protection for your baby.
The CDC recommends daily sanitizing of feeding items for at least the first three months of life, and for longer if your baby was born prematurely or has a weakened immune system. After three months, you can typically reduce sanitizing to a few times a week, as long as your baby is healthy and you continue to wash bottles thoroughly after each use.
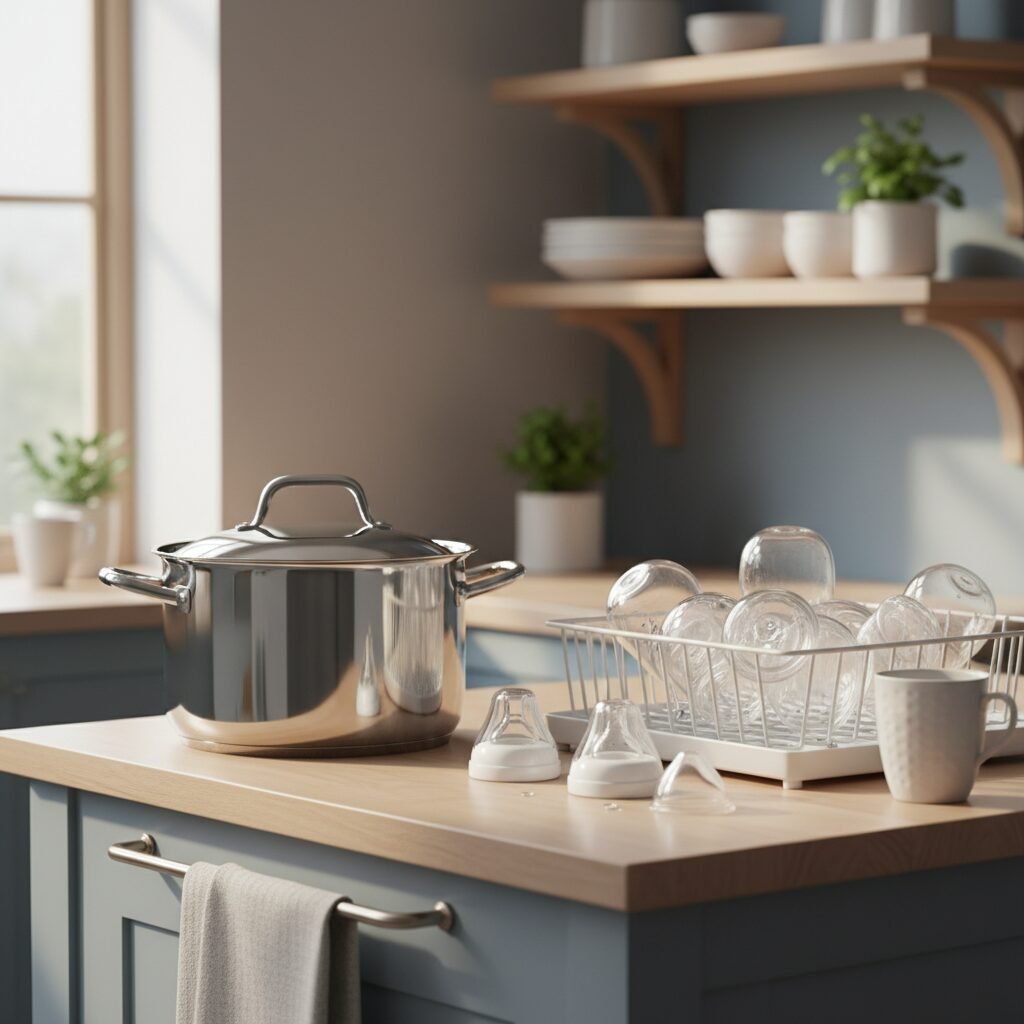
Gathering Your Gear: What You’ll Need for the Pot Method
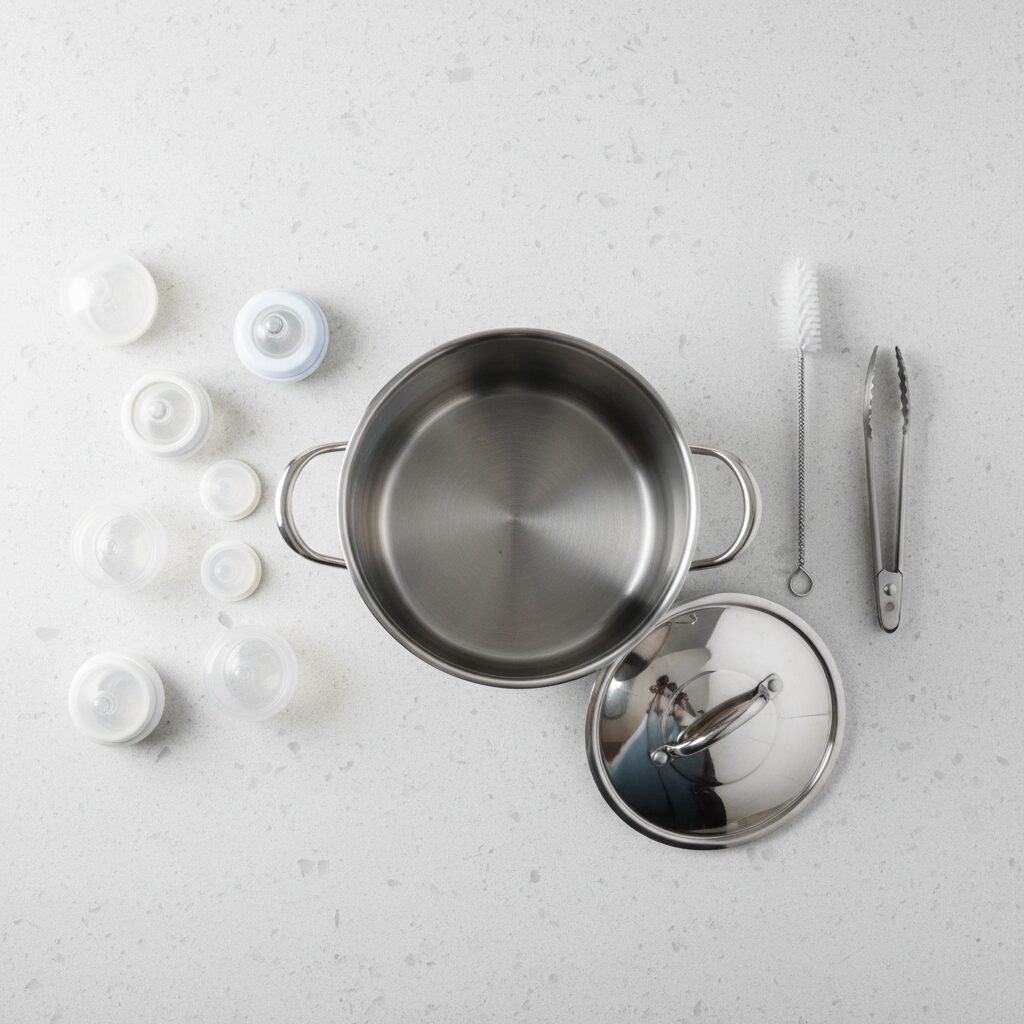
Ready to get started? The beauty of this method is its simplicity. You likely have everything you need already. No special trips to the store required!
Your Sanitizing Toolkit:
- A Large Pot with a Lid: This is your sterilizer! It should be large enough to completely submerge all the bottle parts without them being crammed together. Many parents find it helpful to have a ‘baby-only’ pot that they reserve just for this purpose, but as long as the pot is thoroughly cleaned, any large stockpot will do.
- Water: Simple tap water is perfectly fine.
- Tongs: A clean set of kitchen tongs (preferably metal) is essential for safely adding and removing items from the boiling water without burning your fingers or re-contaminating the parts.
- A Clean Drying Area: You’ll need a dedicated spot for the sanitized items to air dry. A special bottle-drying rack is great, but a clean dish towel or paper towels laid out on the counter works just as well.
- Bottle Brush & Soap: Remember, you have to clean everything first! A good bottle brush that can get into all the nooks and crannies is a new parent’s best friend.
That’s it! See? I told you it was simple. No plugs, no special descaling solutions, just basic kitchen equipment standing by and ready to help.
The Step-by-Step Guide to Boiling Water Sanitization
Alright, let’s walk through the process together. Once you do it a couple of times, it’ll become second nature. Just follow these steps for safe and effective sanitizing every time.
- Step 1: Wash Your Hands & Clean Your Gear. Start by washing your hands thoroughly with soap and water. Then, take apart all the bottles—separate the nipples, rings, caps, and bottles. Wash everything in a clean basin (not directly in the sink, which can harbor bacteria) with hot water and soap. Use your bottle brush to scrub every surface, ensuring no milk film is left behind. Rinse everything well.
- Step 2: Place Items in the Pot. Put all the cleaned bottle parts into your large pot. Try to make sure items like the bottle itself and the nipples aren’t trapping any large air bubbles. You can gently swish them around to release the air.
- Step 3: Add Water and Cover. Pour enough water into the pot to cover all the items completely. There should be at least an inch or two of water above the tallest item. Putting the lid on the pot will help the water come to a boil faster.
- Step 4: Bring to a Rolling Boil. Place the pot on the stove over high heat. Watch for the water to reach a full, rolling boil. That means big, continuous bubbles breaking the surface, not just tiny simmering bubbles.
- Step 5: Boil for 5 Minutes. Once the water is at a rolling boil, set a timer for five minutes. This is the duration recommended by the CDC to ensure all harmful germs are killed. Do not leave the pot unattended during this time.
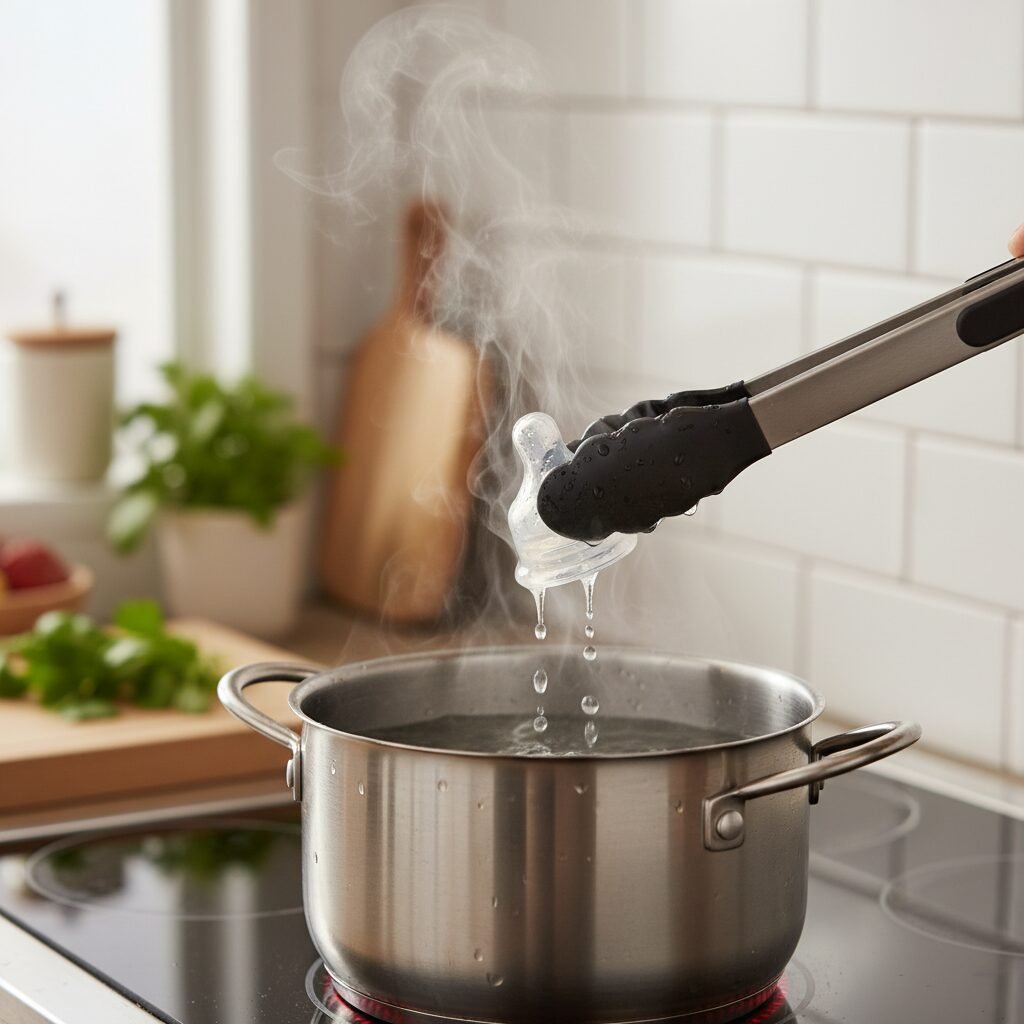
- Step 6: Carefully Remove Everything. Turn off the heat. Using your clean tongs, carefully lift each piece out of the hot water. Be extra cautious—the water and the items are extremely hot! Let the excess water drip back into the pot.
- Step 7: Air Dry Completely. Place the hot, sanitized items on your clean drying rack or towel. Allow them to air dry completely before you reassemble them. Using a dish towel to dry them can reintroduce germs, so air drying is the best and safest method. Once dry, you can assemble the bottles and store them in a clean, covered area.
Common Questions & Troubleshooting: Your Boiling Method FAQ
As you get into the swing of things, a few questions might pop up. Here are the answers to some of the most common ones I hear from new parents.
How often do I really need to sanitize?
For the first 3 months, daily sanitization is the gold standard. The same applies if your baby is premature or has health issues. After that, if your baby is healthy, you can usually scale back. The most important thing is always, always, always thoroughly washing parts in hot, soapy water after every single use.
Can I sanitize plastic bottles this way? Will they melt?
Most modern baby bottles, including plastic ones, are designed to be boiled. Check for a label that says ‘boiling-safe’ or ‘BPA-free.’ As long as the parts don’t touch the dry bottom of a hot pot (which is why ensuring they are fully submerged in water is key), they should be perfectly fine. Avoid boiling any disposable bottle liners or parts not meant for reuse.
Does this work for pacifiers and breast pump parts, too?
Absolutely! This method is fantastic for anything that goes in your baby’s mouth or comes into contact with breast milk or formula. Pacifiers, teethers (if they are boiling-safe), and all the various flanges, valves, and membranes from your breast pump can be sanitized this way. Just be sure to check your pump’s manual, as some delicate parts might have specific instructions.
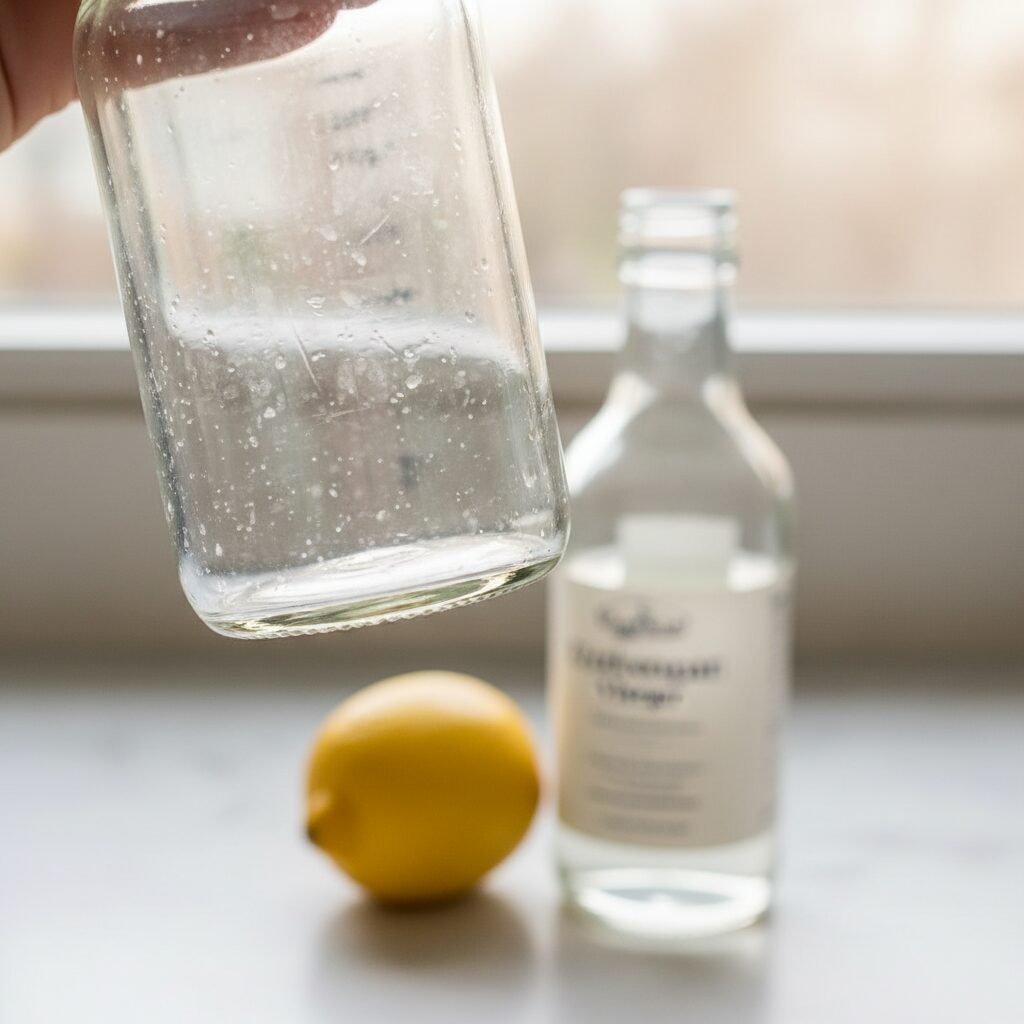
Help! My bottles look cloudy after boiling. Are they ruined?
Don’t worry! This is almost always due to mineral deposits from hard water, not a problem with the bottles themselves. It’s harmless. To fix it, you can occasionally add a splash of white vinegar to the boiling water, which helps prevent the mineral buildup. The bottles are still safe to use even if they look a little cloudy.
Safety First! Important Reminders for Hot Water & Baby Gear

While this method is simple, we are dealing with boiling water, so safety is paramount. Your own well-being is just as important as your baby’s! Please keep these crucial safety tips in mind every time you sanitize.
- Stay Present: Never, ever leave a pot of boiling water unattended on the stove. It only takes a moment for something to happen.
- Create a Safe Zone: Make sure the pot handle is turned inward, away from the edge of the stove, to prevent it from being knocked over. Keep older children and pets far away from the kitchen while you’re working.
- Use Your Tools: Always use tongs to remove items. Your fingers, even for a split second, can get a serious burn from boiling water or steam.
- Inspect Your Gear: After sanitizing, give everything a quick once-over. High heat can cause wear and tear over time. Look for any signs of cracking, warping, or discoloration. Damaged items, especially nipples, should be discarded and replaced immediately.
A Nurse’s Gentle Warning: Your focus is understandably on your new baby, but please don’t forget about your own safety. Burns are painful and can be serious. Take your time, eliminate distractions, and handle the hot pot and water with the utmost care. You are precious, too!
Conclusion
See? No fancy gadgets required. With just a pot, some water, and a few minutes of your time, you can ensure your baby’s feeding equipment is perfectly safe and sanitary. The boiling water method is a testament to the fact that sometimes, the simplest, most time-honored solutions are the best. It saves you money, reduces counter clutter, and works just as effectively as a high-tech sterilizer.
Being a new parent is a marathon, not a sprint. Give yourself grace, trust your instincts, and don’t ever feel like you need to have the latest and greatest of everything to be a fantastic parent. You are already doing an incredible job. Keeping your baby safe, fed, and loved is the goal, and you’re achieving it beautifully. Now, go enjoy some of those precious baby snuggles—you’ve earned them!