7 Genius Ways To De-Stink Your Diaper Pail For Good
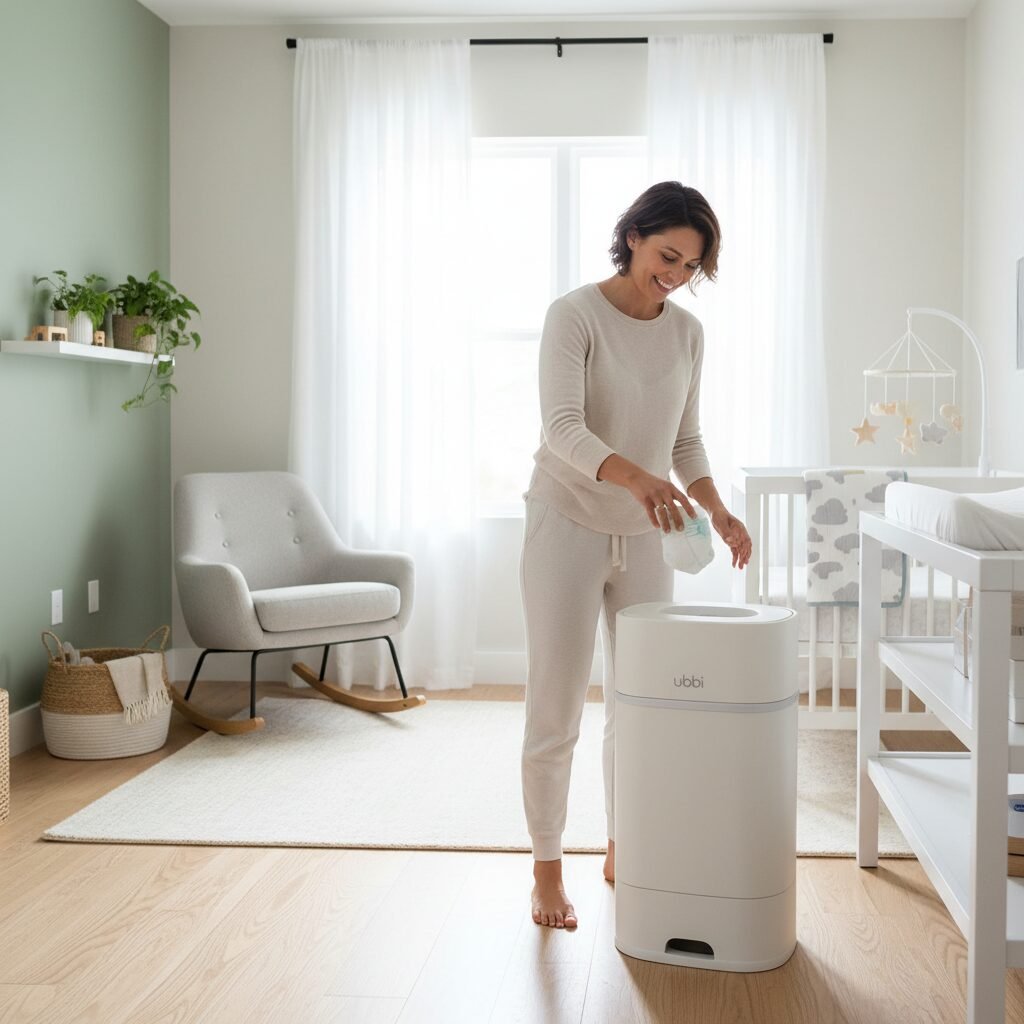
Hey there, new parent. Let’s talk about something that’s not exactly glamorous but is 100% a part of this beautiful, messy journey: the diaper pail. You meticulously designed the nursery, picked out the softest blankets, and chose the most peaceful mobile. But now, there’s an unwelcome guest hanging in the air—a phantom funk that seems to emanate from that one corner. You’re not alone! I’ve been in countless homes as a pediatric nurse, and the battle against the dreaded diaper pail stink is a universal one.
It can feel like a losing fight. You empty it, you spray it, you hold your breath and hope for the best. But that stubborn odor lingers, making you wonder if your home will ever smell the same again. Well, take a deep, fresh breath of air (soon, I promise!), because I’m here to share some secrets from my years in the trenches. These aren’t just quick fixes; these are 7 genius, long-term strategies to de-stink your diaper pail for good. It’s time to reclaim your nursery’s air space and focus on what really matters: soaking up every precious moment with your little one.
Genius Way #1: Build a Better Foundation with the Right Pail & Bags

Genius Way #1: Build a Better Foundation with the Right Pail & Bags
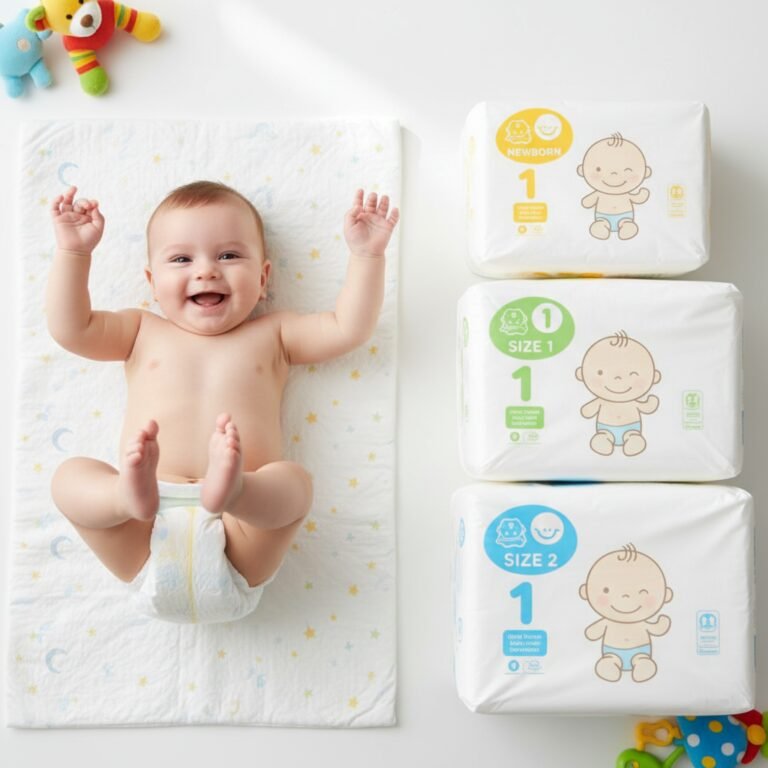
Before we even get to the deodorizing hacks, let’s start at the source. The pail and bags you choose make a monumental difference. Think of it as building a fortress against odor; if the walls aren’t strong, the stink will always find a way to escape.
Material Matters: Steel vs. Plastic
Most diaper pails on the market are made of plastic. While they are often more affordable, plastic is a porous material. Over time, it can absorb and trap odor molecules, meaning the pail itself starts to smell, even when it’s empty and clean. You might notice a persistent sour smell that you just can’t scrub away. That’s the plastic itself holding onto the odor.
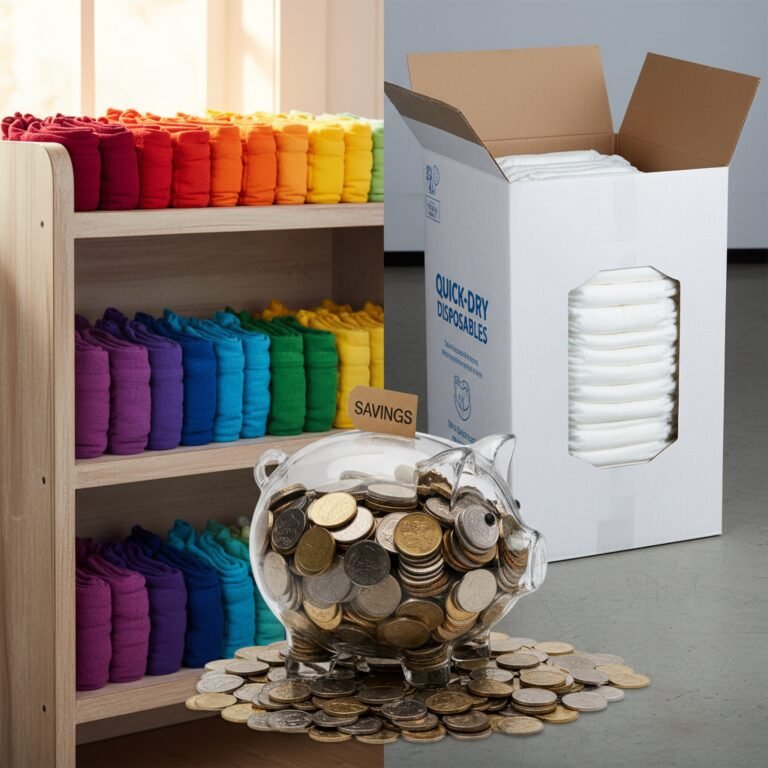
This is where steel pails come in as a game-changer. Pails made from materials like stainless steel are non-porous. Odors can’t seep into the material, so when you clean it, you’re truly getting it clean. They often come with a higher price tag, but from my experience with countless families, the investment pays off in the long run by providing a much more effective, long-lasting barrier against smells. Look for models with rubber seals around the lid for an extra layer of odor-trapping security.
The Unsung Hero: The Right Diaper Bag
Don’t underestimate the power of the bag! While it might be tempting to use standard kitchen trash bags to save money, specialized diaper pail liners are designed for this specific, smelly job. Here’s what to look for:
- Multi-Layered Film: Many diaper pail bags are constructed with multiple layers of film. This technology helps to trap odor molecules inside the bag, preventing them from escaping into the pail and the room.
- Odor-Blocking Scents or Materials: Some bags are lightly scented (be sure it’s a gentle scent that doesn’t irritate you or the baby) or are made with materials that help neutralize odors on contact.
- The Perfect Fit: Using the bag designed for your specific pail model ensures a snug fit. This prevents gaps where odors can escape and reduces the risk of the bag slipping and creating a mess inside the pail.
Choosing a sturdy pail and the right bags is your first and most important line of defense. It creates a system that contains the mess and smell from the very beginning, making all the other hacks on this list even more effective.
Genius Way #2: Harness the Power of Baking Soda & Activated Charcoal
Genius Way #2: Harness the Power of Baking Soda & Activated Charcoal
Now that you have your fortress, let’s add some internal security. You don’t need harsh chemicals or overpowering artificial fragrances to fight odors. Two of the most powerful, natural, and baby-safe deodorizers are probably already in your home: baking soda and activated charcoal.
The Science of Stink-Fighting
Why do these simple substances work so well? It’s all about chemistry!
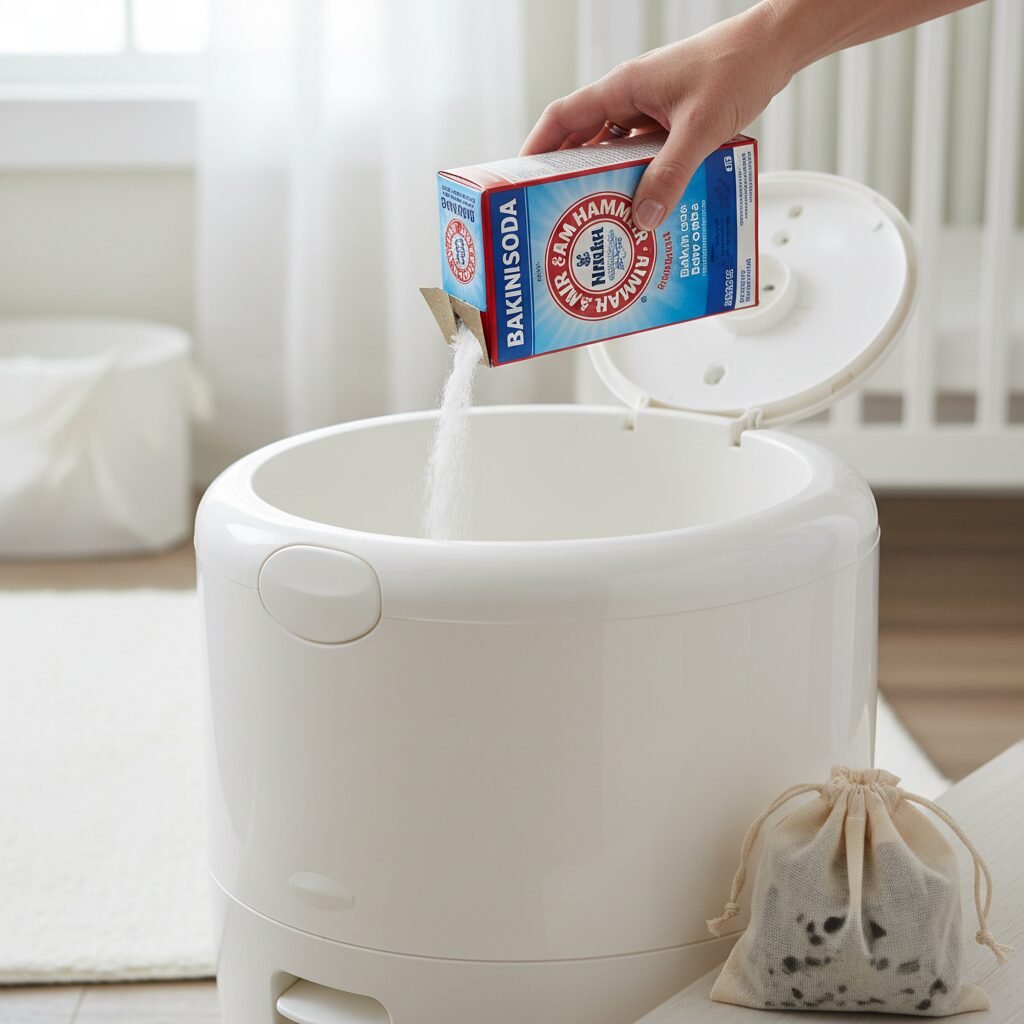
- Baking Soda (Sodium Bicarbonate): Dirty diapers create acidic odors. Baking soda is alkaline, meaning it has a high pH. When it comes into contact with those acidic smells, it neutralizes them. Instead of just covering up the smell like a perfume, it chemically changes it, eliminating it at the source.
- Activated Charcoal: This is a form of carbon that has been ‘activated’ to be incredibly porous. Think of it like a sponge, but for odors. The huge surface area of activated charcoal traps and absorbs odor molecules from the air, pulling them out of circulation.
How to Use Them Effectively
Putting these powerhouses to work is incredibly simple. Here are a few methods I always recommend:
- The Bottom-of-the-Pail Sprinkle: After you empty the pail and before you put in a new liner, sprinkle a generous layer of baking soda directly onto the bottom of the pail. This creates a base layer that starts neutralizing odors the second they enter the pail.
- The Layering Technique: After you put a particularly stinky diaper in the pail, give a little puff of baking soda on top of it before you close the lid. This tackles the worst offenders immediately.
- Create a Deodorizing Sachet: Don’t want loose powder? No problem. Get a small, breathable fabric bag (like a muslin or organza bag) or even an old (clean!) sock. Fill it with a mixture of activated charcoal pellets and baking soda. Cinch it tightly and toss it into the bottom of the pail. It will continuously absorb odors. Replace the contents of the sachet every month or so when you notice its effectiveness waning.
This two-pronged, natural approach is both incredibly effective and wonderfully safe for your nursery environment. It’s a cheap, easy, and powerful way to keep smells at bay.
Genius Way #3: Add a Fresh Scent Safely with Citrus & Essential Oils
Genius Way #3: Add a Fresh Scent Safely with Citrus & Essential Oils
While neutralizing odors is the primary goal, sometimes you also want to add a hint of a fresh, clean scent to the room. But aerosol air fresheners and strong chemical fragrances are a big no-no in a baby’s environment. Their respiratory systems are delicate! The good news is that you can achieve a pleasant aroma using natural, safe methods.
The Zesty Power of Citrus Peels
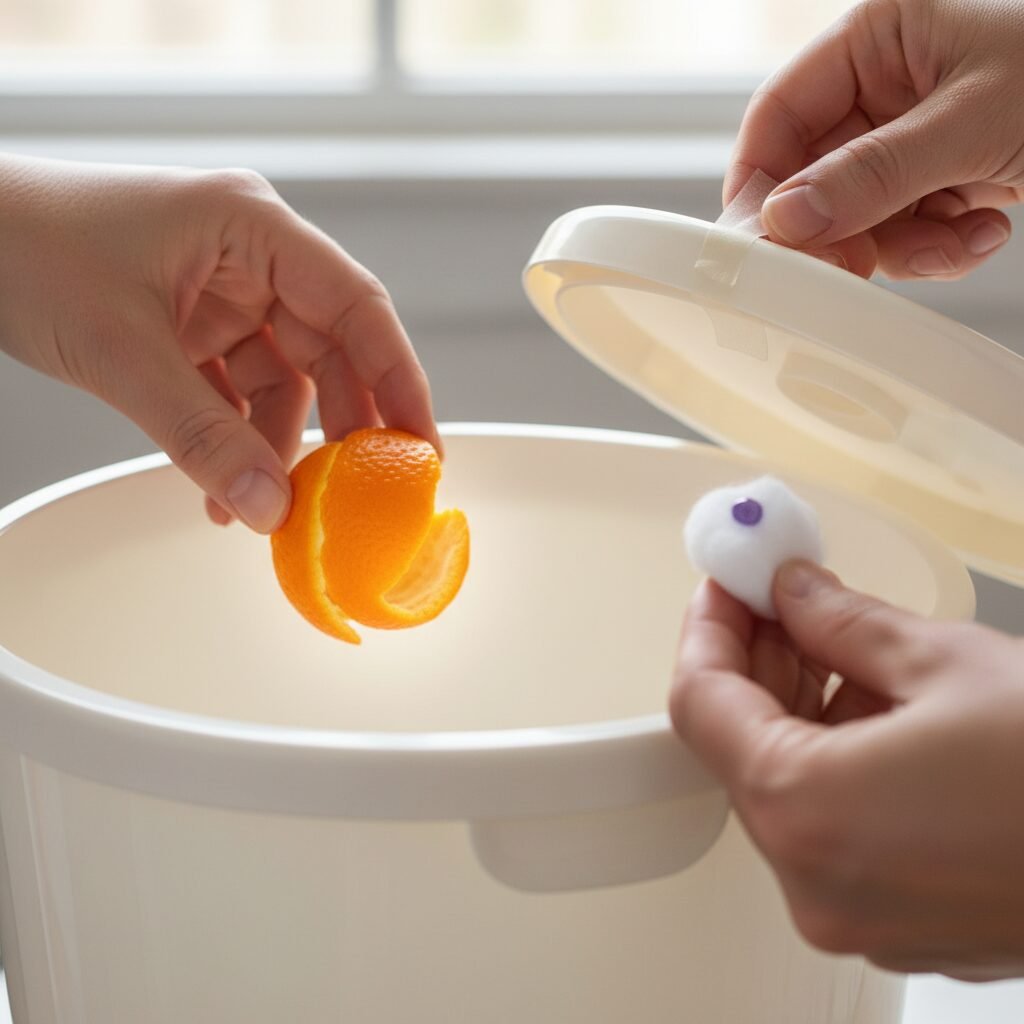
Don’t throw away your orange, lemon, or grapefruit peels! The peels of citrus fruits are packed with natural oils that have a strong, clean, and uplifting scent. After you’ve enjoyed the fruit, simply toss a few of the peels into the bottom of the diaper pail (underneath the liner). They will release a subtle, fresh scent that helps to counteract any unpleasant smells. Replace them every few days when you change the bag. It’s a fantastic, zero-waste trick!
Using Essential Oils with Caution
Essential oils can be wonderful, but they must be used with extreme care around infants. Some oils can be irritating to their sensitive skin and respiratory tracts. However, there is a safe way to use them to help with diaper pail odor.
Safety First! Never put essential oils directly into the diaper pail or on any surface your baby might touch. Do not diffuse strong essential oils in the room where a baby sleeps. Always consult your pediatrician if you have any concerns.
Here’s the safest method:
- Choose a Gentle Oil: Opt for baby-safe, calming oils like lavender, chamomile, or a gentle sweet orange oil. Avoid strong oils like peppermint, eucalyptus, or tea tree oil.
- Apply Indirectly: Place 2-3 drops of your chosen essential oil onto a cotton ball or a small felt pad.
- Place it Strategically: Do not toss the cotton ball into the pail. Instead, use a piece of tape to affix the cotton ball to the underside of the diaper pail lid or the outside back of the pail. This allows the scent to diffuse gently into the surrounding air without being overpowering or coming into direct contact with the diapers or the pail’s interior.
This method provides a light, pleasant background fragrance that makes the nursery feel fresh without posing a risk to your little one.
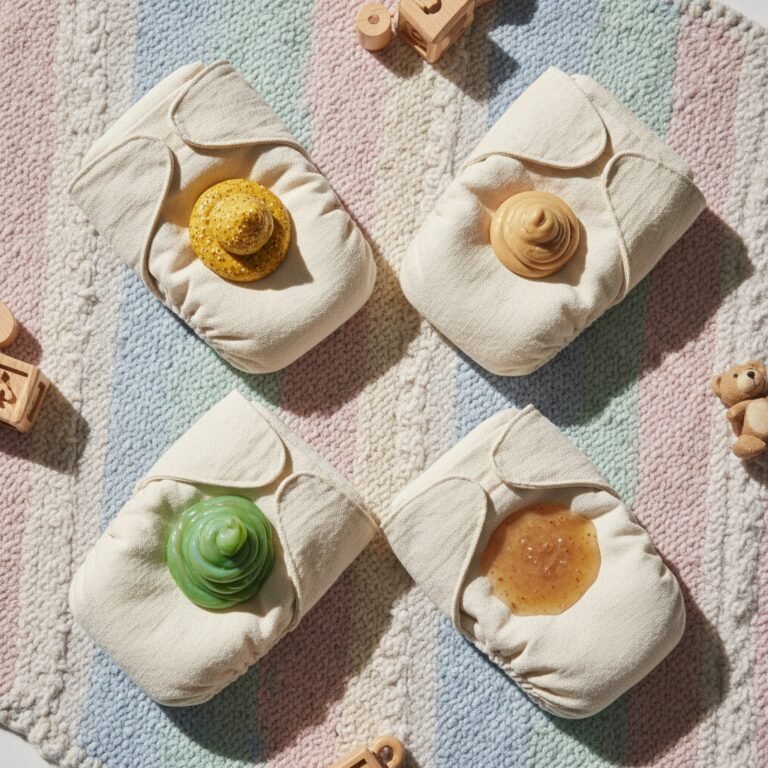
Genius Way #4: Master the Art of the ‘Diaper Burrito’
Genius Way #4: Master the Art of the ‘Diaper Burrito’
This might be the simplest tip on the list, but I can’t stress enough how effective it is. The best way to stop diaper pail odor is to contain it before it even has a chance to escape. I call this the ‘Diaper Burrito’ technique, and it’s your first line of defense in every single diaper change.
Think about it: a loosely wrapped diaper is an open invitation for odors to seep out and mingle in the pail. A tightly contained diaper, however, keeps the mess and the smell locked inside. It’s a small habit that makes a huge impact.
How to Roll the Perfect Diaper Burrito: A Step-by-Step Guide
- Clean and Wipe: After you’ve cleaned your baby up, place the dirty diaper flat underneath them on the changing pad.
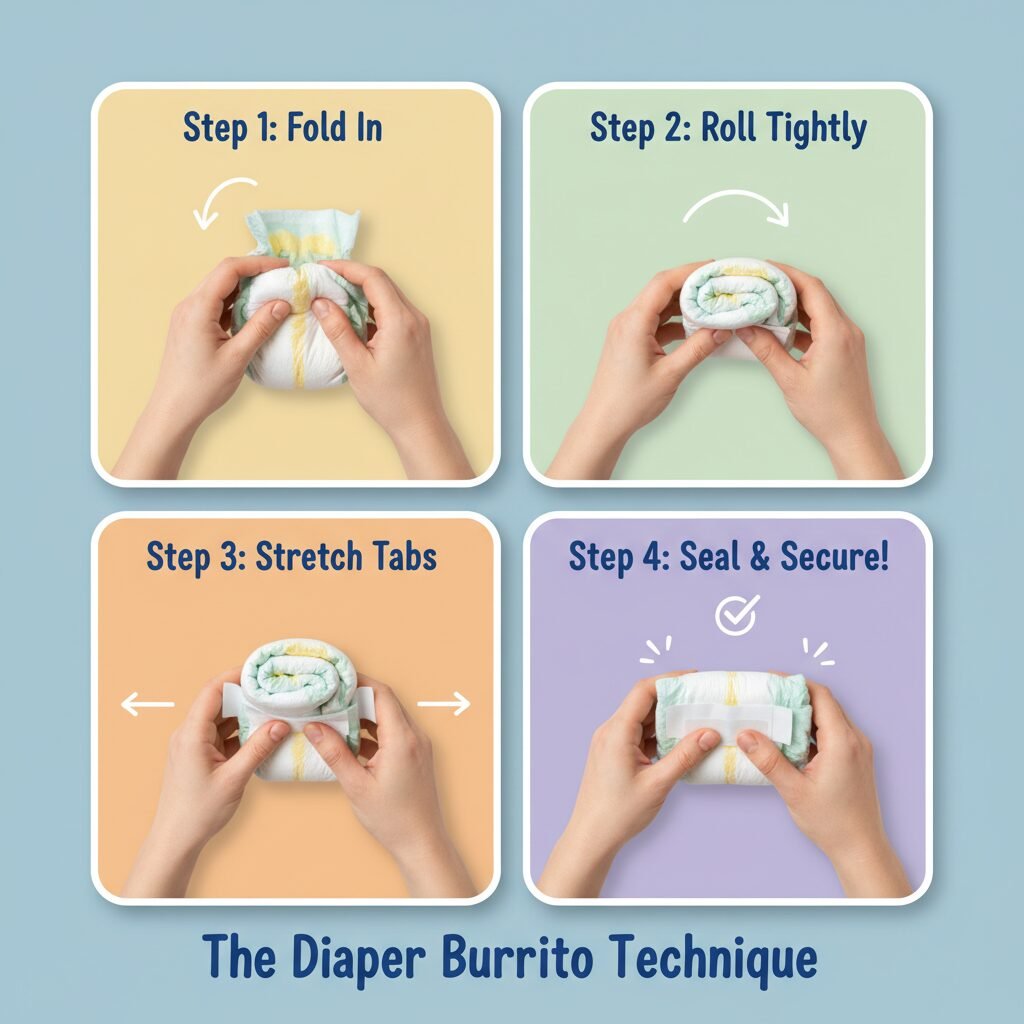
- Fold the Front Up: Take the front of the diaper and fold it tightly inwards over the mess, towards the back half of the diaper. Use the front of the diaper to squeegee any remaining mess from your baby’s bottom as you lift their legs.
- Roll it Tight: Starting from that folded front edge, begin rolling the diaper up as tightly as you possibly can. Squeeze the air out as you go. You want to create a compact, dense little package.
- Secure the Tabs: Once it’s rolled into a tight log, take the sticky tabs from the back of the diaper and pull them around to the front, securing them tightly. This locks the ‘burrito’ in place.
When you’re done, you should have a small, tightly sealed package. This little bundle of joy (well, maybe not joy) is now far less likely to release its odors into the pail. This is especially crucial for poopy diapers. By containing the source, you dramatically reduce the workload for your pail, bags, and deodorizers.
It might take an extra three seconds per diaper change, but the cumulative effect on the smell of your nursery is astounding. Teach every caregiver in your home this technique—consistency is key!
Genius Way #5: Implement a Regular ‘Pail Detox’ Routine

Genius Way #5: Implement a Regular ‘Pail Detox’ Routine
Even with the best pail and the tightest diaper burritos, the pail itself needs a good, deep clean from time to time. Simply emptying the bag is not enough. Bacteria can build up, and residue can linger, creating a baseline level of funk. I recommend giving your pail a full ‘detox’ at least once a month, or more often if you notice a persistent smell.
Your Step-by-Step Pail Cleaning Protocol
- Empty and Rinse: Take the pail outside or into a bathtub. After removing the bag, give it a thorough rinse with a hose or shower head to remove any loose debris.
- Scrub with a Gentle Solution: Mix up a cleaning solution that’s both effective and baby-safe. A solution of equal parts white vinegar and warm water with a squirt of gentle dish soap works wonders. Vinegar is a natural disinfectant and deodorizer. Use a scrub brush or cloth to wash the entire interior and exterior of the pail, paying special attention to the lid, seals, and any moving parts where gunk can hide.
- Rinse Thoroughly: Rinse the pail completely to remove all soap and vinegar residue.
- The Secret Weapon: The Sun-Dry: This is the most critical step! Do not just towel dry it and put it back. If possible, place the empty, open pail outside in direct sunlight for several hours. The ultraviolet rays from the sun are a powerful, natural disinfectant and a phenomenal odor eliminator. It will kill any lingering bacteria and ‘bake’ out any remaining smells. If you can’t put it outside, leaving it in a sunny spot by a window can also help.
A Quick Tip: Between deep cleans, you can keep things fresh by wiping down the inside of the lid and the rim with a baby-safe disinfectant wipe or a cloth dampened with your vinegar solution each time you change the bag.
Treating your diaper pail like any other piece of baby gear that needs regular sanitizing will prevent that deep, set-in stink that so many parents struggle with. A clean pail is a fresh pail.
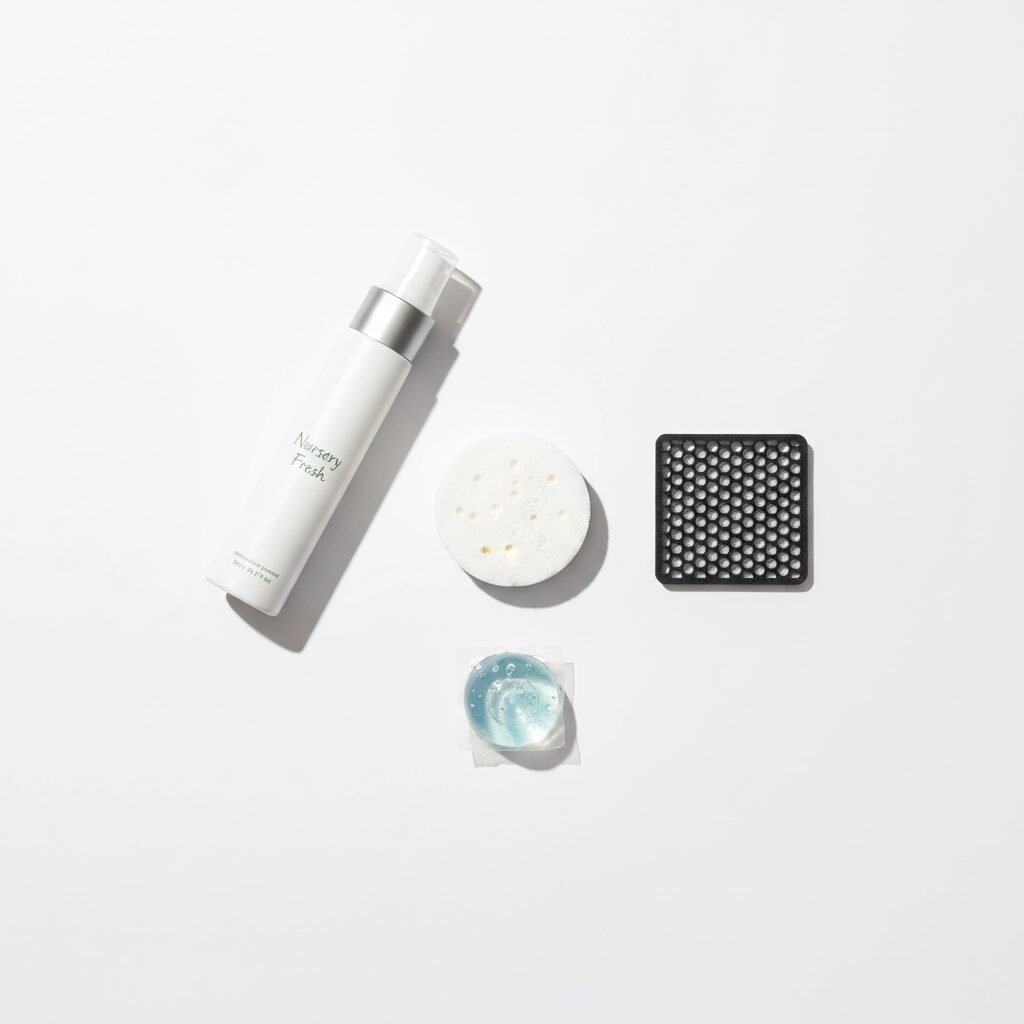
Genius Way #6: Level-Up with Baby-Safe Commercial Deodorizers
Genius Way #6: Level-Up with Baby-Safe Commercial Deodorizers
While DIY solutions are fantastic, sometimes you need a little extra, convenient firepower. The market for baby products has come a long way, and there are now many excellent, specifically designed, and baby-safe commercial deodorizers that can be a huge help. These products are designed to live inside the pail and work around the clock.
When shopping for one, always read the ingredients and look for products that are non-toxic and free from phthalates, parabens, and harsh chemicals. The goal is to neutralize odor, not to mask it with heavy, artificial perfumes.
Types of Diaper Pail Deodorizers
Here’s a quick rundown of the most common types you’ll find:
| Deodorizer Type | How It Works | Best For |
|---|---|---|
| Baking Soda Discs/Pucks | These are solid, compressed pucks of baking soda, often with other odor-absorbing ingredients. Many have an adhesive back to stick to the inside of the pail lid. | Continuous, long-lasting odor neutralization. Set it and forget it for about a month. |
| Carbon or Charcoal Filters | These are small filters, often made of activated carbon, that fit into a designated slot in the pail’s lid. They absorb odors as air circulates. | Pails designed with filter slots. Excellent for passive, continuous odor absorption without adding any scent. |
| Deodorizing Gels or Pods | These are small pods or containers of odor-absorbing gel that you place at the bottom of the pail. They absorb smells and sometimes release a very light, fresh scent. | Adding a bit of extra freshness and tackling tough odors from the bottom up. |
| Odor-Neutralizing Sprays | These are liquid sprays used to spritz the inside of the pail after emptying or on top of a particularly stinky diaper. Look for enzyme-based cleaners that ‘eat’ the bacteria causing the smell. | Immediate, targeted odor elimination. Great for a quick refresh between bag changes. |
Many parents find that a combination approach works best. For example, using a carbon filter in the lid for constant absorption, and keeping a neutralizng spray on the changing table for those extra-potent diaper situations. Experiment to see what combination gives you the best results for your nursery.
Genius Way #7: Isolate the Worst Offenders with a Wet/Dry Bag
Genius Way #7: Isolate the Worst Offenders with a Wet/Dry Bag
Okay, let’s be real. Not all diapers are created equal. A wet diaper is one thing, but a full-blown poopy diaper is in a league of its own. For those truly nuclear diapers that you know will test the limits of your entire odor-control system, it’s time to bring in the ultimate containment strategy: isolation.
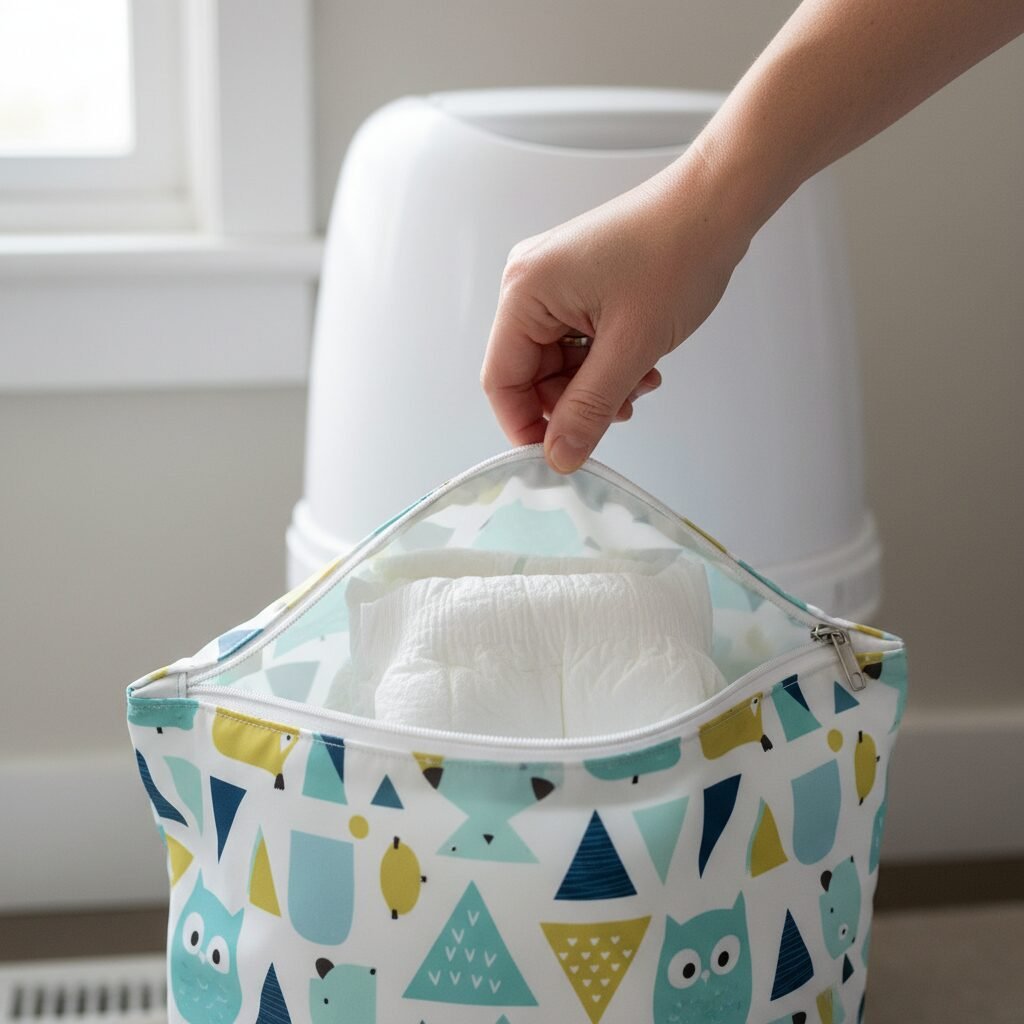
The Double-Bagging Method
This is a trick I learned from parents of multiples, and it’s pure genius. Get a few small-to-medium sized reusable ‘wet/dry bags’. These are the zippered, waterproof-lined bags often used for cloth diapering or carrying wet swimsuits. They are designed to lock in moisture and, as a wonderful side effect, they are incredible at locking in odor.
Here’s the protocol:
- After you’ve created your perfect ‘diaper burrito’ with a poopy diaper, place it inside one of the small wet/dry bags and zip it completely shut.
- Now, you can toss that sealed bag into the main diaper pail.
This double-containment method ensures that the most potent odors never even come into contact with the air inside your diaper pail. It’s like a maximum-security prison for the smelliest diapers.
When in Doubt, Take it Out
An even simpler variation of this is to have a household rule: the really bad ones don’t even get to stay. For certain diapers, the best pail is the outdoor trash can. If you’ve just dealt with a ‘poo-nami’, don’t even risk it. Bag it up in a dog waste bag or a small disposable sack and walk it directly outside. It might seem like a hassle, but it’s a guaranteed way to prevent a single diaper from stinking up the entire house.
Using a wet/dry bag system means you’ll have a few bags to wash every week, but they can just be turned inside out and tossed in the laundry with towels or rags. It’s a small extra step that provides a massive payoff in the battle for a fresh-smelling nursery.
Conclusion
And there you have it—seven powerful strategies to transform your diaper pail from a source of dread into just another piece of nursery furniture. From building a solid foundation with the right gear to mastering the ‘diaper burrito’ and implementing a regular cleaning routine, you now have a full arsenal of tools to declare victory over diaper odors.
Remember, being a new parent is filled with challenges, and it’s okay that not everything is perfect all the time. A smelly diaper pail isn’t a reflection on you or your home! It’s just a temporary problem with a very solvable solution. Pick a few of these tips to start with, build them into your routine, and find what works best for your family. Soon enough, the only thing you’ll be smelling is that sweet, intoxicating scent of your beautiful new baby. You’ve got this!