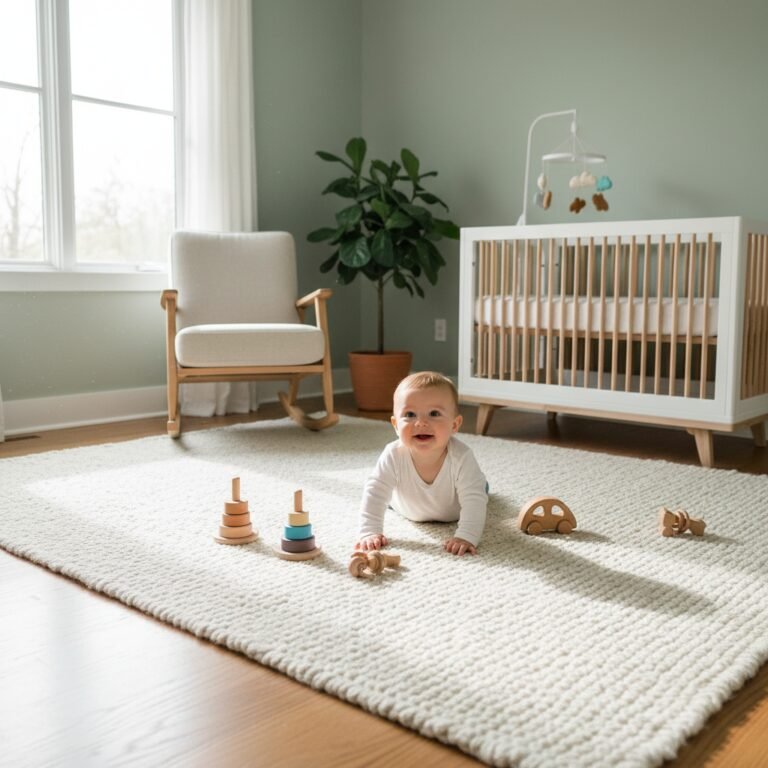
7 Genius Master Bedroom Nursery Layouts For Small Apartments
Welcome, new parents! Bringing your little one home is one of life’s most magical moments. But let’s be real—if you live in a small apartment, the question of “Where will the baby sleep?!” can feel a little less than magical. You’ve probably scrolled through endless photos of sprawling, dedicated nurseries and felt a pang of anxiety. Well, take a deep breath and let it out. I’m here to tell you, as a pediatric nurse who has seen it all, that you absolutely do not need a separate room to create a perfect, loving, and functional space for your baby.
In fact, the American Academy of Pediatrics (AAP) recommends room-sharing (but not bed-sharing) for at least the first six months, as it can decrease the risk of SIDS by as much as 50%. So, you’re not just saving space; you’re following expert safety advice! It also makes those middle-of-the-night feedings and diaper changes so much easier.
Think of it as creating a cozy, convenient ‘nest’ for your new family. We’re going to transform a corner of your bedroom into a beautiful, serene, and ultra-functional nursery nook. Ready to get inspired? Here are seven genius layouts you can adapt for your own space.
Layout 1: The ‘Closet Nursery’ Conversion

Do you have a closet you can spare? This might sound strange at first, but converting a closet into a ‘nursery nook’ is one of the most brilliant space-saving hacks for apartment dwellers. It keeps baby’s space contained, cozy, and separate, which can be a lifesaver when you need to turn on a light without waking them.
To make this work, you’ll first need to remove the closet door for safety and airflow. Then, a mini-crib or a bassinet should fit perfectly inside. You can use the existing shelf for storage bins and add a tension rod for hanging a few precious outfits. Paint the inside of the closet a soft, soothing color or apply some removable wallpaper to make it feel special. It becomes a little room within your room!
Key Elements:
- Crib: A mini-crib is essential for this setup. Measure your closet dimensions carefully before buying!
- Storage: Utilize vertical space with wall-mounted shelves above the crib (ensure they are securely installed) or fabric hanging organizers.
- Lighting: A stick-on, battery-powered puck light or a small clip-on lamp can provide gentle illumination for late-night changes.
Safety First: Always ensure there is proper ventilation in the closet. Never close a door on a baby’s sleeping space. Removing the door entirely is the safest option.
Layout 2: The Classic Bedside Bassinet Haven
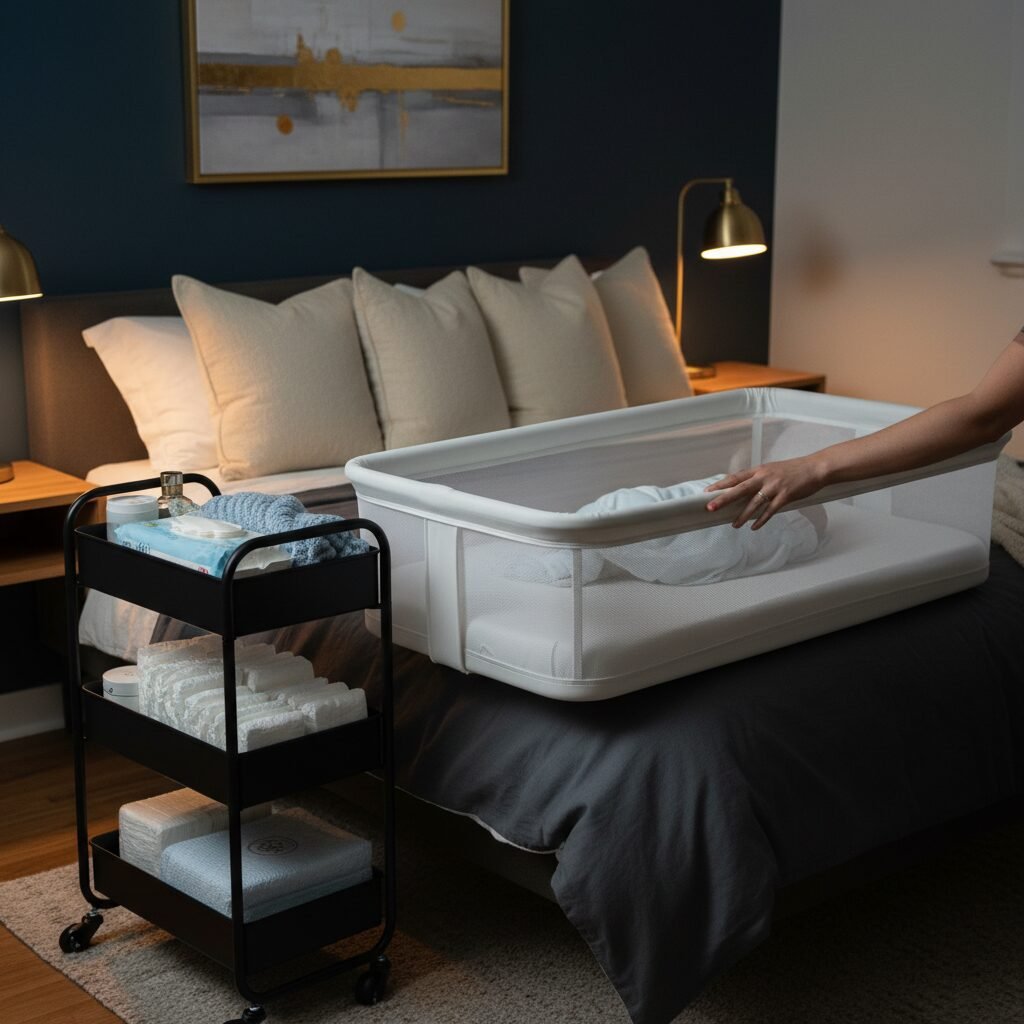
This is the go-to layout for a reason—it’s simple, safe, and incredibly convenient. The first few months with a newborn are a blur of feeding, changing, and trying to catch a few moments of sleep. Having your baby right by your side in a bassinet makes everything easier. You can soothe them with a gentle touch, scoop them up for a feeding without getting out of bed, and easily check on them throughout the night.
The key here is to create an organized ‘command center’ right next to the bassinet. Use a small rolling cart or a narrow bedside table to hold all your essentials: diapers, wipes, burp cloths, extra pacifiers, and a bottle of water for you. This keeps your own nightstand free from clutter and ensures you have everything within arm’s reach.
Making It Work:
- Choose the Right Bassinet: Look for one with a stable base and mesh sides for breathability and visibility. Some models even have a side that lowers for easier access, which is a blessing after a C-section.
- The Rolling Cart is Your Best Friend: A three-tiered utility cart is a new parent’s secret weapon. You can organize it by shelf: top for diapering, middle for feeding, bottom for extra clothes and blankets.
- Clear the Area: Ensure there are no dangling cords from blinds, lamps, or chargers near the bassinet. Keep pillows, blankets, and loose bedding from your own bed far away from the baby’s sleep space.
Layout 3: The ‘Divide and Conquer’ Corner

If you crave a little bit of visual separation between your sleep space and the baby’s, this layout is for you. You don’t need to build a wall to create the illusion of a separate room. A strategically placed room divider can work wonders in defining the nursery corner and giving you a sense of having your own space back.
The most popular and functional way to do this is with a tall, open-backed bookshelf (like the IKEA KALLAX). It acts as a wall, but you can also use it for incredible storage. Fill fabric bins with baby supplies, and use the top shelves for books, a sound machine, and a soft lamp. Another option is a beautiful folding screen or a ceiling-mounted curtain track, which allows you to draw the ‘wall’ closed when you want a cozier feel.
Divider Options:
- Bookshelf Divider: Provides massive amounts of storage. Make sure to anchor it securely to the wall to prevent tipping.
- Folding Screen: Lightweight, easy to move, and comes in many decorative styles to match your decor.
- Curtain Divider: A soft and elegant solution. Use a blackout curtain to help shield the baby’s corner from light if one partner needs to get ready while the baby is sleeping.
This layout gives you the best of both worlds: your baby is close by for safety and convenience, but there’s a clear boundary that helps mentally separate ‘sleep time’ from ‘baby time’.
Layout 4: The Multi-Functional Furniture Masterpiece
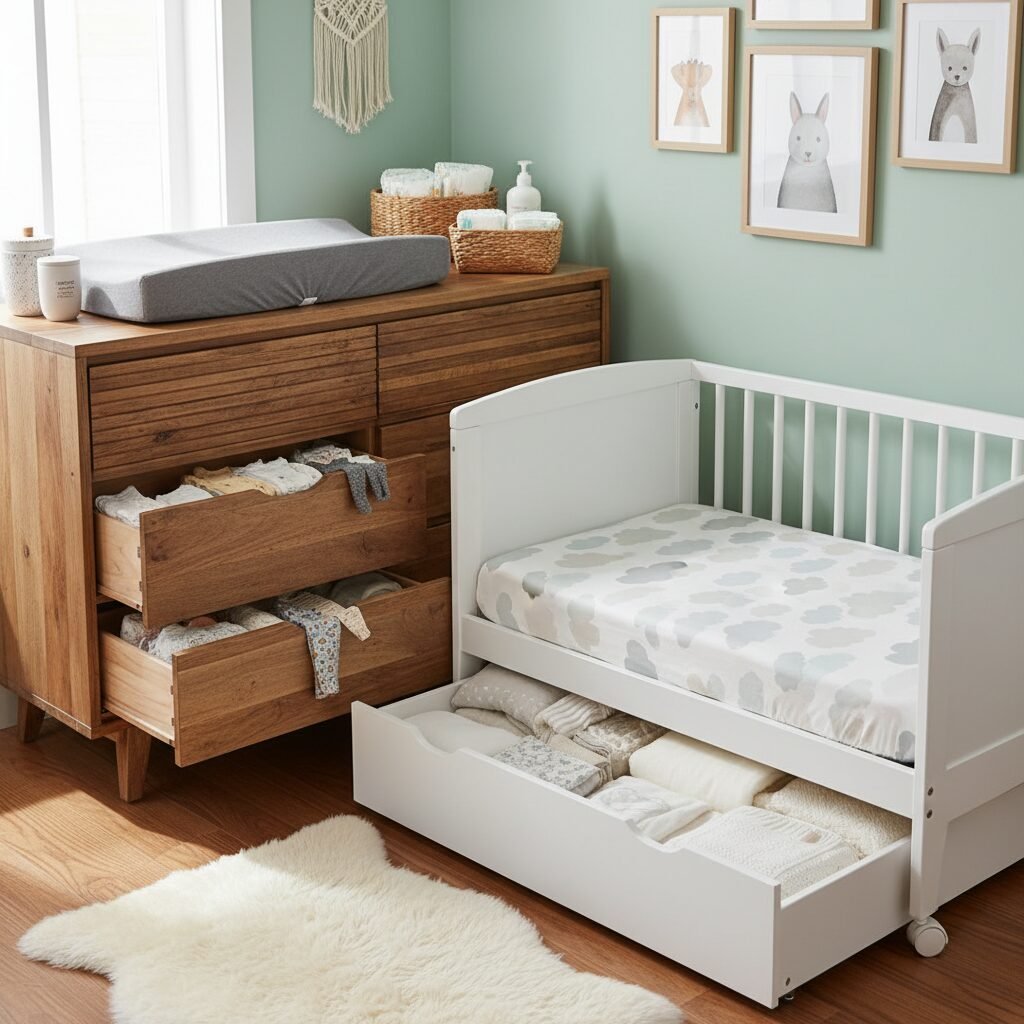
In a small apartment, every single piece of furniture needs to pull its weight. This layout is all about choosing smart, multi-functional pieces that serve two or even three purposes. It’s about working smarter, not harder, with your decor and gear.
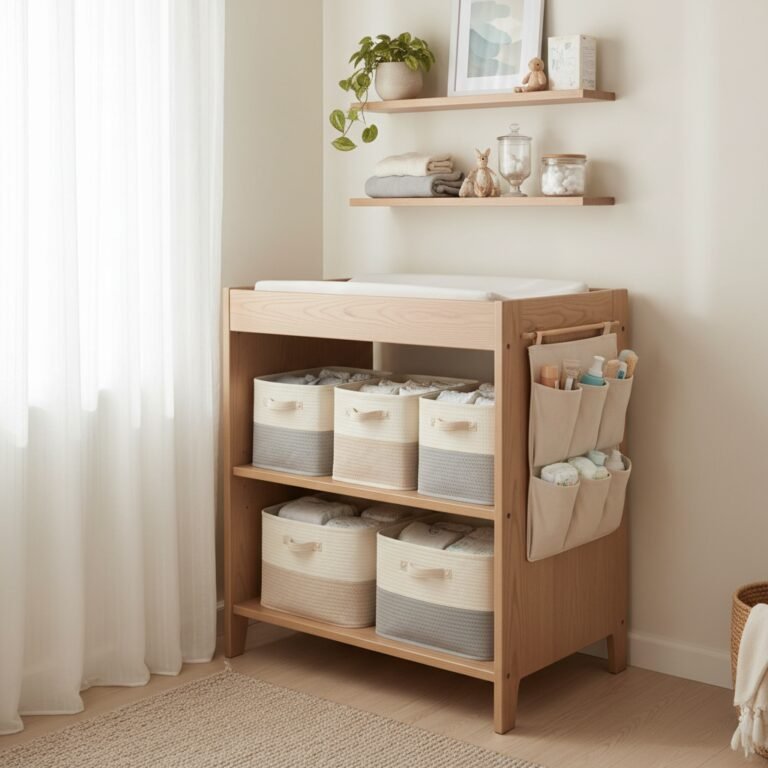
The star of this layout is often the dresser. Instead of buying a separate changing table (which has a very short lifespan), use a sturdy, waist-high dresser. Secure a contoured changing pad to the top, and store all your diapering supplies in the top drawer. Voila! You have a changing station and clothing storage all in one. Another hero is the crib with built-in storage. Many modern cribs come with large drawers underneath, perfect for stashing extra sheets, sleep sacks, and blankets, keeping them out of sight but easily accessible.
Let’s compare the space-saving benefits:
| Traditional Item | Multi-Functional Alternative | Space Saved |
|---|---|---|
| Changing Table + Dresser | Dresser with Changing Pad Topper | ~ 6-8 square feet |
| Standard Crib + Storage Bins | Crib with Underneath Storage Drawers | ~ 4-6 square feet |
| Glider/Rocker + Side Table | Glider with Built-in Pockets | ~ 2-3 square feet |
By choosing pieces that do more, you drastically reduce the footprint of the nursery, leaving more floor space for you to move around—which is critical at 3 a.m. when you’re navigating a dark room!
Layout 5: The ‘Foot of the Bed’ Focus
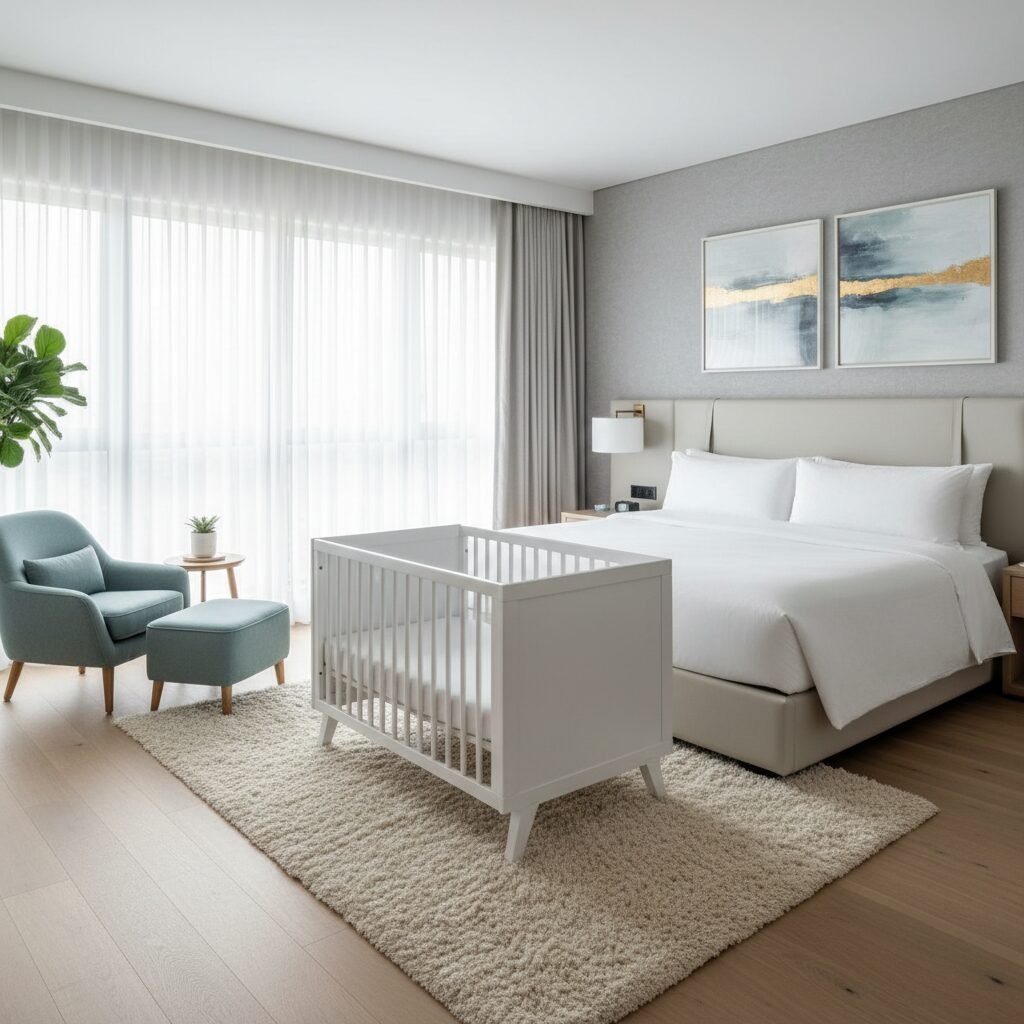
If the sides of your bed are tight on space due to doors or windows, consider the often-overlooked real estate at the foot of your bed. Placing the crib here creates a lovely, symmetrical layout that can make the entire room feel more balanced and intentional. It keeps the main pathways on either side of your bed clear, which is a huge plus.
This arrangement works particularly well in long, narrow bedrooms. You can place the crib flush against the wall or against the footboard of your bed. Pair it with a small, comfortable accent chair in the corner for feedings, creating a self-contained little zone. This layout also provides a clear line of sight to your baby from your pillows, which is incredibly reassuring for anxious new parents.
Tips for Success:
- Measure Carefully: Ensure you still have enough room to comfortably walk around the bed. A minimum of 24-30 inches for a walkway is ideal.
- Anchor the Dresser: If you place a dresser or other furniture nearby, make sure it’s securely anchored to the wall.
- Create a ‘Zone’ with a Rug: Placing a small, soft rug under the crib and chair can help define the nursery area and make it feel like its own special space.
Layout 6: The Vertical Wonder Wall
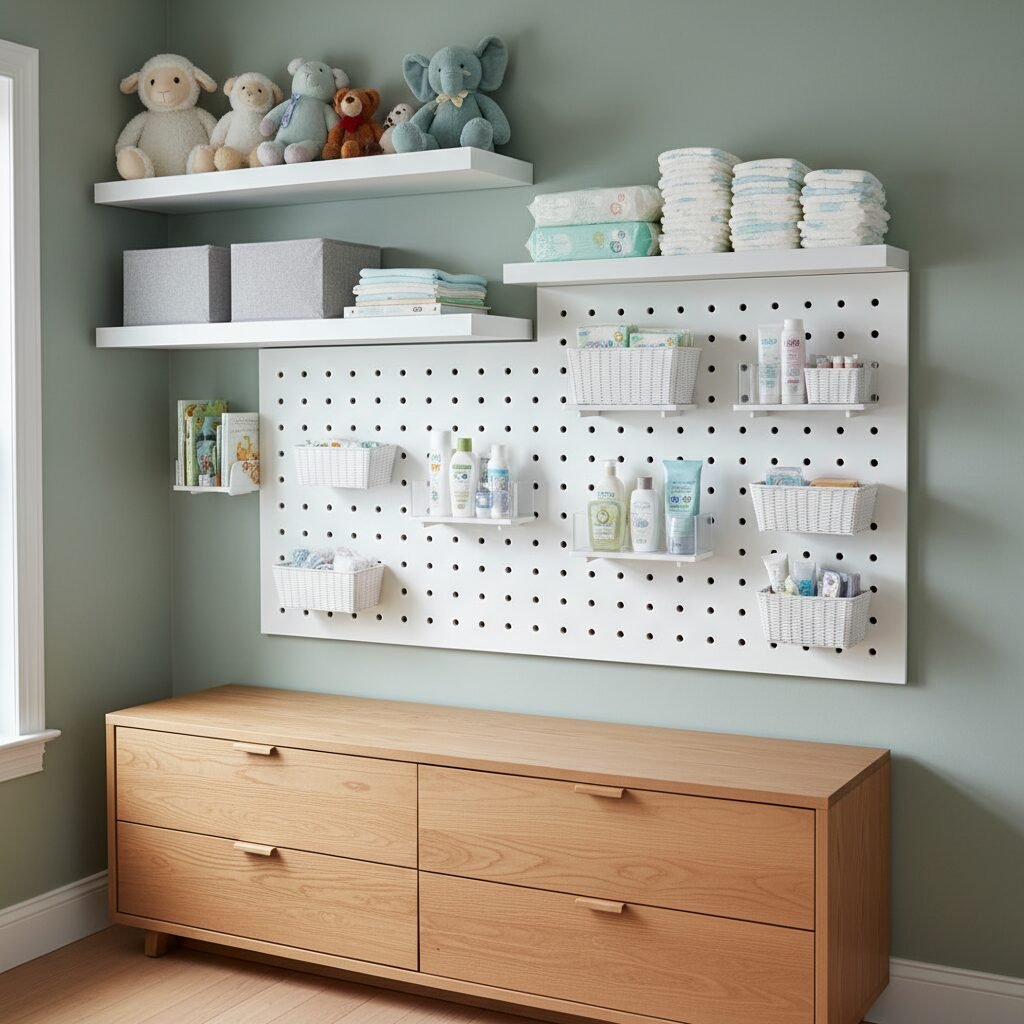
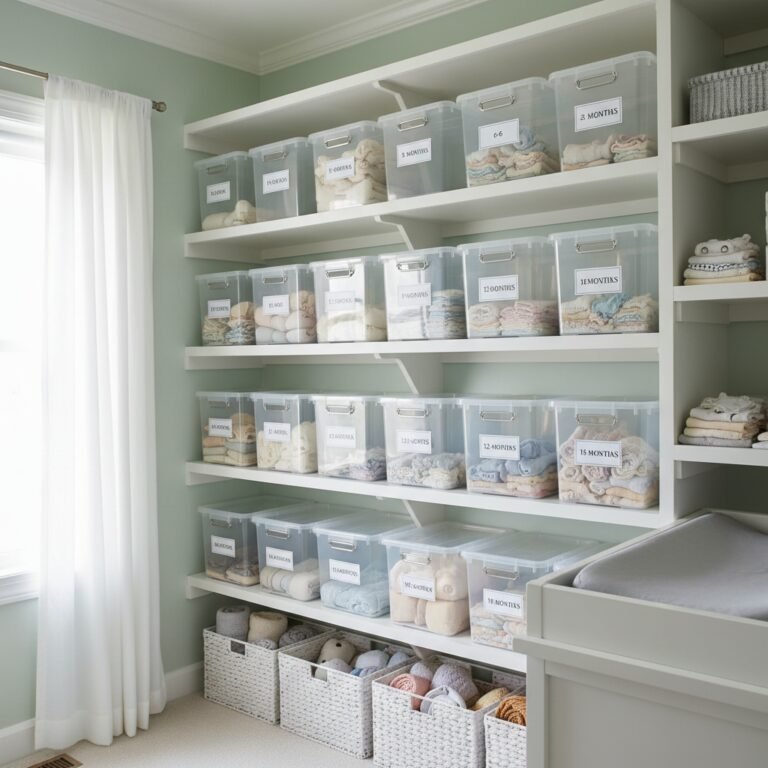
When you can’t build out, you have to build up! This layout is a lifesaver for truly tiny rooms where floor space is the most precious commodity. The strategy is simple: get as much as you can off the floor and onto the walls. Your walls are your new best friends.
Start by installing a set of sturdy floating shelves above the dresser or in an empty corner. Use these for things you don’t need to access constantly, like extra baby wipes, books, or decorative items. Below them, consider a pegboard system—it’s not just for garages! You can use hooks and small baskets on a pegboard to organize diapering supplies, pacifiers, and grooming tools. Wall-mounted book ledges are another fantastic way to display cute board books without taking up surface space.
Vertical Storage Ideas:
- Floating Shelves: For bulkier items and decor.
- Wall-Mounted Book Ledges: Keeps books visible and accessible.
- Pegboard Organizer: Customizable storage for small, frequently used items.
- Over-the-Door Shoe Organizer: Perfect for storing baby shoes, socks, hats, and small toys. Don’t underestimate this one!
- Hanging Fabric Baskets: Can be hung from a sturdy wall hook to hold diapers or soft toys.
This approach keeps the room feeling open and airy while ensuring everything you need has a designated home.
Layout 7: The Minimalist’s Dream
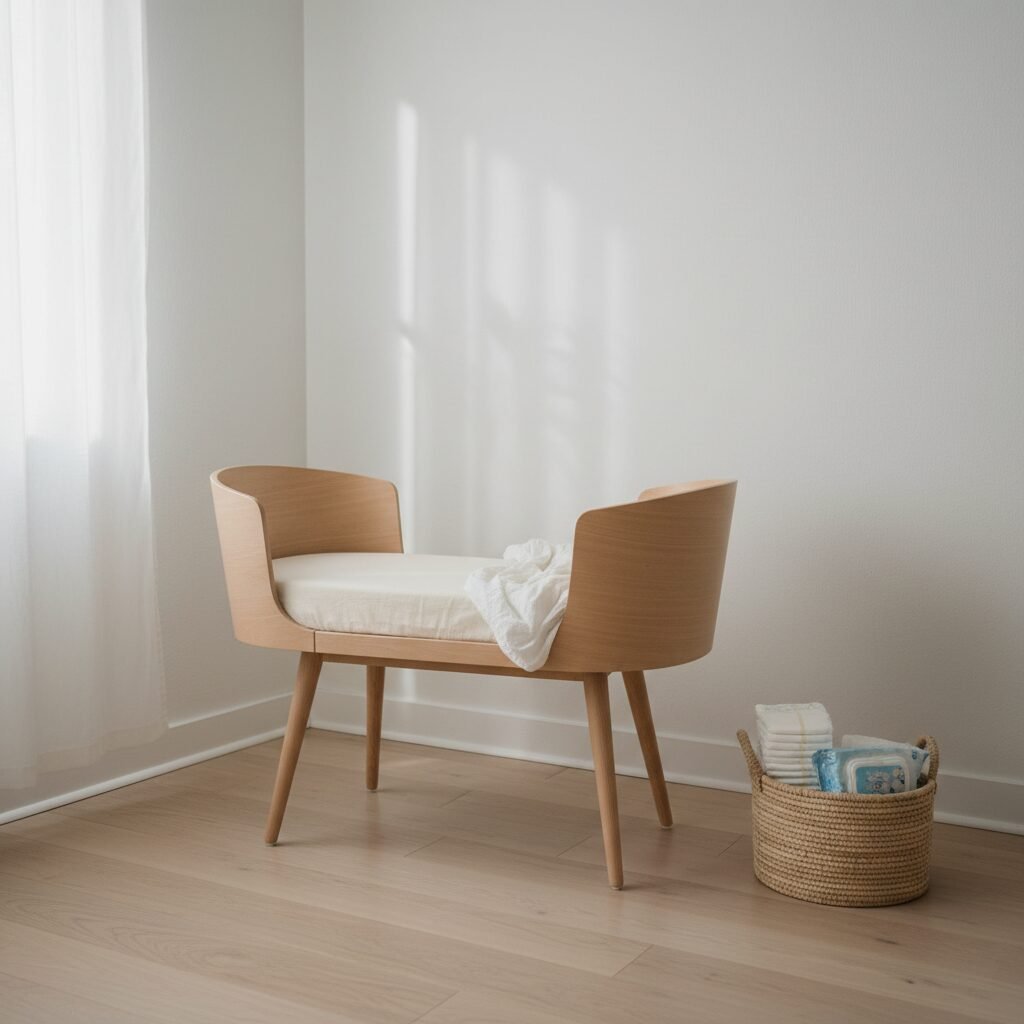
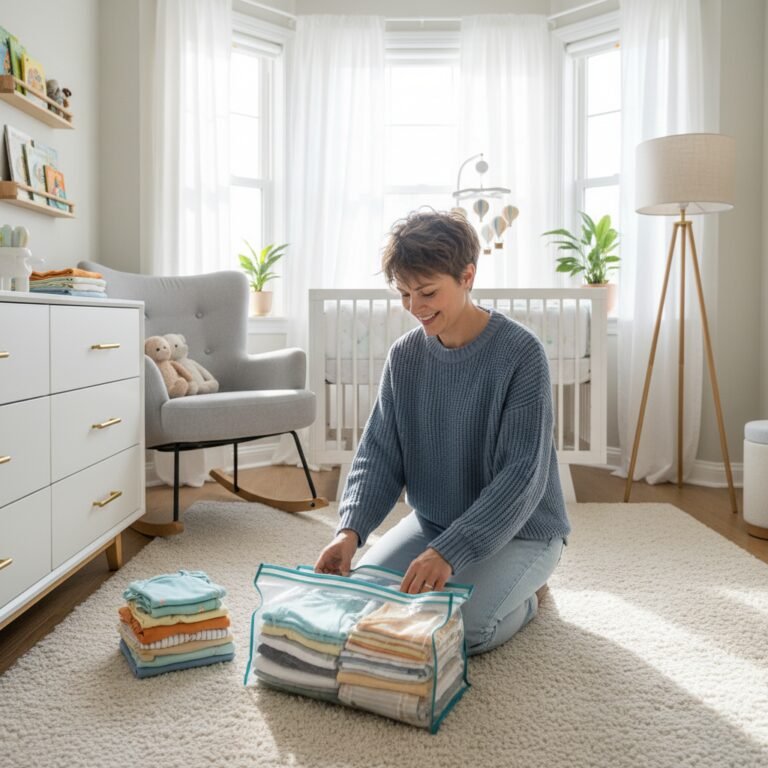
Let’s debunk a myth: you do not need every single baby item on the market. In fact, starting with less can make life feel much simpler and less cluttered. This layout is for parents who want to embrace minimalism and stick to the absolute, bare-bones essentials. It’s elegant, cost-effective, and incredibly space-efficient.
What are the true essentials for a bedroom nursery? A safe place for baby to sleep, a place to change them, and a place to store their immediate necessities. That’s it. For this layout, you’ll have a bassinet or mini-crib, a changing pad that can be placed on your bed or the floor (on a waterproof mat), and a small cart or a few baskets for supplies. No bulky furniture, no extra gadgets. Just the basics.
The Minimalist’s Checklist:
- Sleep: A safe-sleep approved bassinet.
- Changing: A portable changing pad and a small ‘diaper caddy’ basket you can carry around.
- Clothing: You don’t need a huge dresser. For the first few months, a few drawers in your own dresser or a set of fabric bins on a shelf will suffice.
- Feeding: A comfortable spot on your bed with supportive pillows is often all you need. No giant glider required.
This approach reduces visual clutter, which can have a wonderfully calming effect on both you and your baby. It reminds you that all your baby truly needs is a safe space and your loving presence.
Conclusion
There you have it—seven different ways to create a beautiful, functional, and loving nursery space right inside your own bedroom. I hope you can see that you don’t need a separate room or a huge budget to prepare a perfect welcome for your little one. Whether you’re converting a closet, dividing a corner, or embracing minimalism, the most important ingredient is your love and care.
Remember to be flexible! What works for the newborn stage might need to be tweaked as your baby grows. Give yourself grace, trust your instincts, and enjoy this incredibly special time of nesting and preparing. You are creating your family’s first home together, and no matter the size of the space, it will be filled with more love than you can possibly imagine. You’ve got this!